


English
_5
• Network 1 / Network 2 / Network 3 / Network 4 Setup
- IP Type : Choose the network connection method.
- IP Address, Subnet Mask, Gateway, DNS
M
`
If the LAN cable is not connected to the port, the setting button will not be activated for use. Check the LAN cable
connection.
`
The built-in DHCP Server in NVR will turn on automatically at stage 3. At this stage, using the existing DHCP server in the
same network may cause a problem, as two DHCP servers would be simultaneously operating.
`
For more details on network settings, refer to the user manual.
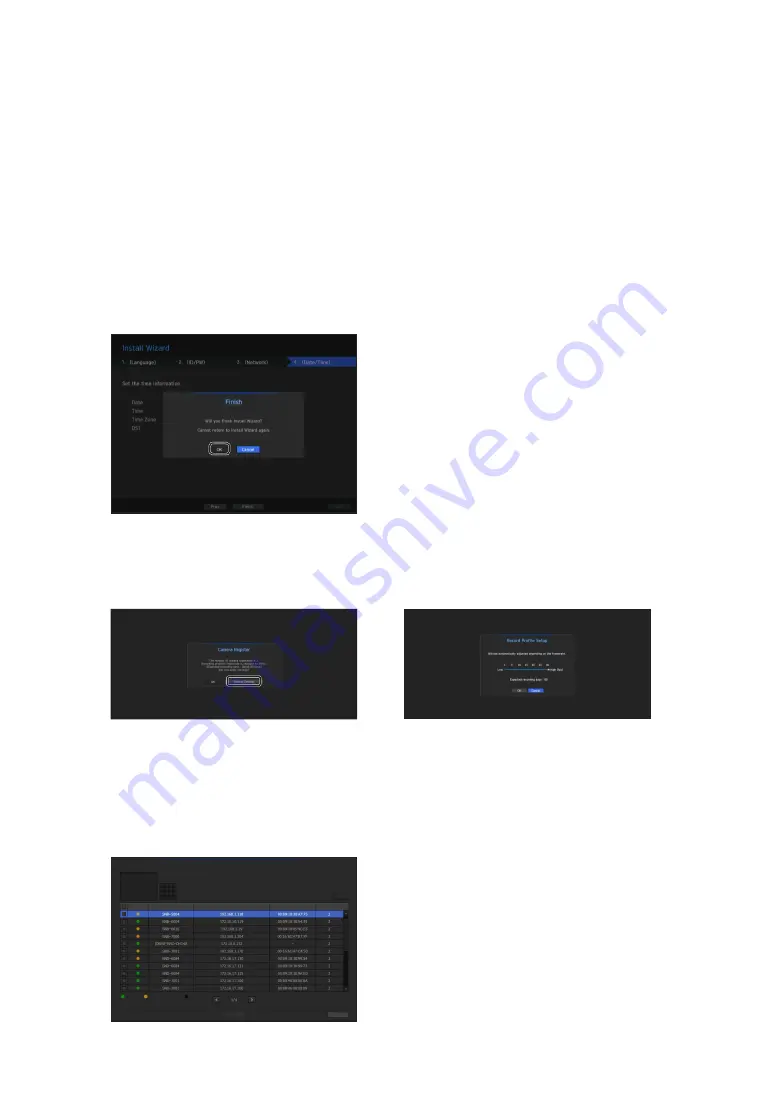
4.
After setting the date/time settings in the <
date/time
> screen, click on the <
Finish
> button to launch the
setting completion window.
5.
In the setting completion window, click on the <
OK
> button to finish camera setting and launch the camera
registration screen.
6.
If there are 64 or less cameras searched, it will be automatically registered and the camera information(fps,
days of recording) will be displayed.
•
if there are 64 or less cameras searched
•
if there are more than 64 cameras searched
Select a camera to register and click the <
register
> button. Once camera registration is finished, proceed in
the same steps as after auto registration.
1.
The searched camera will be automatically
registered and the initial recording value
will be displayed.
2.
In the camera registration window, click the
<
Cancel
> button to modify the recording
settings automatically set.
After selecting a camera, press the register button.
Searched Cameras Refresh
Status
|
Model
|
IP
|
MAC
|
Network
|
Connected Authentication errors
Disconnected
Exit
Register
0/64
Camera Register


