background image

Color Monitor

5

„

 Controls

  -

 OSD controls

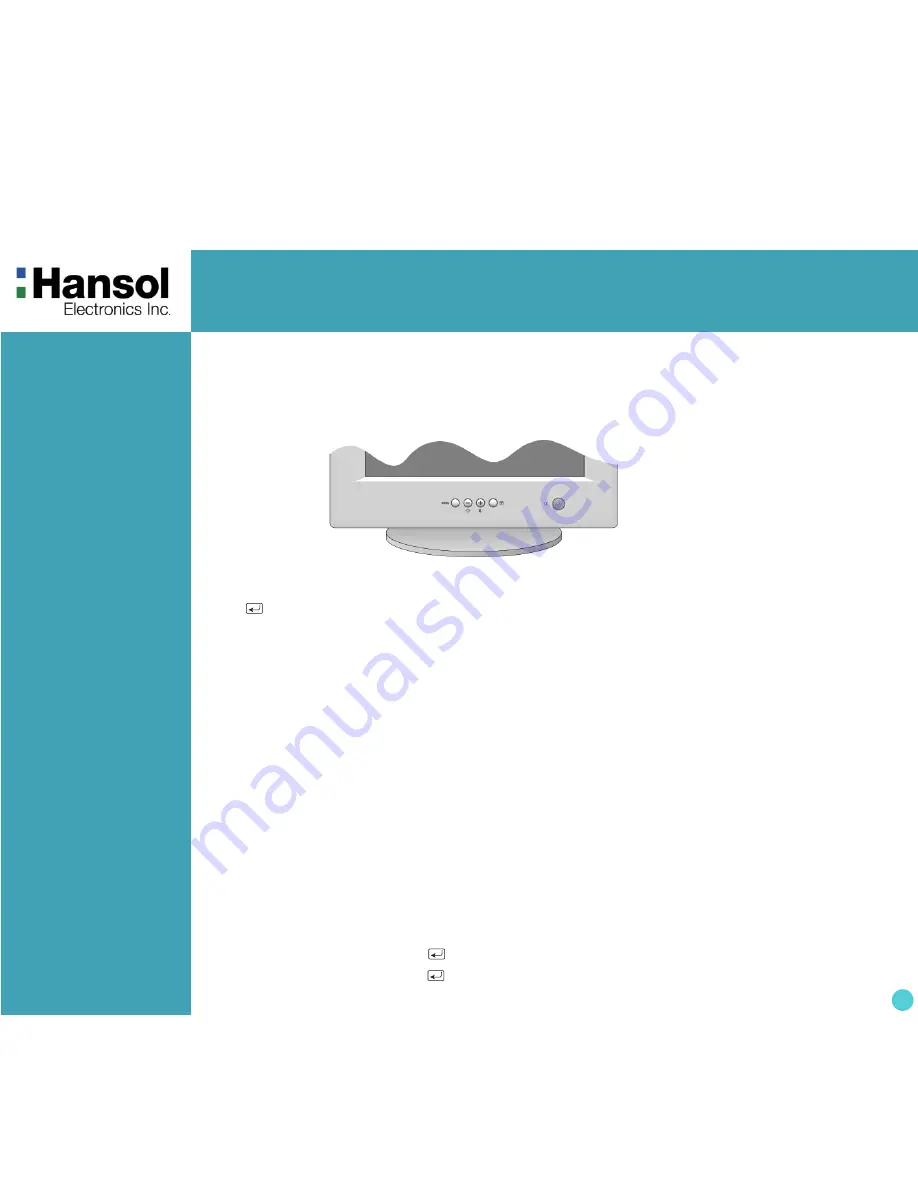
Function of OSD buttons on the front of the monitor

„


 In the main menu, exits the OSD controls. In a submenu, exits to the OSD main menu.

„


 / 

+

  1) When no OSD on the Screen.


 : Direct access to Brightness controls.

  + : Direct access to Contract controls.

  2) When Main menu is displayed. : Moves to function what you want to adjust.
  3) When the Sub menu is displayed. : Controls the amount what you want to adjust.

„

 MENU : Displays OSD main Menu.

  1) When Main menu is displayed. : Selects function with RED ICON.
  2) When Sub menu is displayed. : Selects function with RED ICON.

Additional front controls

„

 Power Switch : Turns the monitor power on or off. When the power is on, the LED is on.

„

 LED Power indicator Light : Located left side of the power switch and indicates the monitor's power mode. 

  Each mode reduces the amount of power used by the monitor.

Accessing on screen menu

Press MENU Button.

Turning off on screen menu

When in the main menu, press 

 button.

When in submenus, press the  

 button twice.

"

ON SCREEN MENU

" controls include the following extended controls such as Size, Position,

Geometry, Color Adjust, Brightness and Contrast Utilities. Adjustments are saved instantly. 

The currently addressed control can be reset to factory settings by pressing the Reset button.

Содержание 730E

Страница 1: ...gulatory Information 2 Introduction Features 4 Controls OSD Controls 5 OSD Menus 6 Power Management Feature 9 Standard Signal Table 9 Specifications 10 Pin assignment table D Sub Mini 15pin connector...

Страница 2: ...allation This equipment can generates uses and radiate radio frequency energy and if not installed and used in accordance with the instructions may cause harmful interference to radio communications H...

Страница 3: ...irements of the Canadian Interference Causing Equipment Regulations Avis Canadien Cet appareil num rique de la classe B respecte toutes les exigences du R glement sur le mat riel brouilleur du Canada...

Страница 4: ...ncreased user safety Environmentally Friendly Power management circuit conforming to VESA DPMS standards controls energy consumption when monitor is not in use you save energy All plastic parts are re...

Страница 5: ...s displayed Selects function with RED ICON Additional front controls Power Switch Turns the monitor power on or off When the power is on the LED is on LED Power indicator Light Located left side of th...

Страница 6: ...S Moves to No 2 Decreases the brightness Increases the brightness Exit to No 1 4 CONTRAST Moves to No 2 Decreases the contrast Increases the contrast Exit to No 1 5 H V POSITION Toggles horizontal or...

Страница 7: ...and ready to move function you want Moves to function you want 9 LANGUAGE Selects the languages with RED ICON and Exit to No 2 Moves to language you want Exit to No 2 10 OSD POSITION Toggles OSD posi...

Страница 8: ...ecall ICON Degauss Eliminates the build up of stray magnetic fields which alter the correct scan of the electron beams and affect the purity of the screen colors focus and convergence When pressed you...

Страница 9: ...31 469 70 087 28 322 VGA 640 x 480 31 469 59 940 25 175 VGA 640 x 480 37 500 75 000 31 500 VGA 640 x 480 43 269 85 008 36 000 SVGA 800 x 600 46 875 75 000 49 500 SVGA 800 x 600 53 674 85 061 56 250 XG...

Страница 10: ...Vertical 50Hz 160Hz Automatically Maximum Resolution 1280Dots x 1024Lines Non interlace Pixel Clock Max 110 MHz Display Size Standard Horizontal 306mm Vertical 230mm Power Consumption Max 74 Watts Pow...

Страница 11: ...b connector male of the signal cable IBM Systems 1 5 6 10 11 15 15 Pin D Sub Pin No Assignment 1 Red Video 2 Green Video 3 Blue Video 4 Frame Ground 5 Ground 6 Red Video Ground 7 Green Video Ground 8...

Страница 12: ...at the video card is securely seated in the PC Picture is fuzzy Adjust the Contrast and Brightness Controls Push the Degauss Button once Picture bounces or a waving pattern is present in the picture M...

Отзывы: