Page EN-15
Cleaning and maintenance
Cleaning and maintenance
Cleaning the steam generator
iron
WARNING
Risk of burns!
The appliance will become hot during
operation. If you touch parts which are
hot, you could burn yourself on them!
■
Before cleaning, always pull the
mains plug out of the socket.
■
Allow the appliance to cool off com-
pletely before beginning to clean it.
NOTICE
Cleaning the appliance incorrectly may
cause damage!
Hard objects may scratch the soleplate.
■
Do not use any solvent-based, abra-
sive or scouring cleaners or cleaning
utensils (scouring pads, etc.). These
could scratch the surfaces.
■
Do not use a steam cleaner or
high-pressure cleaner to clean the ap-
pliance.
■
Thoroughly dry all parts after clean-
ing.
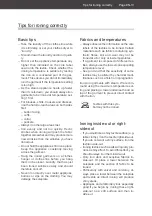
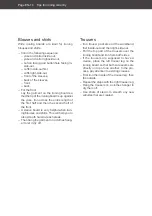
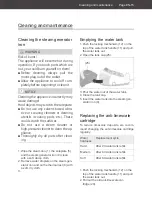
1. Wipe the steam iron (1), the soleplate (5)
and the steam generator iron (9) clean
with a soft, damp cloth.
2. Remove water droplets on the steam gen-
erator iron and on the thermal rest (6) with
a soft, dry cloth.
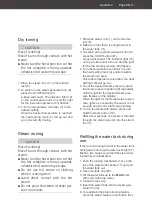
3.
Emptying the water tank
1. Push the locking mechanism (12) on the
top of the water tank handle (11) and pull
the water tank out.
2. Open the tank cap (25).
(25)
3. Pour the water out of the water tank.
4. Close the tank cap.
5. Insert the water tank into the steam gen-
erator iron (9).
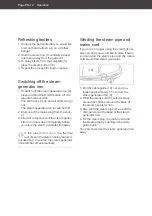
Replacing the anti-limescale
cartridge
To reduce limescale deposits, we recom-
mend changing the anti-limescale cartridge
regularly.
Water
hardness
Replacement cycle
Hard
After 20 water tank refills
Medium
After 40 water tank refills
Soft
After 60 water tank refills
1. Push the locking mechanism (12) on the
top of the water tank handle (11) and pull
the water tank out.
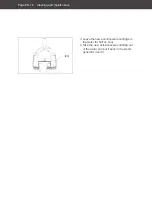
2. Pull out the old anti-limescale car-
tridge (24).
Содержание EC1749
Страница 22: ...Technische Daten Seite DE 22...

