47
Hangar 9 Funtana 125 ARF Assembly Manual
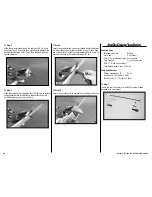
Step 6
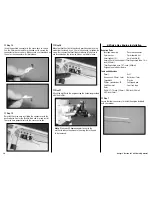
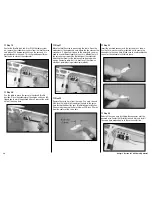
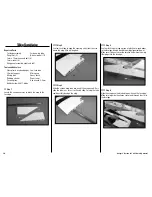
Slide the carbon stabilizer tube into the stabilizer. Slide the
tube in only as far as it will easily slide. Forcing the tube can
damage the stabilizer.
Step 7
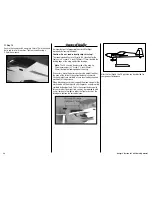
Slide the tube into the fuselage. The stabilizer will fit tight
against the fuselage.
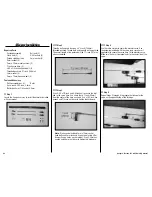
Step 8
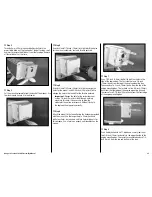
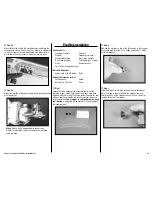
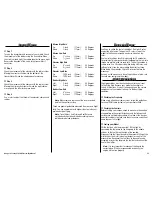
Use two 3mm x 10mm hex head screws and two 3mm
washers to secure the stabilizer to the fuselage. Make sure
to use threadlock on the screw before tightening it with a
2.5mm hex wrench.
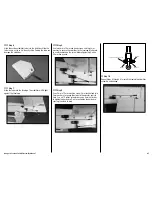
Step 9
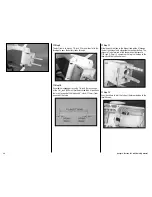
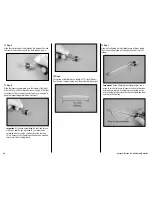
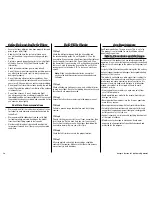
Use a 2mm x 12mm machine screw, 2mm locknut and two
2mm washers to secure the clevis to the elevator control
horn. Use a #1 Phillips screwdriver and a 4mm nut driver
to tighten the hardware. Don’t over-tighten the hardware
causing the clevis to bind.
Washer
Washer
Locknut
2mm x 12mm machine screw
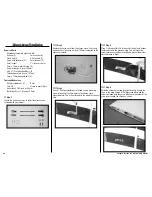
Step 10
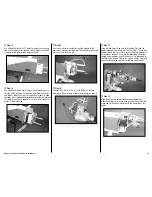
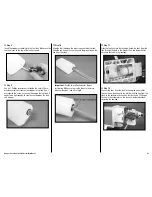
Repeat Steps 6 through 9 to install the remaining stabilizer
assembly and linkage.
Содержание Funtana 125
Страница 58: ...58 Hangar 9 Funtana 125 ARF Assembly Manual ...


