11
Hangar 9 Funtana 125 ARF Assembly Manual
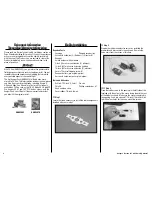
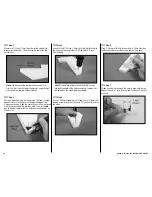
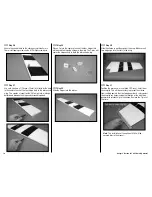
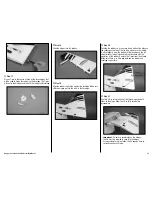
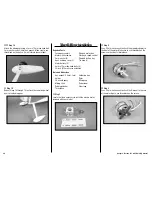
Step 8
Secure the control horn to the elevator using three 2mm x
16mm self-tapping screws and a #1 Phillips screwdriver.
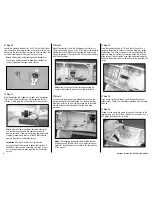
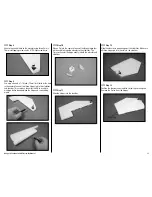
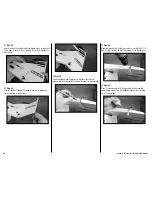
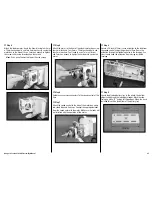
Step 9
Use a pin vise and a 1/16-inch (1.5mm) drill bit to drill a hole
in the center of each of the three hinge slots in the stabilizer
and elevator. This creates a tunnel for the CA to wick into,
making a better bond between the hinge and surrounding
wood.
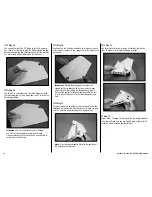
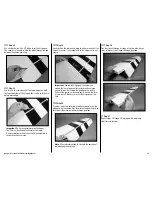
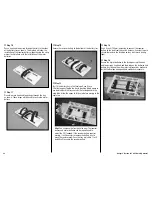
Step 10
Place a T-pin in the center of each of the three hinges that
will be used to hinge the elevator to the stabilizer. The
T-pins will center the hinge evenly in both the elevator and
stabilizer.
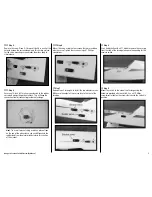
Step 11
Slide the hinges into the elevator.
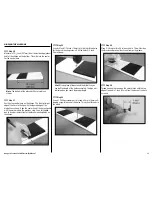
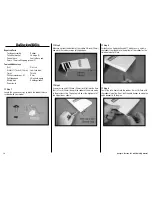
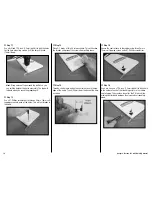
Step 12
Slide the elevator in position against the stabilizer. Make sure
all three hinges go into the slots in the stabilizer.
Step 13
Position the elevator and stabilizer so their tips are aligned.
Remove the T-pins from the hinges.
Содержание Funtana 125
Страница 58: ...58 Hangar 9 Funtana 125 ARF Assembly Manual ...


