20
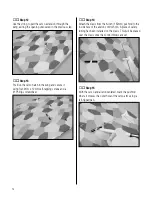
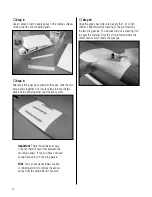
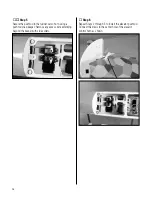
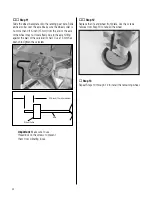
Step 3
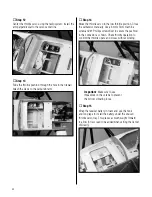
Route the 12-inch servo leads from the receiver through
the holes in the fuselage and along the front cabanes as
shown. Slide a piece of heat shrink tubing over the servo
lead and front cabane support as shown. Once the heat
shrink is in position, shrink the tubing to the cabane and
install the final 4-40 x 1/2-inch socket head screw to
secure the forward cabanes to the fuselage.
Important
: Make sure to use
threadlock on the screws to prevent
them from vibrating loose.
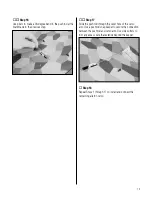
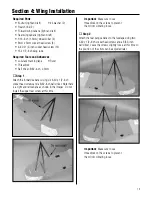
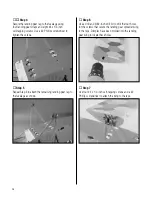
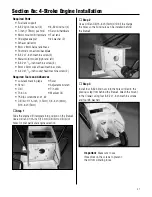
Step 4
Locate the correct N-strut for installation. The strut
will hook onto the tabs on the top wing. The hooks from
the strut enter from the side nearest the servo and face
the wing tip.
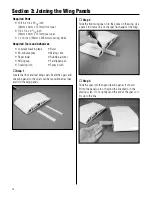
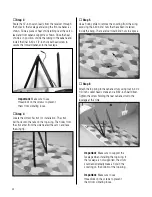
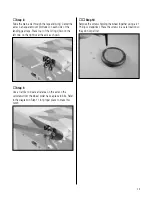
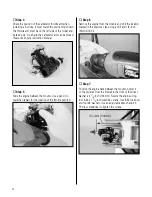
Step 5
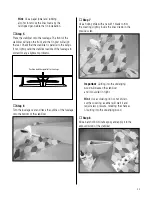
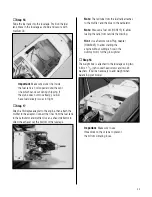
Use a hobby knife to remove the covering from the wing,
exposing the 4-40 blind nuts that have been installed
inside the wing. There are four total blind nuts to expose.
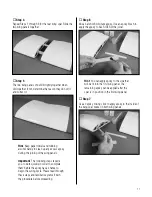
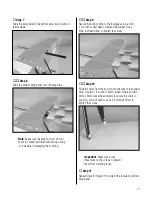
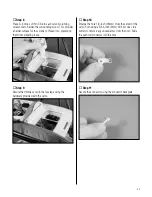
Step 6
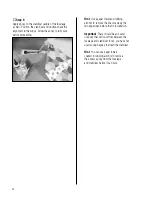
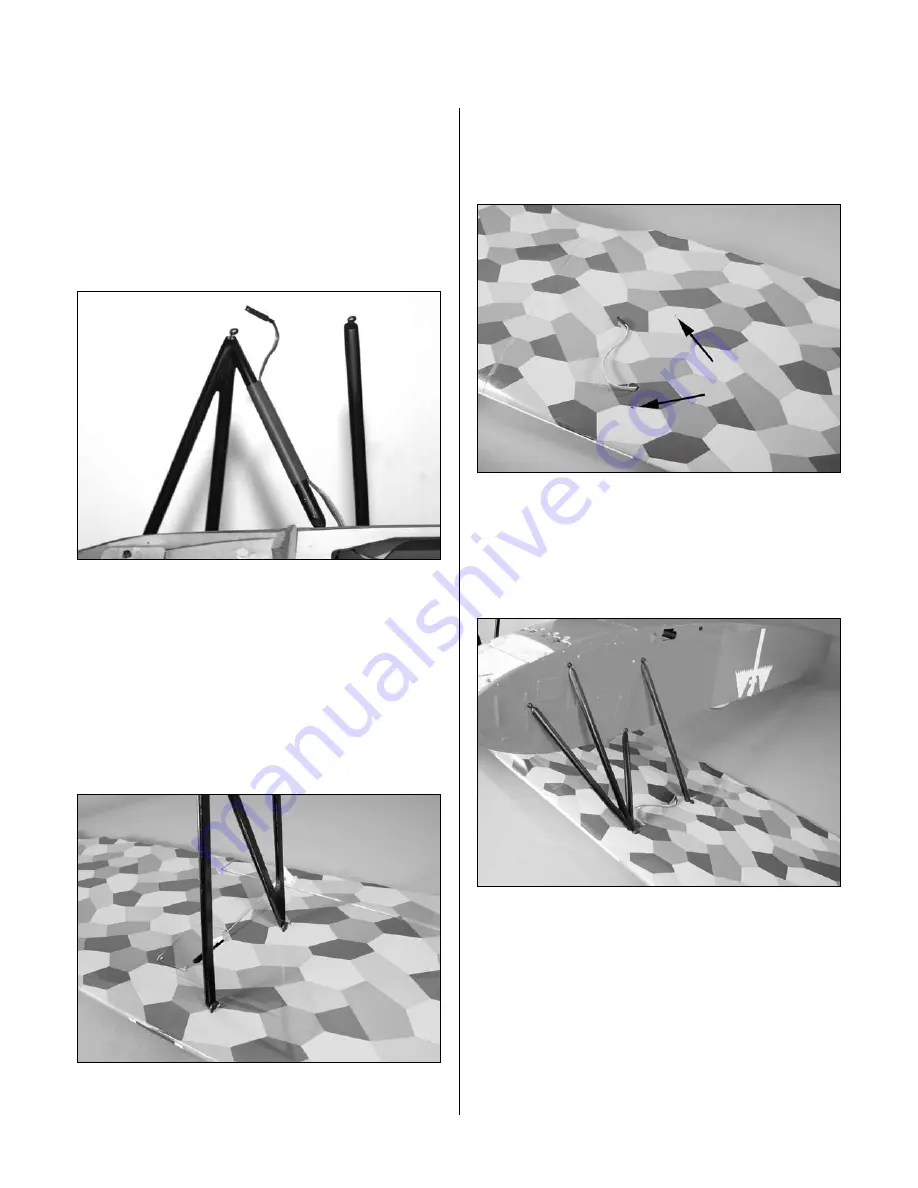
Attach the top wing to the cabane struts using four 4-40 x
1/2-inch socket head screws and a 3/32-inch ball driver.
Tighten the screw holding the rear cabane strut to the
fuselage at this time.
Important
: Make sure to support the
fuselage when installing the top wing. If
the fuselage is not supported, the struts
could accicdentally make a hole in the
covering on the bottom of the top wing.
Important
: Make sure to use
threadlock on the screws to prevent
them from vibrating loose.

