36
Required Parts
• Fuel tank support
• #4 washer (2)
• 8-32 nylon lock nut (4)
• 8-32 blind nut (4)
• 7-inch (178mm) pushrod • Servo w/hardware
• Motor mount drill template • Fuel tank
• Muffler
• 8mm x 8mm balsa tank brace
• Pushrod connector w/backplate
• 8-32 x 1-inch machine screw (4)
• Metal motor mount (right and left)
• 8-32 x 1
1
/
4
-inch machine screw (4)
• 3mm x 5mm socket head machine screw
• 4-40 x 1/2-inch socket head machine screw (2)
Required Tools and Adhesives
• Low-tack masking tape
• Ruler
• Pencil
• Adjustable wrench
• Drill
• Pin drill
• Thin CA
• Phillips screwdriver: #1, #2
• Drill bit: 1/16-inch, (1.5mm), 1/8-inch (3mm),
3/16-inch (5mm)
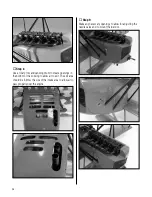
Step 1
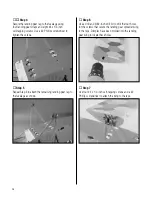
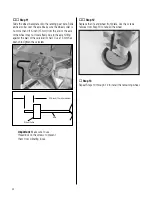
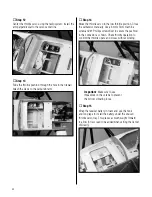
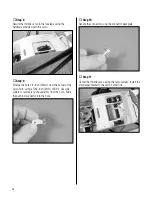
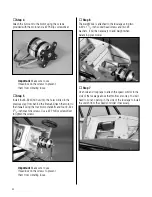
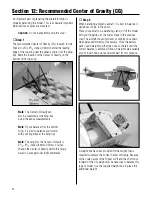
Slide the engine drill template into position on the firewall.
Use a drill and 1/16-inch (1.5mm) drill bit to drill pilot
holes for your particular engine selection.
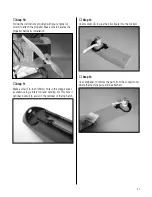
Step 2
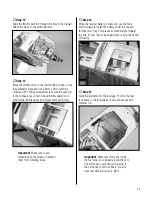
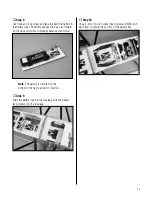
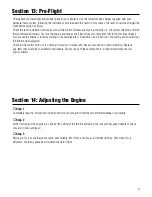
Use a drill and 3/16-inch (5mm) drill bit to enlarge
the holes so the blind nuts can be installed behind
the firewall.
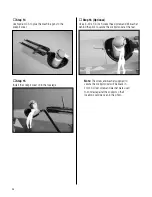
Step 3
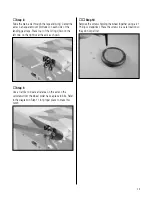
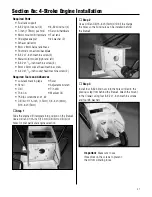
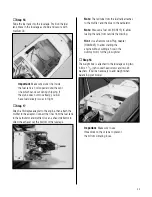
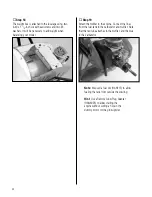
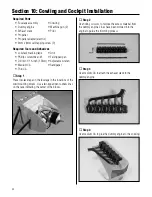
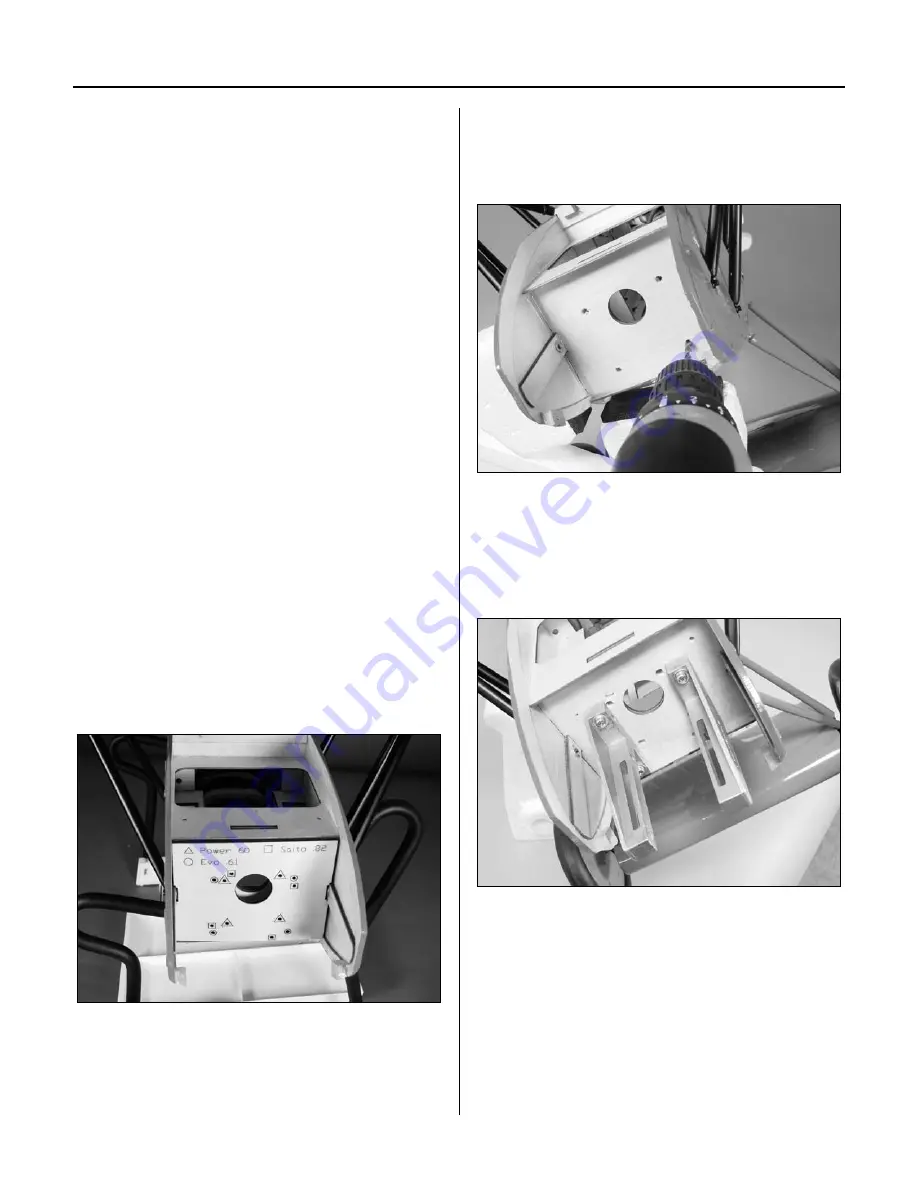
Install four 8-32 blind nuts into the holes drilled in the
previous step from behind the firewall. Attach the mount to
the firewall using four 8-32 x 1-inch machine screws and
four #8 washers.
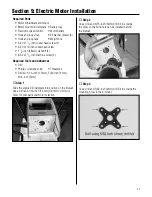
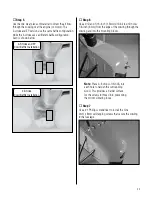
Important
: Make sure to use
threadlock on the screws to prevent
them from vibrating loose.
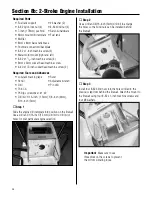
Section 8b: 2-Stroke Engine Installation

