3
Each toy sold separately.
Please keep this instruction sheet for future reference,
as it contains important information.
Requires three “AA” (LR6) alkaline batteries in the toy and
one 9V (6LR61) in the remote for operation.
(Batteries not included.)
Adult assembly required for battery installation.
Tool needed for battery installation:
Phillips screwdriver (not included).
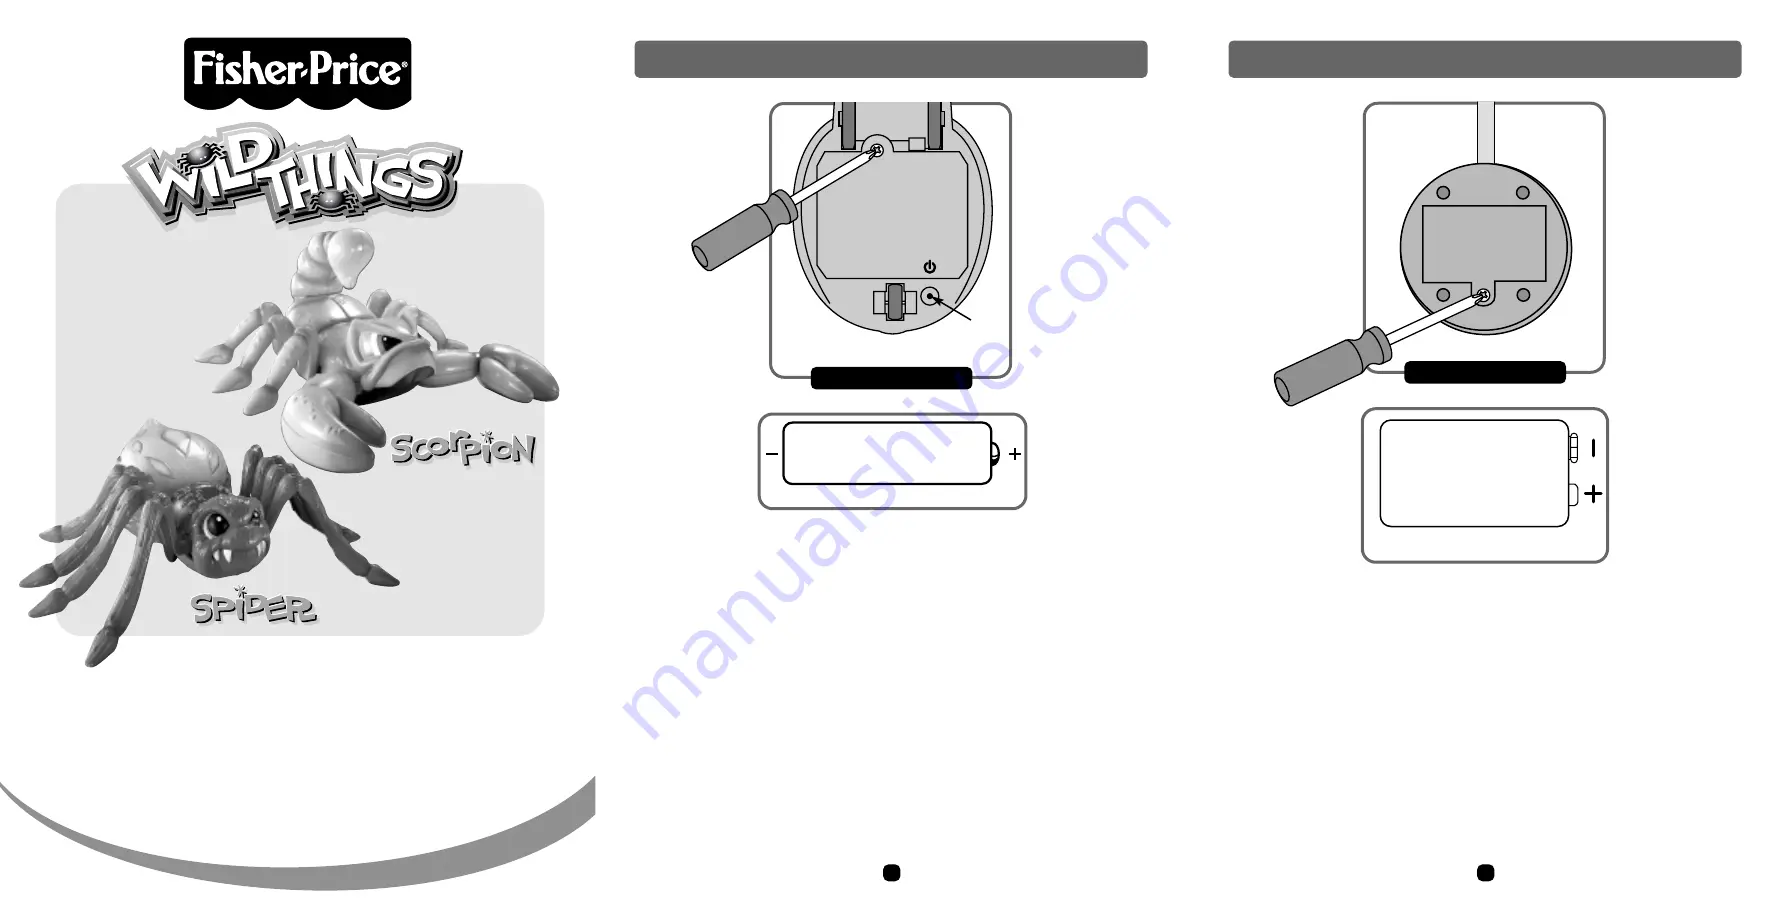
Toy Battery Installation
• Locate the battery compartment on the bottom of the toy.
• Loosen the screw in the battery compartment cover using
a Phillips screwdriver and lift to remove.
• Insert three “AA” (LR6)
alkaline
batteries as indicated
inside the battery compartment.
• Replace the battery compartment cover and tighten the
screw using a Phillips screwdriver. Do not over-tighten.
Hints:
- For longer life, use only
alkaline
batteries.
- When this toy stops working or works erratically, it’s time
to replace the batteries! Under normal use conditions,
the batteries in the toy will require replacement more
often than the battery in the remote. When you notice
that the toy does not respond to the remote, try replacing
the batteries in the toy before replacing the battery in
the remote.
2
78359
Power
Button
78360
Remote Battery Installation
Discover what’s possible
™
…www
.fish
er-p
rice
.co
m
Bottom View
9V (6LR61)
SHOWN ACTUAL SIZE
Shown Actual Size
1.5V x 3
“AA” (LR6)
™
Bottom View
• Locate the battery compartment on the underside of the remote.
• Loosen the screw in the battery compartment cover using a
Phillips screwdriver and lift to remove.
• Insert one 9V (6LR61)
alkaline
battery as indicated inside the bat-
tery compartment.
• Replace the battery compartment cover and tighten the screw
using a Phillips screwdriver. Do not over-tighten.
Hint:
For longer life, use only
alkaline
batteries.


