
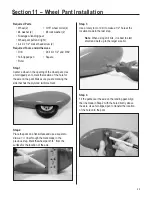
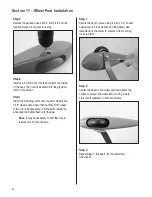
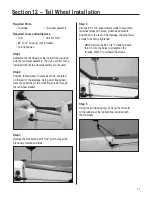
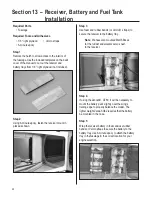

34
Step 5
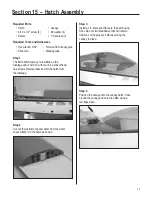
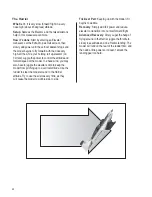
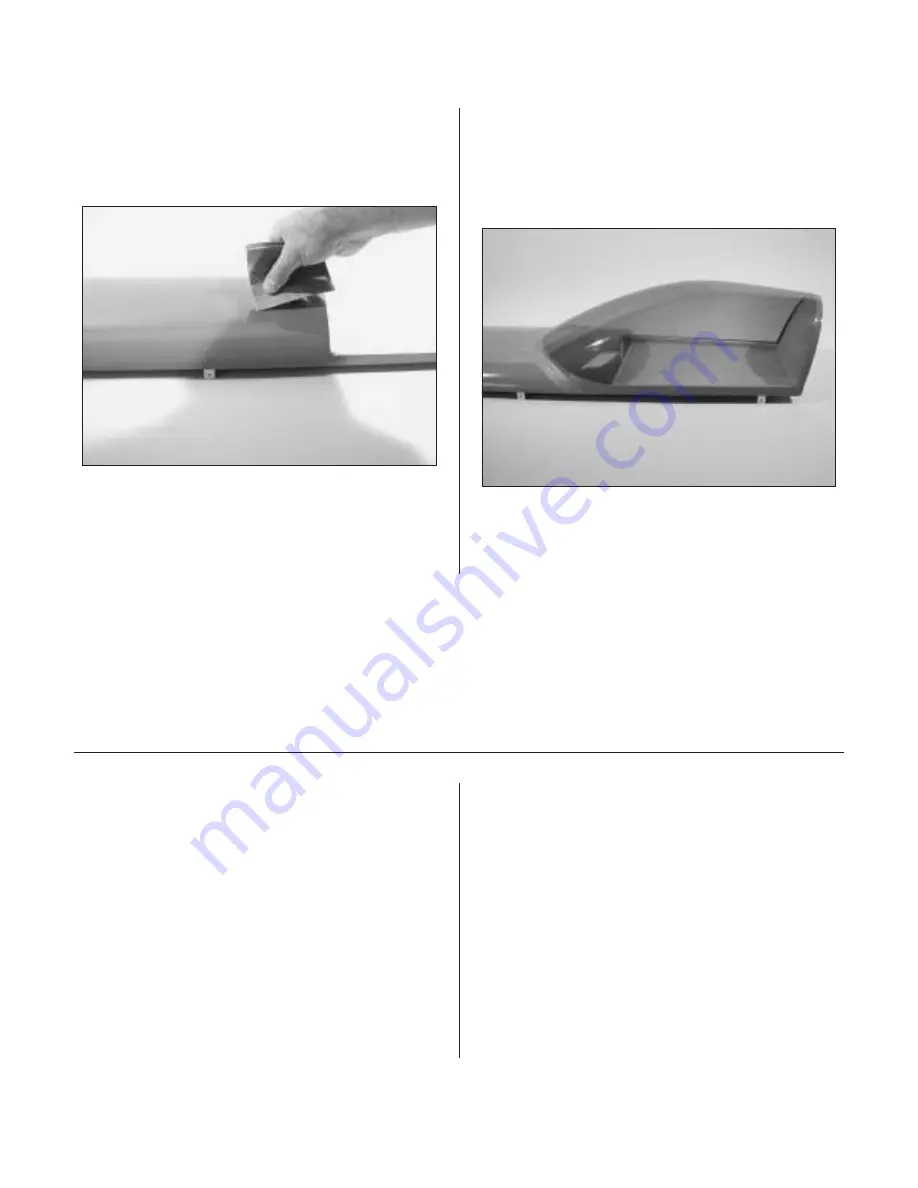
Lightly sand the inside edge of the canopy and
slightly inside the line drawn on the hatch using
medium sandpaper.
Step 6
Apply a bead of RCZ56 Canopy Glue (ZINJ5007)
around the inside edge of the canopy. Position the
canopy onto the hatch. Use tape to hold the canopy
secure until the glue fully cures.
Step 7
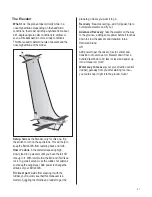
Apply the decals using the photos on the box
as a guide.
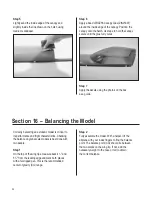
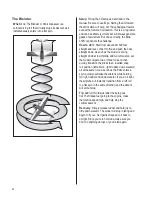
Section 16 – Balancing the Model
Correctly balancing an aerobatic model is critical to
its performance and flight characteristics. Checking
the balance on giant-scale models is best done with
two people.
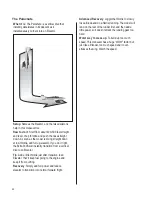
Step 1
On the top of the wing tips, measure back 4
1
/
2
" and
5
3
/
4
" from the leading edge and mark both places
with a felt-tipped pen. This is the recommended
center of gravity (CG) range.
Step 2
Fully assemble the model. With a helper, lift the
airplane with your index fingers to find the balance
point. The balance point (CG) should lie between
the two marks on the wing tip. If not, add the
necessary weight to the nose or tail to obtain
the correct balance.


