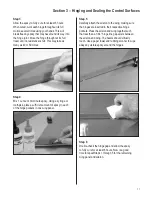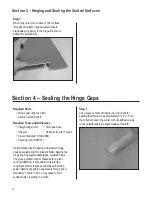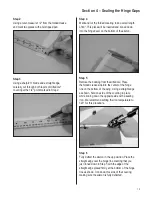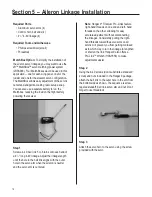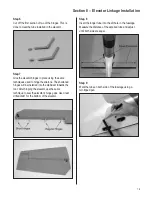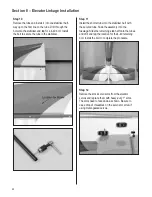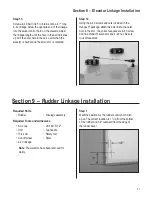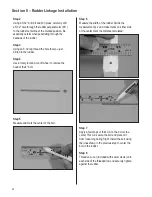
Section 7 – Rudder and Elevator Servo Installation
17
Required Parts
• Fuselage
Required Tools and Adhesives
• Drill
• Drill bit: 1/16"
• 24" Servo Extensions (JRPA102) (4)
or
• 18" Servo Extensions (JRPA099) (4)
• Y-Harness (JRPA133) (2)
• Dental floss or string
The rudder and elevators require a minimum of 80
ounce inch of servo torque. In the prototype
Extras we used JR8101s and JR8411 servos with
excellent results. Using servos with less torque
could cause a crash.
Computer Radio
Step 1
If using a 7-channel or greater computer radio with
mixing (highly recommended) or JR™ MatchBoxes,
install four 24" servo extensions, one on each servo.
Either tie the servo leads together, using a
commercially available connector, or use unwaxed
dental floss to secure the extensions to prevent them
from coming loose during flight. Also install the
servo hardware (grommets and eyelets) at this time.
Non-Computer Radio
Step 1
If using a non-computer radio, install four 18" servo
extensions, one on each servo. Either tie the servo
leads together, using a commercially available
connector, or use unwaxed dental floss to secure the
extensions to prevent them from coming loose
during flight. Install one side only of the two Y-
harnesses to two of the servos, also tying knots to
prevent disconnection. The other two servos will be
hooked up to the Y-harness when installed in the
airplane. One elevator servo will need to be a
reversed-direction servo.
Step 2
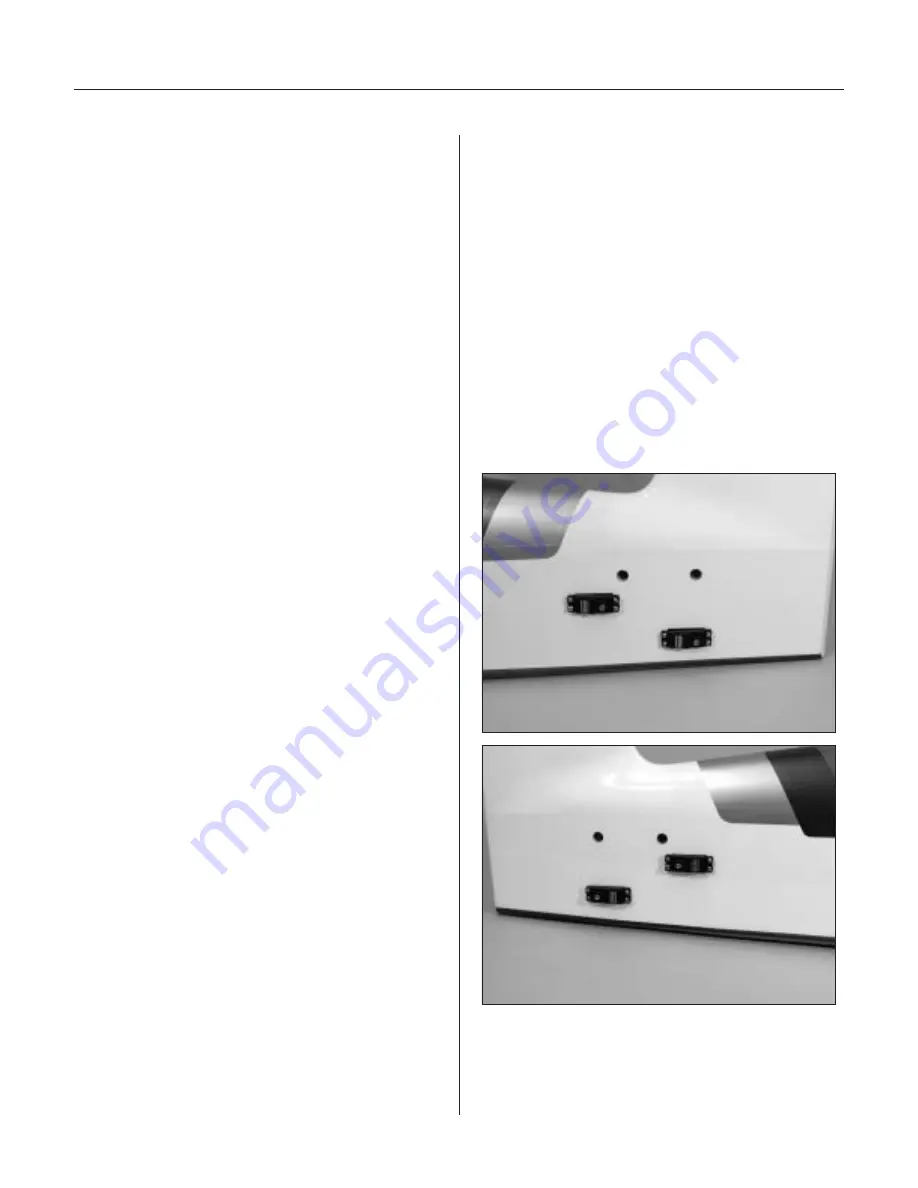
Install the servos in the fuselage tail section with the
output shaft to the rear as shown in the photo. If
using a non-computer radio, be sure to install one of
the servos with the Y-harness attached in the top
opening (elevator) and the other servo with the Y-
harness attached in the bottom opening (rudder).
Install the other servos in the opposite side of the
fuselage, being sure to connect the servo to the other
open connector of the respective Y-harnesses.
Step 3
Using the screws included with the servos, fasten the
servos in place. You may find it helpful to drill a
1/16" pilot hole before installing the screws.

