

Section 3 – Hinging and Sealing the Control Surfaces
11
Step 3
Allow the epoxy to fully cure for at least 6 hours.
When cured, work each hinge throughout its full
motion several times using your hands. This will
break free any epoxy that may have found its way into
the hinge joint. Move the hinge throughout its full
travel until no resistance is felt. This may take as
many as 40 or 50 times.
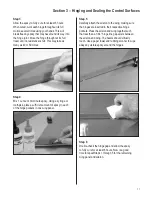
Step 4
Mix 1 ounce of 30-minute epoxy. Using a syringe or
toothpick, place a sufficient amount of epoxy in each
of the hinge pockets in one wing panel.
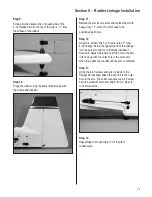
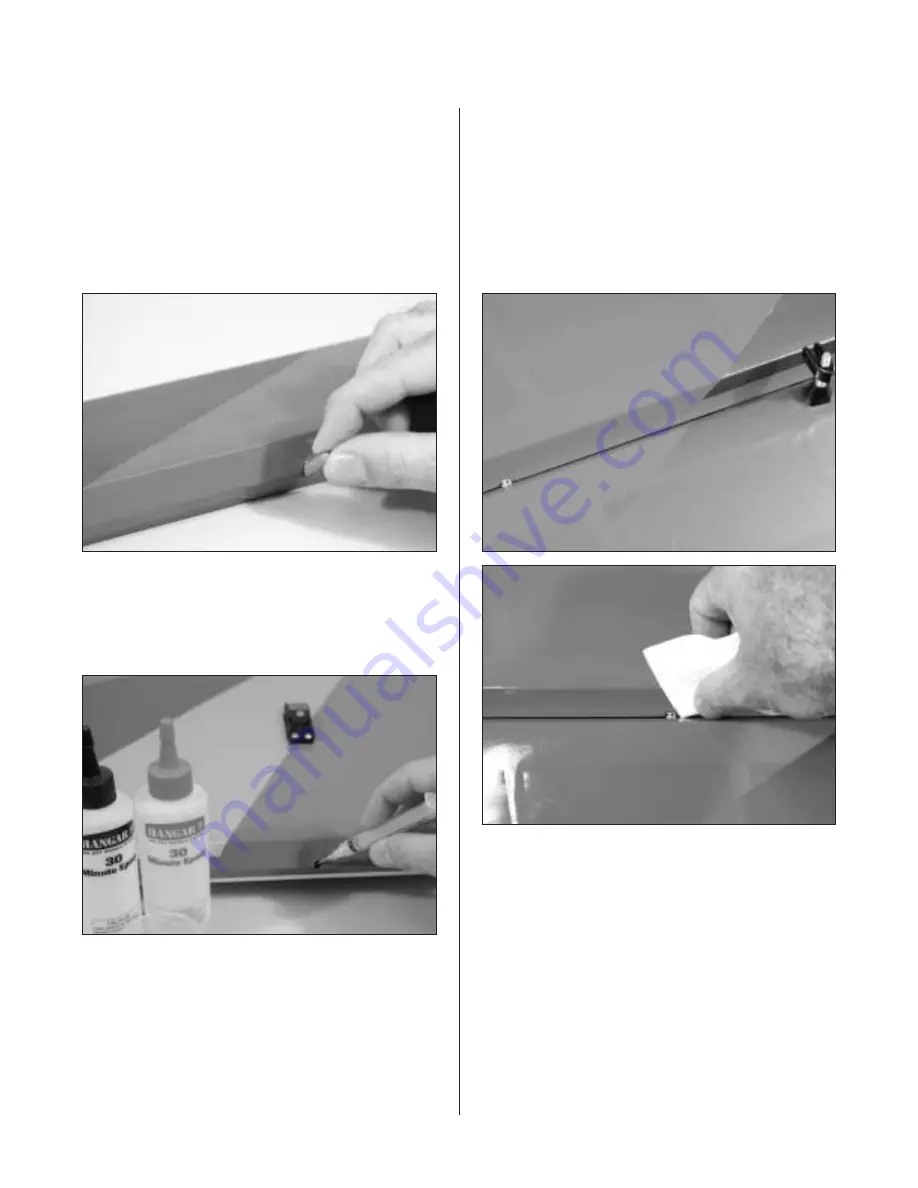
Step 5
Carefully attach the aileron to the wing, making sure
the hinges are inserted in their respective hinge
pockets. Press the aileron and wing together such
that less than a 1/64" hinge line gap exists between
the aileron and wing. The bevels should virtually
touch. Use a paper towel and rubbing alcohol to wipe
away any visible epoxy around the hinges.
Step 6
Double-check the hinge gap and allow the epoxy
to fully cure for at least 6 hours. Now is a good
time to repeat Steps 1 through 5 for the remaining
wing panel and aileron.


