


14
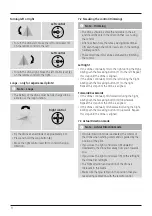
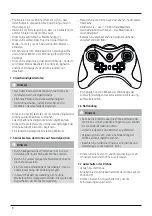
8.3 Speed levels
Note
•
When you switch on the product, the car is in low
speed mode.
•
Experienced pilots can increase the car’s speed by
selecting the top speed mode.
•
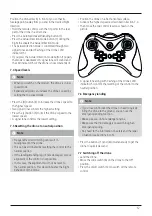
Press the [H] button (3) to increase the car’s speed to the
highest speed.
•
Two signal tones confirm the highest setting.
•
Press the [L] button (5) to limit the car’s speed to the
lowest speed.
•
A signal tone confirms the lowest setting.
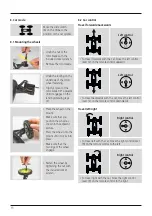
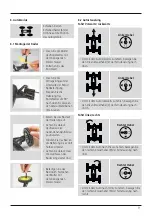
8.4 Dismounting the wheels
•
Undo the nut on the outside of the wheel using the
included socket wrench.
•
Press the lugs inwards to release the wheel.
•
Remove the wheel and flip the drive motors back into
the flight position.
•
Now mount the rotor blades (see Section 10).
9. Camera
Note
•
When using the camera, observe the legal regulations
and limitations specified in Sections 4 and 5, as well
as the allowed operating environment for drones!
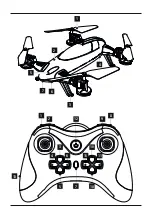
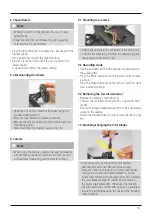
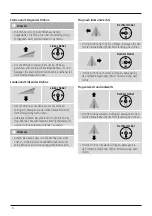
9.1 Mounting the camera
•
Attach the camera to the underside of the drone. (A)
•
Connect the camera by inserting the camera plug into
the camera connection (7). (C)
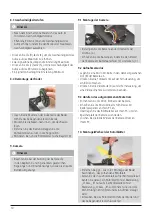
9.2 Recording mode
•
Insert a microSD card into the camera slot provided for
the purpose (B).
•
Press the Photo button (6) on the remote control to take
a picture.
•
Press the Video button (4) on the remote control to start/
stop a video recording.
9.3 Retrieving the recorded material
•
Remove the camera’s microSD card.
•
Connect the microSD card to your PC using the SD card
reader.
•
Transfer the image material to your PC to free up storage
space on the camera.
•
Delete the pictures/videos on the camera directly on your
PC.
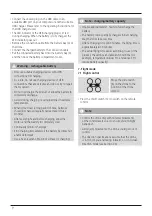
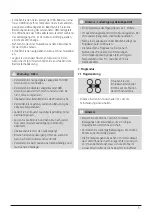
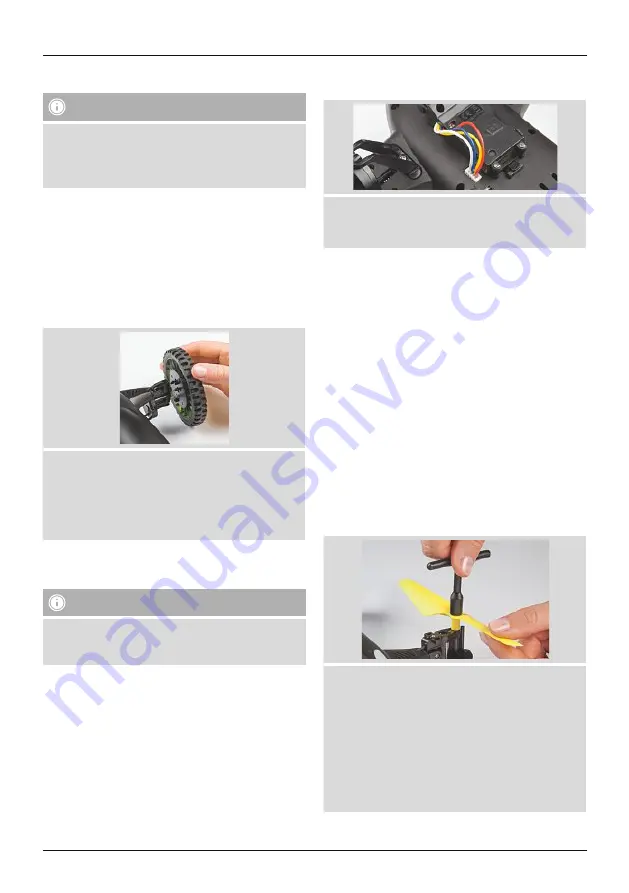
10. Mounting/changing the rotor blades
•
If necessary, remove the existing rotor blade as
described in Section 8.1 Mounting the wheels.
•
Place the new rotor blade on the motor shaft. Make
sure you mount the rotor blade marked ‘A’ on the
motor shaft marked with the same letter (‘A’); similarly,
the rotor blade marked ‘B’ should be mounted on
the motor shaft marked ‘B’. Otherwise, the rotation
direction will not be correct and no drive is generated.
•
Secure the rotor blade using the nut and the included
socket wrench.
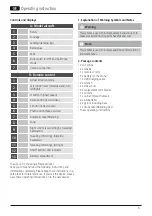
Содержание Racemachine 00126853
Страница 2: ......
Страница 3: ...1 8 1 3 10 11 11 2 2 12 9 3 7 5 10 7 6 4 5 13 6 4...


