background image

6

4. Information and notes before getting started

Note – Optimal reception

For best reception, ensure that the antenna is fully

extended.

Try various different positions if necessary to get the

best reception.

5. Getting started

Connect the network cable to a properly installed and

easily accessible network socket.

The power supply unit is suitable for mains voltages

between 100 and 240 V, and is thus operable on almost

any AC power grid. Please note that a country-specific

adapter may be necessary.

You can find an appropriate selection of Hama products at

www.hama.com

.

Note

Only connect the product to a socket that has been

approved for the device.

The electrical socket must always be easily accessible.

When using a mult-socket power strip, make sure

that the sum power draw of all the connected devices

does not exceed its maximum throughput rating.

If you will not be using the product for a ling period

of time, disconnect it from mains power.

Once the product has been connected to mains power,

initialisation takes place. The radio starts up.

5.1 General notes on use

Notes on use

When a selection among menu items is to be made

(such as

Y

or

N

), the one currently selected flashes.

In menus offering a variety of different options (such

as DRC, language and so on), the currently selected

option is marked with

*

.

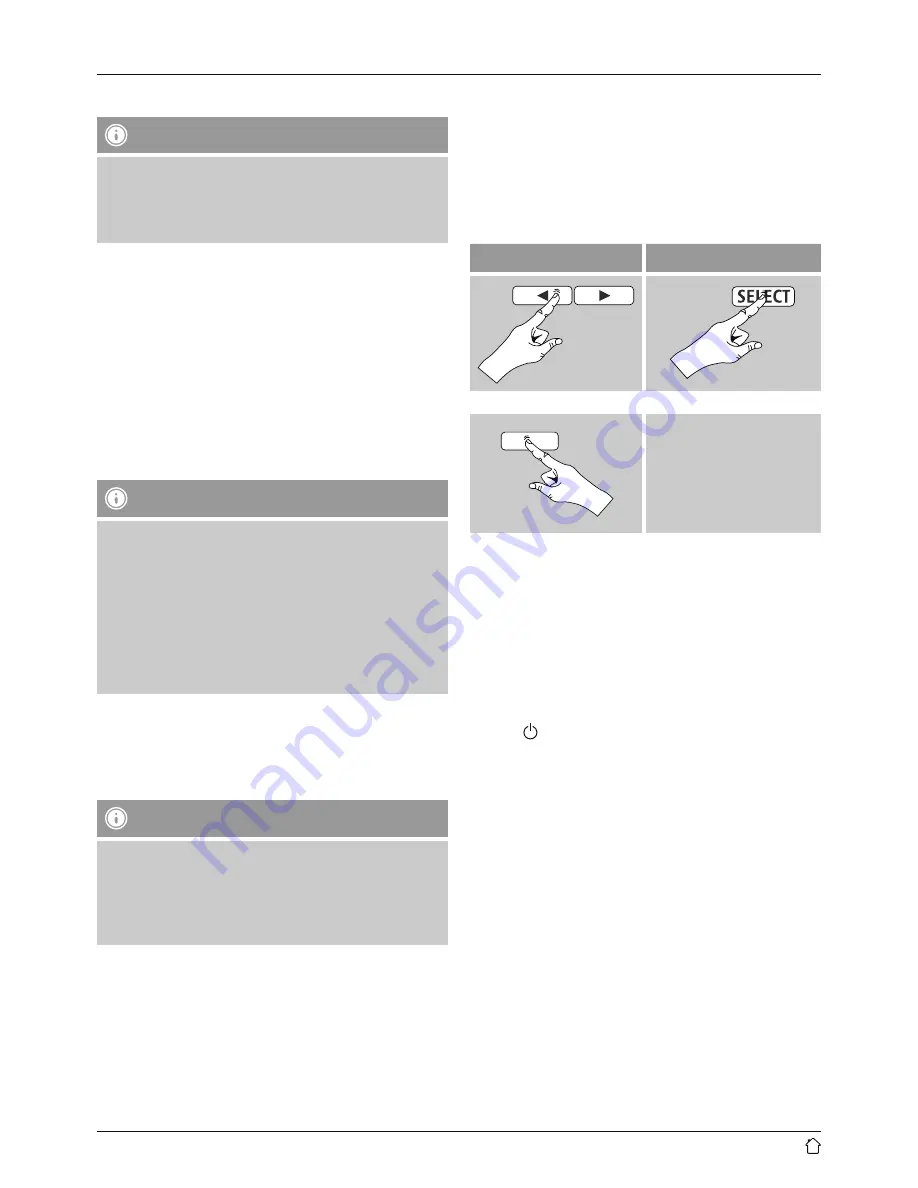
Navigation and controls

Select among menu items by pressing the

navigations

keys

[

]/[

].

Confirm the selection by pressing [

SELECT

].

This procedure is indicated in these operating instructions

by the following symbols:

selection (navigate)

comfirmation (enter)

Some features can be

accessed by means

of shortcut buttons.

Pressing shortcut buttons

is indicated here by this

symbol.

After pressing a shortcut button, navigate amongst the

menu items using the

navigations keys

[

]/[

] and

[

SELECT

].

Volume adjustment

You can turn the volume up/ down by pressing

[

VOL +

]/[

VOL -

].

Switching on/ off

Press [

], uto switch the radio on or off (Standby).

To completely switch off the device, disconnect it from

the power supply.

5.2 Initial setup

The station search in the operating mode DAB starts up

automatically when the radio is turned on for the first time.

By default, the radio starts with the English menu

navigation. Set up your desired language as described in

5.3. Language

.

Содержание DR30

Страница 1: ...GB Operation manual 09 45 Digital Clock Radio 00054822 DR30...

Страница 2: ...keit DAB DAB 97 99 dBm FM 105 109 dBm Power Consumption Stromaufnahme Operation Betrieb max 3 W Standby Bereitschaft 1 W Input Output Anschl sse DC Socket 3 5 mm Earphone Jack Presets Favoriten DAB DA...

Страница 3: ...09 45 A B C 1 2 11 12 13 8 14 9 10 3 5 4 6 7 VOL VOL...

Страница 4: ...m 5 Navigation key right 6 VOL Decrease volume 7 VOL Increase volume 8 On off switch 9 Timer settings activating Snooze 10 MODE MENU Press Changing operating mode DAB FM Press hold Direct access to th...

Страница 5: ...l 10 7 FM 11 7 1 Scan setting 11 7 2 Automatic station search 11 7 3 Manual station search 11 7 4 Favourites 11 7 4 1 Save favourites 12 7 4 2 Access favourites 12 7 5 Audio setting 13 8 Display Addit...

Страница 6: ...rvice name Station list Full scan Manual tune DRC DRC off DRC high DRC low Prune Time Set Time Date Auto update Update from Any Update from DAB Update from FM No update Set 12 24 hour Set 24 hour Set...

Страница 7: ...ions Strong station Audio setting Forced mono Stereo allowed Time Set Time Date Auto update Update from Any Update from DAB Update from FM No update Set 12 24 hour Set 24 hour Set 12 hour Set date for...

Страница 8: ...Quick guide 3 Safety notes The product is intended for private non commercial use only Protect the product from dirt moisture and overheating and use it in dry rooms only As with all electrical devic...

Страница 9: ...place The radio starts up 5 1 General notes on use Notes on use When a selection among menu items is to be made such as Y or N the one currently selected flashes In menus offering a variety of differ...

Страница 10: ...erating mode DAB MODE MENU The display shows DAB top left in operating mode DAB 6 1 Search Automatic search The automatic DAB channel search scans the DAB band III for available stations After the sta...

Страница 11: ...ange between 5A and13F 2 3 sec MODE MENU Manual tune The bar indicates the current signal strength The marking along the bar indicates the value required for interference free reception If this value...

Страница 12: ...m the station list 6 5 Favourites You can save up to 30 of your favourite stations for quick and direct access 6 5 1 Save favourites Set the station that you would like to save as a favourite station...

Страница 13: ...tations in the DAB network support an audio level control that is activated at varying volumes during playback If the audio level suddenly rises during playback DRC automaticall yreduces the volume Th...

Страница 14: ...matic station search Press and hold one of the navigation keys until the automatic station search starts The radio stops the search and starts playback when it finds a station Press again one of the n...

Страница 15: ...Press SELECT to save the station on the desired station preset 7 4 2 Access favourites Proceed as follows to open the overview with the list of saved stations 2 3 sec MODE MENU Preset Recall Use the n...

Страница 16: ...t selection of radio station 2 3 sec MODE MENU Display Scrolling text DLS Dynamic Label Segment Indicates the radio station the current program contents subjects etc Signal strength The bar indicates...

Страница 17: ...irm by pressing SELECT and make the following settings by means of the navigation keys Navigationstasten and SELECT Time First choose the hour then the minute at which the alarm is to activate Duratio...

Страница 18: ...hast a sleep function after a defined time the radio switches to standby mode Repeatedly press to set the desired time interval Sleep off 15 30 45 60 90 minutes 11 Additional settings 11 1 Time date...

Страница 19: ...settings Automatic settings Sensor With the sensor enabled the backlight is automatically adjusted to the environment and its brightness In complete darkness for example at night in the bedroom the b...

Страница 20: ...bout this product Hotline 49 9091 502 115 German English Further support information can be found here www hama com 15 Recycling Information Note on environmental protection After the implementation o...

Страница 21: ...rademarks of the corresponding companies Errors and omissions excepted and subject to technical changes Our general terms of delivery and payment are applied 00054822 05 16 Hama GmbH Co KG 86652 Monhe...

Отзывы: