3-41
SECTION 3 –
CAB
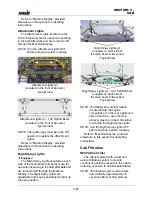
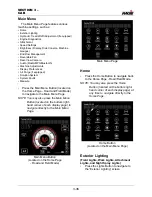
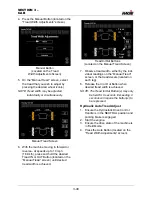
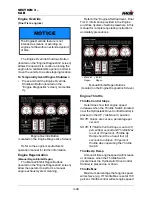
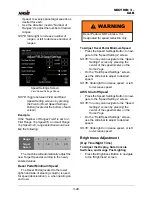
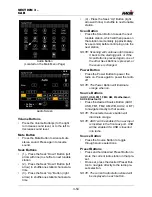
5. On the “Auto” screen, press the cell next
to desired front or rear tread width set-
ting.
6. Press the corresponding “+” or “-” button
until desired value (distance of extended
cylinder) is achieved. Press center of cell
when finished.
NOTE: Tread width values are based off of
travel distance.
NOTE: Front and rear axles may be set
separately if desired.
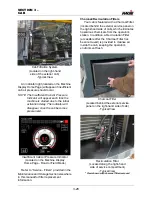
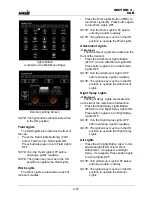
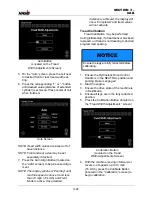
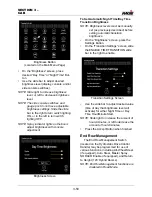
7. Press the Auto Align Button (located on
the “Auto” screen) to begin sensor align-
ment.
NOTE: The display will show “Pending” until
machine speed is above 0 and less
than 10 mph (16 km/h) and Field
Mode is active. Once desired
distance is achieved, the display will
show “Completed” and tread valves
will not activate.
Tread Calibration
Tread Calibration may be performed
during initial setup, if a tread sensor has been
replaced, or if tread is not traveling to desired
programmed spacing.
1. Ensure the Hydrostatic Drive Control
Handle is in the NEUTRAL position and
parking brake is engaged.
2. Start the engine.
3. Ensure the drive state of the machine is
in Field Mode.
4. Ensure all legs are in the fully retracted
position.
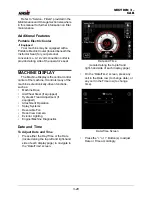
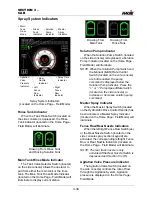
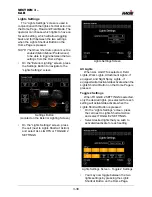
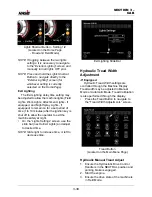
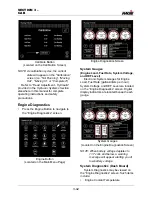
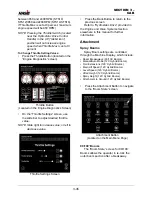
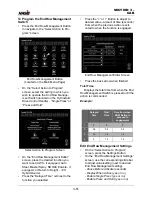
5. Press the Calibration Button (located on
the “Tread Width Adjustments” screen).
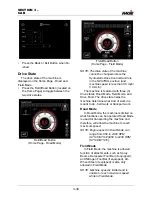
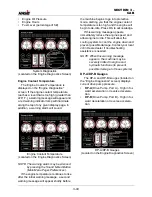
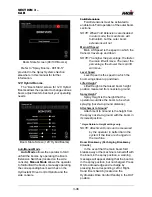
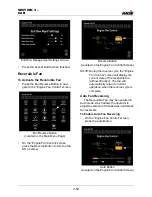
6. With the machine moving in forward or
reverse - at speeds up to 10 mph
(16 km/h), press the Calibrate Button
(located on the “Calibration” screen) to
begin calibration.
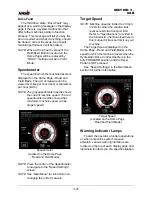
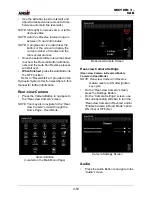
Auto Button
(Located on the Tread
Width Adjustments Screen)
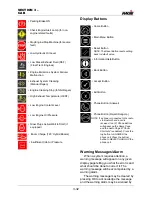
Auto Screen
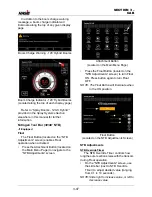
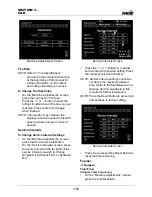
NOTICE
Ensure the legs are fully retracted before
calibrating.
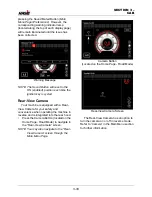
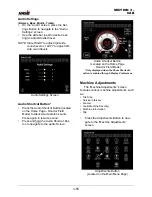
Calibration Button
(Located on the Tread
Width Adjustments Screen)
Содержание STS/DPS Series
Страница 2: ...5 DASH AUTO...
Страница 5: ...Troubleshooting 10 38...
Страница 52: ...SECTION 2 SAFETY AND PRECAUTIONS 2 15 650210 Located on each NORAC sensor...
Страница 380: ...NOTES 5 DASH AUTO...
Страница 381: ...NOTES 5 DASH AUTO...
Страница 382: ...NOTES 5 DASH AUTO...

