11
12
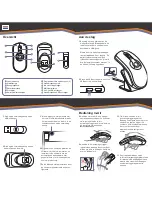
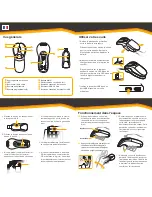
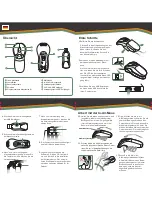
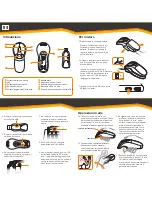
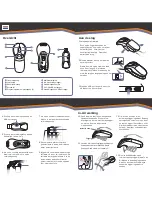
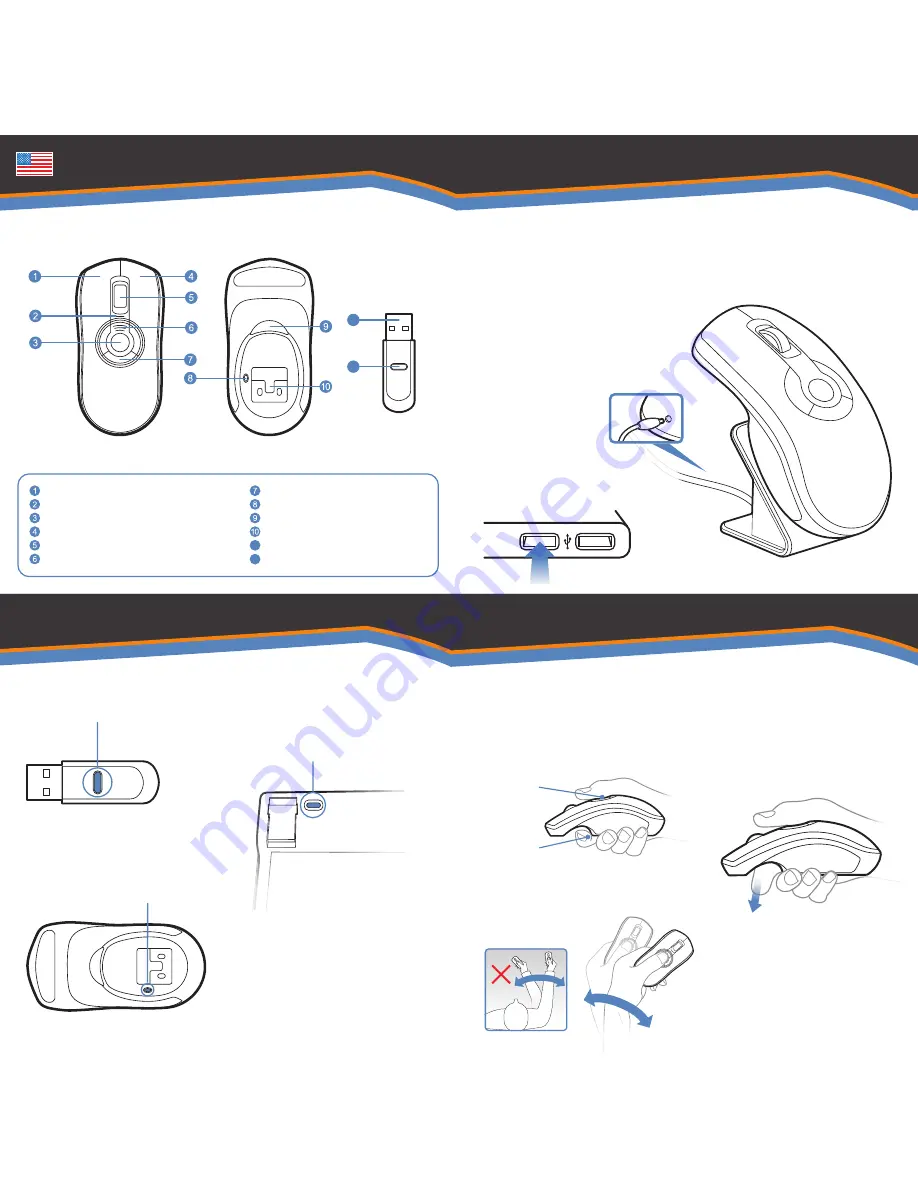
Programmable Mouse Buttons (3)
Mouse Connect Button
In-Air Activation Trigger
NiMH battery pack
2.4 GHz USB Receiver
USB Receiver Connect Button
Left Mouse Button
Status LED
Gesture Button
Right Mouse Button
Scroll Wheel
Battery Indication LED's
Getting Started
In-Air Operation
1
Plug one end of the included USB
charging cable into the desktop
charger and the other end into an
available USB port.
Place the mouse on cradle charger
and charge for 8 hours. The Battery
Indicator LED's will progressively
flash while charging. When all three
LED's are solid the battery is fully
charged.
2
Insert the USB receiver into an
available USB port on your computer
8
Hold the mouse using a comfortable
handshake position. Use your index
finger to access the in-air activation
trigger and your thumb to access the
top mouse buttons.
10
Tip: Click and hold the in-air
activation trigger then move the
cursor over a target and release
the trigger before clicking. This
parks the cursor over the target
and allows you to click more
accurately.
11
Double-clicking the in-air activation
trigger puts the Air Mouse in motion
mode where you can move the
cursor without holding the trigger.
9
Press and hold the in-air activation
trigger and move the cursor by flexing
only your wrist while keeping your arm
and body stationary.
Overview
4
Press the connect button on the
bottom of the mouse
3
Press the connect button on the USB
receiver.
5
If your product includes the low
profile keyboard, turn the keyboard
over and press the connect button on
the upper left hand corner
7
The computer will automatically detect
and configure the Air Mouse.
6
If you are using Windows, insert the
software CD into the CD drive and
install. The automatic web updater
will also check for the latest updates
for your product.
Top Buttons
Trigger
11
12


