User Manual
27
Button C: Cancel
Press button C to cancel a dialog box or menu and return to the live/zoomed thermal image
When there is no menu or dialog box in live/zoomed thermal image, keep it depressed and
then press button S to perform a non-uniformity calibration.
Button A: Temperature range, filter & palette control
When there is no menu displayed in live/zoomed thermal image, keep button A depressed for
2 seconds and then release it to switch between its three modes Auto1, Auto2 and Manual,
with the corresponding prompt “Auto1” or “Auto2” or “Manual” shown in the status bar at the
left bottom of the image. Brightness and contrast of the image are controlled automatically in
the two auto modes and can be adjusted manually in manual mode.
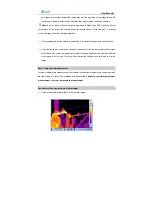
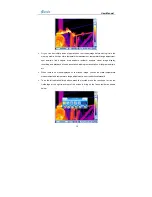
When there is no menu displayed in live/zoomed thermal image, press button A for an instant
to select the temperature setup menu at the right side of the image. Move the joystick up or
down to toggle between its options Tmax, palette, Tmin and filter range, move it left or right to
change their respective values.
Button F1: Sleep mode
Pressing button F1 in the normal working mode can switch to sleep mode, in which all the
video outputs are turned off and the red indicator light at the back of the camera flickers.
Pressing it in sleep mode can switch into the normal working mode, in which the red indicator
light at the back of the camera shine steady.
Button F2: Thermal & visual image switch
Pressing button F2 in live, zoomed, frozen or saved thermal images can switch to visual
image. Vice versa.


