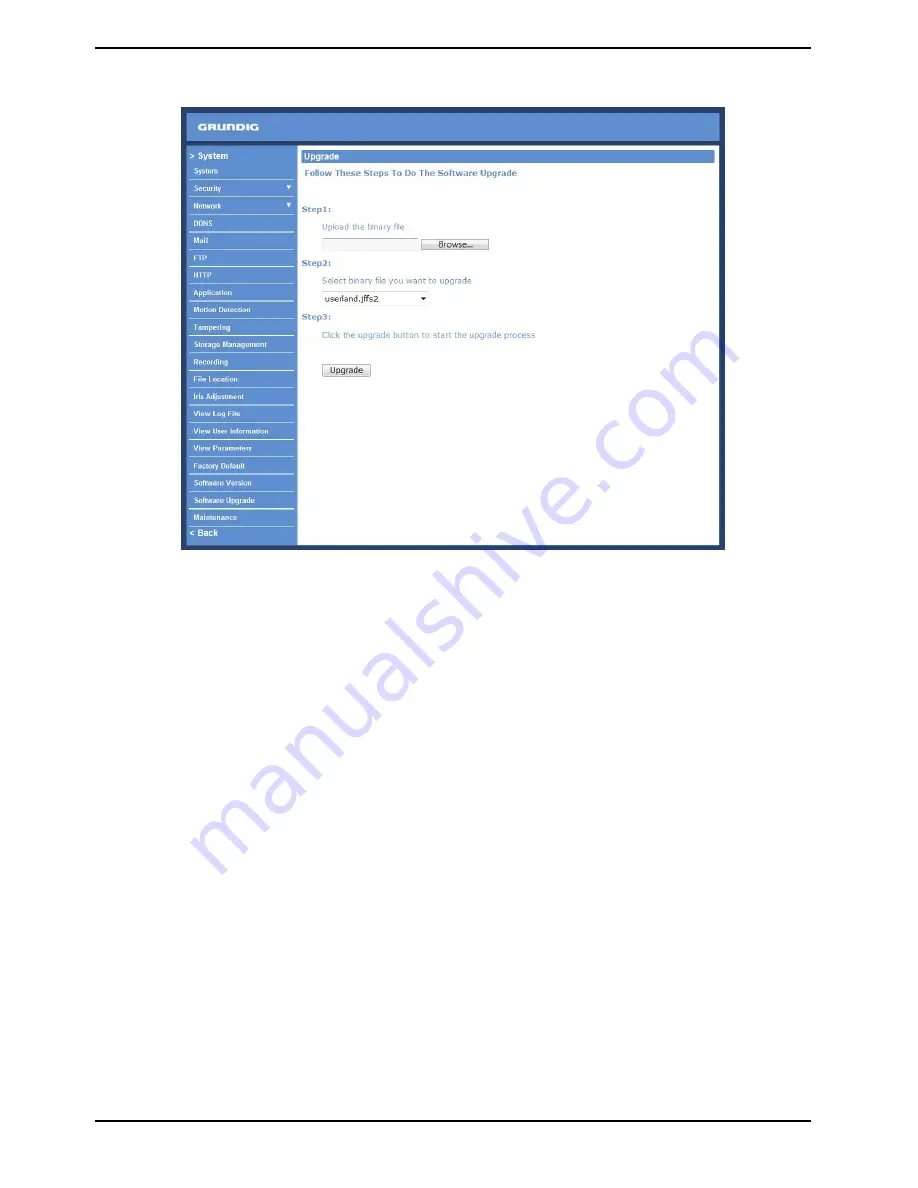
9.20. Software Upgrade
Software upgrade can be carried out on the “Software Upgrade” page, as shown below.
NOTE: Make sure the upgrade software file is available before carrying out the software upgrade.
The procedure of a software upgrade is as follows:
Step 1: Click on “Browse” and select the binary file to be uploaded, e.g. userland.jffs2.
NOTE: Do not change the upgrade file name, or the system will fail to find the file.
NOTE: Depending on the camera model the name of the upgrade binary file can be "userland.jffs2",
"userland.jffs2" or "uImage". Based on the given name Step 2 needs to be performed.
Step 2: Pull down the upgrade binary
fi
le list and select the
fi
le you want to upgrade; in this case, select
“userland.jffs2”.
Step 3: Click on “Upgrade”. The system will first check whether the upgrade file exists or not, and then begin to
upload the upgrade file. Subsequently, the upgrade status bar will be displayed on the page. When 100% is
reached, the upgrade process is finished.
After the upgrade process is finished, the Viewer will return to the Home page.
Step 4: Close the video browser.
Step 5: Go to “Start” on your Windows desktop, activate “Control Panel”, and then double-click on ”Add or
Remove Programs“. In the “Currently installed programs” list, select “GRUNDIG Viewer” and click on the button
“Remove” to uninstall the existing GRUNDIG Viewer.
Step 6: Open a new web browser, re-login the IP Camera, and then allow the automatic download of the
GRUNDIG Viewer.
57
English
Содержание GCI-H0503B
Страница 2: ......


