


number of different angles. For these discs, the same scenes can be viewed from
each of the different angles. The recorded angles may differ from disc to disc.
• Press the ANGLE button repeatedly to change the viewing angle. The angle
icon is displayed on
• the screen when ANGLE mode is active.
Note:
• The angle icon will clear automatically after five seconds.
• The maximum number of angles is 9.
SPECIAL VCD/SVCD FEATURES
Playing VCDs with Playback Control Functions
Playback control (PBC) allows you to play Video CDs interactively, following the
menus on your TV screen.
• Press the PBC button on the remote control repeatedly to select PBC ON or
PBC OFF.
• When the PBC function is OFF, press the PLAY/PAUSE button to start
playback.
• When the PBC function is ON, press the PLAY/PAUSE button to display
the PBC menu (if available) on your TV screen.
Note
• If PBC mode is switched ON, TIME SEARCH and REPEAT functions are not
available.
PLAYING KARAOKE DISCS
This unit will play VCD, SVCD and DVD Karaoke discs. These disc formats will
display the lyrics on your television screen in time with the tempo of the music, so
you can easily sing along.
VCD
SVCD
CAUTION
To avoid possible damage to your speakers, adjust the microphone volume to the
minimum level before connecting and turning on your equipment.
Basic playback
After the disc is loaded playback will begin with the first track on the disc. The
song title, followed by the lyrics will be displayed as the music plays. Once you
have selected the desired track, turn the microphone ON, adjust the volume
control to a reasonable level and begin singing into the microphone. Playback
controls are the same as any other media format.
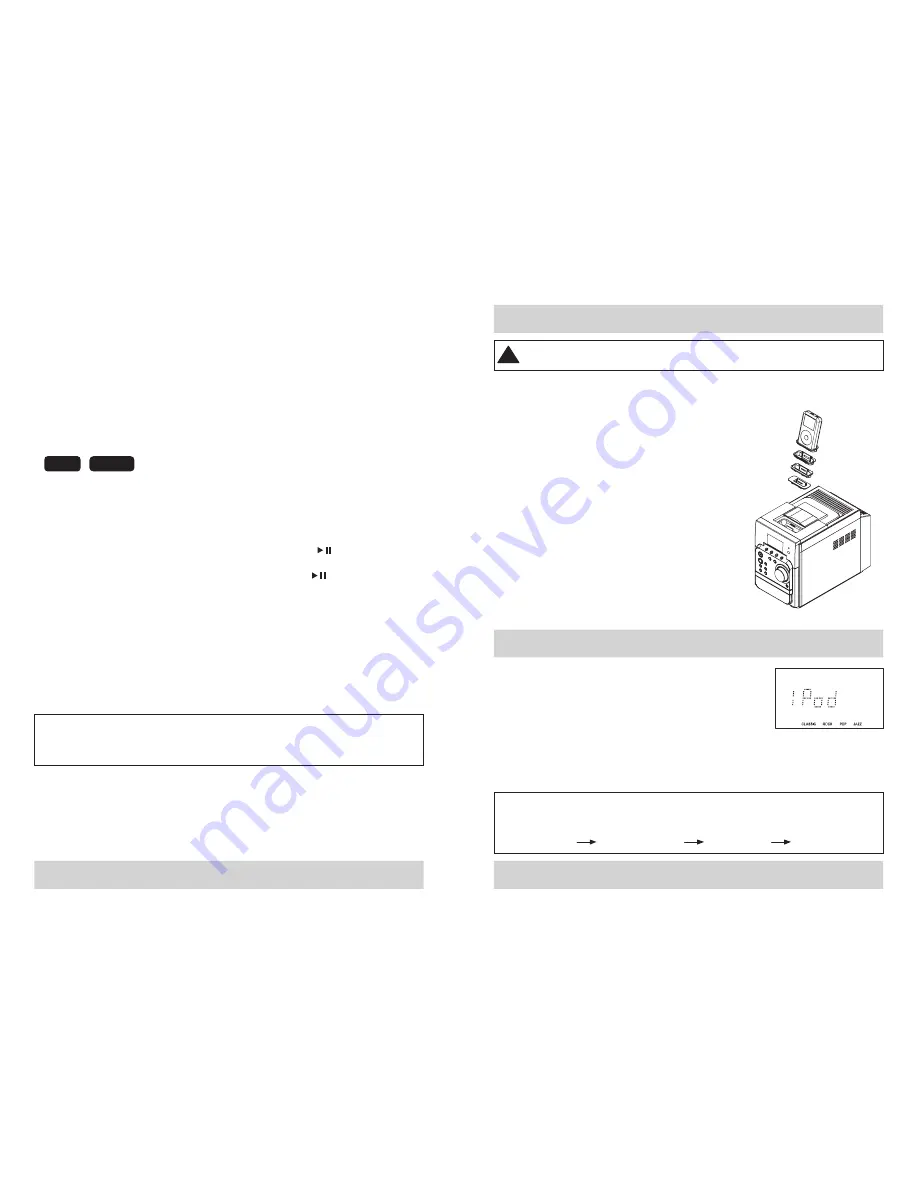
CHOOSING THE CORRECT ADAPTER
When connecting an iPod to this iPod Dock, please ensure that the correct adapter
plate is used. FAILURE TO DO SO MAY RESULT IN DAMAGE TO THE iPod.
!
This unit comes with 6 removable dock adapters to ensure the iPod fits properly
in the dock on the top of the system.
NOTE: The adapter for iPod nano is already
installed in the dock in the top of the system
To place a dock adapter:
1. Refer to the compatibility table below and select
the correct dock adapter for the iPod. Using the
correct adapter ensures the proper fit for your
iPod and helps to reduce the stress on the
connector when operating the iPod.
2. Carefully align and then gently insert the iPod
into the dock. (The iPod must not be in a case or
“
skin
”).
3. To remove/replace an dock adapter, first remove
the iPod, then grip the insert and pull gently
upwards. Please refer to page 30.
LISTENING TO YOUR iPod
1. Insert the iPod as described above.
2. With the unit turned on, press the function button
repeatedly until "iPod " is shown in the display.
3. Press the
PLAY/PAUSE
,
Stop
button
on
the
Micro
System
to commence, control playback and stop.
NOTE:
The volume control on the iPod only adjusts the volume of any
headphones connected. To increase volume when connected, use the volume
controls on the front panel or remote control.
IMPORTANT:
To prevent distortion during iPod playback you should go to the Main Menu
of your iPod, select the Settings Menu page, select the EQ Setting, and make sure that
the EQ function is set to
“
Off
”.
Main Menu
Settings Menu
Eqsetting
Select”Off”
28
29


