-27-
The Model G9959/G9977 is capable of
facing/planing wood or metal. This is accom-
plished most often with indexable end mill or fly
cutter. The same operation can be performed
with an end mill of any size, but indexable end
mills and fly cutters will give faster and better
results.
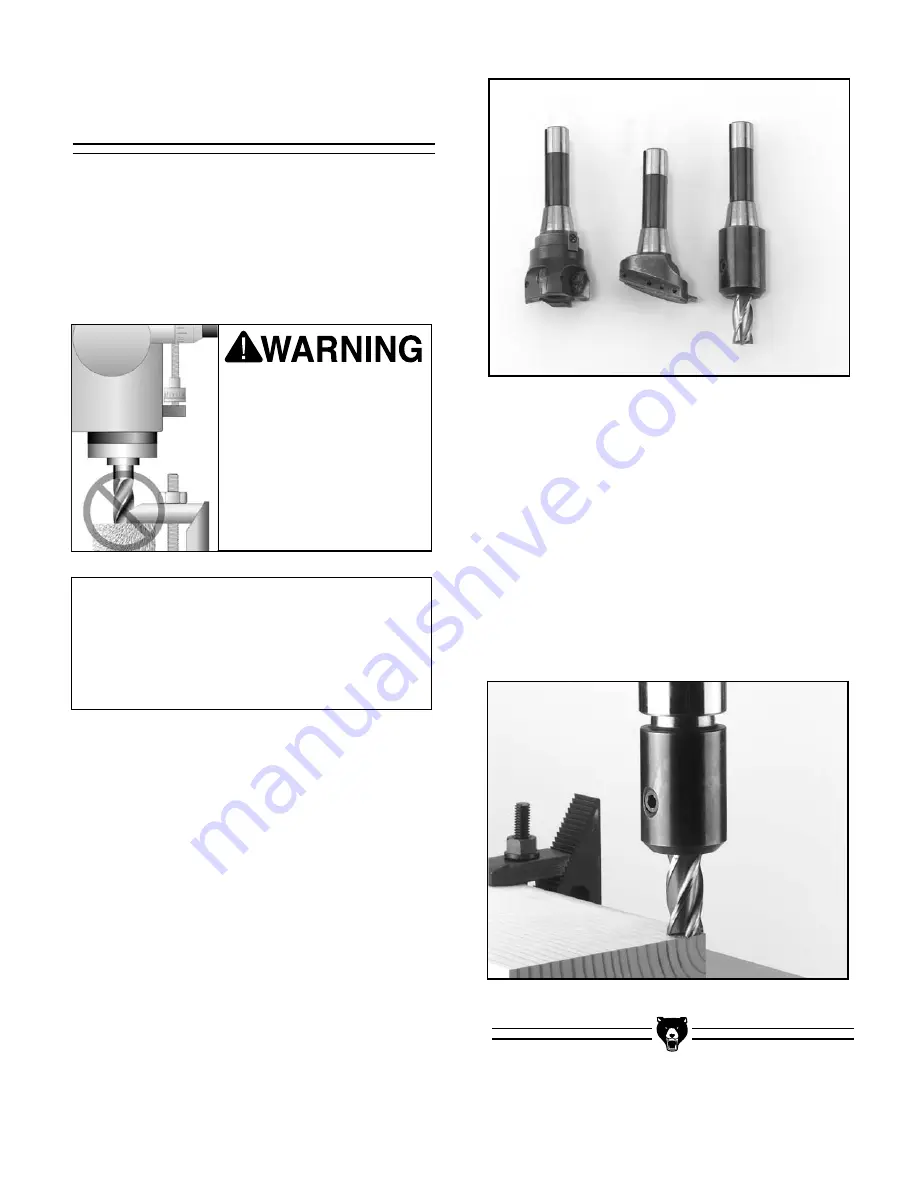
See Figure 22.
Facing/Planing
Check clearance by mov-
ing table along the
intended path with the
machine unplugged.
Obstructions could lead
to a “crash” creating an
unsafe condition and
result in serious person-
al injury.
1.
Secure the workpiece to the Wood Mills
table top or in a vise which is secured to
the table top. Position the table so the
workpiece is directly under the spindle.
When clamping a workpiece, make sure
the cutter, quill and headstock of the mill
can move freely throughout the entire
milling process. With the machine still
unplugged, check clearance by moving
table along the intended path. If not
checked, this could lead to a “crash.” This
unsafe condition can cause damage to the
machine or workpiece and may result in
personal injury.
2.
Install the facing mill, fly cutter or end mill
into the spindle and secure with the draw
bolt
as described in section titled
“Collet or Arbor Installation”.
3.
Lift the knee until the cutter is within an
inch of the workpiece.
4.
Rotate the spindle handle until the cutter is
within
1
⁄
16
".
5.
The machine should be started prior to
making final adjustments. The last
1
⁄
16
"
can be taken out by elevating the knee.
Slowly rotate the handle while watching
the cutter and workpiece.
Figure 22.
Various cutting tools for facing.
Figure 23.
Cutter just touching workpiece.
NOTICE
A quick and accurate way to setup a workpiece
parallel to the table is to lay a straight board into
one of the table slots and push the workpiece
against it before clamping.
G9959/G9977 Wood Mill


