background image

9

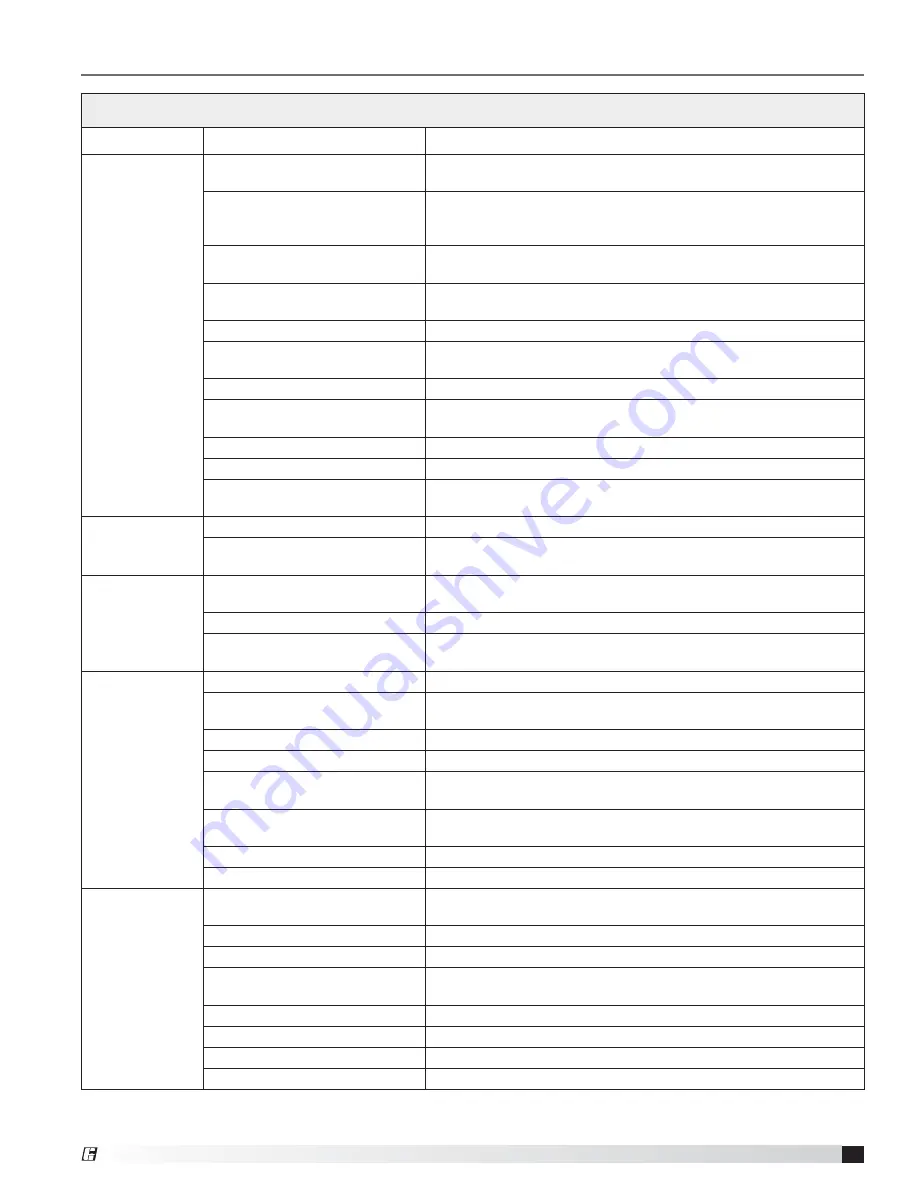
Downblast Centrifugal Roof Exhaust Fans

WARNING: Before taking any corrective action, make certain unit is not capable of operation during repairs.

PROBLEM

CAUSE

CORRECTIVE ACTION

Excessive noise

or vibration

Wheel rubbing inlet

Adjust wheel and/or inlet cone. Tighten wheel hub or bearing 
collars on shaft.

V-belt drive

Tighten pulleys on motor/fan shaft. Adjust belt tension. Align 
pulleys properly, see page 6, Figure 9-10. Replace worn belts or 
pulleys.

Bearings

Replace defective bearing(s). Lubricate bearings. Tighten collars 
and fasteners.

Wheel unbalance

Clean all dirt off wheel. Check wheel balance, rebalance in place if 
necessary.

Belts too tight or too loose

Adjust tension, see page 7, Figure 12a-b.

Wheel improperly aligned and 
rubbing

Center wheel on inlet, see page 6, Figure 7.

Loose drive or motor pulleys

Align and tighten. See “Pre-Starting Checks”, see page 6.

Foreign objects in wheel or 
housing

Remove objects, check for damage or unbalance.

Fan base not securely anchored

Secure properly.

Motor hood loose and rattling

Tighten screws securing motor hood.

Defective or loose motor 
bearings

Replace motor with same frame size, RPM-HP.

High horsepower

Fan

Check rotation of wheel, see page 6, Figure 8. Reduce fan speed.

Duct system

Resize ductwork. Check proper operation of face and bypass 
dampers. Check filters and access doors.

Fan does

not operate

Electrical supply

Check fuses/circuit breakers. Check for switches off. Check for 
correct supply voltage.

Drive

Check for broken belts. Tighten loose pulleys.

Motor

Assure motor is correct horsepower and not tripping overload 
protector.

Motor overloads

or overheats

Lubrication

Check for excessive or insufficient grease in the bearing.

Mechanical

Replace damaged bearing. Relieve excessive belt tension. Align 
bearings. Check for bent shaft.

Belt slippage

Adjust tension or replace bad belts, see page 6-7.

Over/Under line voltage

Contact power company.

Incorrect wheel rotation

Check motor wiring (page 4) verify motor is wired for correct 
rotation.

Wheel RPM too high

Check drives or slow down fan by opening variable pitch pulley on 
motor shaft.

Undersized motor

Check motor ratings with catalog speed and air capacity chart.

Motor wired incorrectly

Check motor wiring to wiring diagram located on fan motor.

Reduced airflow

System resistance too high

Check system: Proper operation of backdraft or control dampers, 
obstruction in ductwork, clean dirty filters.

Unit running backwards

Correct as shown on page 6, Figure 8.

Excessive dirt buildup on wheels

Clean wheel.

Improper wheel alignment

Center wheel on inlets, see Pre-Starting checks on page 6,  
Figure 7.

Dampers closed

Inspect and repair.

Blocked duct/clogged filter

Clean or replace.

Belt slippage 

Replace and adjust tension.

Speed too slow

Check for correct drives.

Troubleshooting

®

Содержание G 060

Страница 1: ... the National Electrical Code NEC and the National Fire Protection Agency NFPA where applicable Follow the Canadian Electrical Code CEC in Canada 2 The rotation of the wheel is critical It must be free to rotate without striking or rubbing any stationary objects 3 Motor must be securely and adequately grounded 4 Do not spin fan wheel faster than max cataloged fan RPM Adjustments to fan speed signi...

Страница 2: ...the bill of lading Handling G Direct Drive Lift unit on to the roof utilizing hooks under the lip of the shroud Evenly space the hooks around the shroud using a minimum of four lifting straps Use a spreader bar to ensure the straps do not come in contact with the unit see Figure 1 Figure 2 4 Drive Frame Lifting Points 2 Bearing Plate Lifting Points Hook With Safety Latch Supplied by others Figure ...

Страница 3: ...from leaking into the fan The fan should be elevated on an adequate number of wooden blocks so that it is above water and snow levels and has enough blocking to prevent it from settling into soft ground Locate parts far enough apart to permit air circulation sunlight and space for periodic inspection To minimize water accumulation place all fan parts on blocking supports so that rain water will ru...

Страница 4: ... 5 Secure fan to curb using a minimum of eight lag screws metal screws or the suitable fasteners Shims may be required depending upon curb installation and roofing material Note Severe duty applications may require additional fasteners 6 Verify power line wiring is de energized before connecting fan motor to power source 7 Connect power supply wiring to the motor as indicated on the motor nameplate...

Страница 5: ...200 200HP 30 762 18 457 20 521 138 63 GB 220 220HP 240 240HP 34 864 24 610 26 673 158 72 GB 260 40 1016 30 762 32 826 305 138 GB 300 300HP 40 1016 30 762 32 826 320 145 GB 330 46 1168 36 914 38 978 385 175 GB 360 360HP 46 1168 36 914 38 978 403 183 GB 420 52 1321 42 1067 44 1130 495 225 GB 480 52 1321 48 1219 50 1283 623 283 GB 500 64 1626 54 1372 56 1435 687 312 GB 540 64 1626 54 1372 56 1435 748...

Страница 6: ...10 GB 180 240 3 8 10 GB 260 540 1 2 13 Pre Starting Checks 1 Check all fasteners and set screws for tightness The wheel should rotate freely and be aligned as shown in Figure 7 below 2 Wheel position is preset and the unit is test run at the factory Movement may occur during shipment and realignment may be necessary 3 Only G unit Centering height alignment can be accomplished by loosening the set ...

Страница 7: ...Inspection Inspection of the fan should be conducted at the first 30 minute and 24 hour intervals of satisfactory operation 30 Minute Interval Inspect bolts setscrews and motor mounting bolts Adjust and tighten as necessary 24 Hour Interval Check all internal components On GB unit only inspect belt alignment and tension Adjust and tighten as necessary Maintenance G GB Installation and maintenance a...

Страница 8: ...S A Inc Chevron SRI Grease 2 Mobil Oil Corporation Mobilith Mobil 532 Texaco Inc Premium BRB 2 Texaco Multifak 2 Amoco Oil Co Rykon Premium 2 Exxon Unirex N2 Shell B Shell Alvania 2 Table 2 Suggested Fan Bearing Greasing Intervals Interval months Type of Service 1 to 3 Heavy duty in dirty dusty locations high ambient temperatures moisture laden atmosphere vibration 3 to 6 12 to 24 hours per day he...

Страница 9: ...ypass dampers Check filters and access doors Fan does not operate Electrical supply Check fuses circuit breakers Check for switches off Check for correct supply voltage Drive Check for broken belts Tighten loose pulleys Motor Assure motor is correct horsepower and not tripping overload protector Motor overloads or overheats Lubrication Check for excessive or insufficient grease in the bearing Mechan...

Страница 10: ..._____ _________________________________________________ Date ___________________Time _____________ AM PM Notes ___________________________________________ _________________________________________________ _________________________________________________ _________________________________________________ Date ___________________Time _____________ AM PM Notes ________________________________________...

Страница 11: ...y Drive Frame Assembly Conduit Chase Shock Mounts Shroud Vertical Support Bearings G Direct Drive Centrifugal Roof Exhaust Fan GB Belt Drive Centrifugal Roof Exhaust Fan Parts List NOTE Each fan bears a manufacturer s nameplate with model number and serial number embossed This information will assist the local representative and the factory in providing service and replacement parts Before taking ...

Страница 12: ...ry under Warranties Greenheck Centrifugal Roof Downblast Exhaust Fan catalog provides additional information describing the equipment fan performance available accessories and specification data Phone 715 359 6171 Fax 715 355 2399 Parts 800 355 5354 E mail gfcinfo greenheck com Website www greenheck com Our Commitment AMCA Publication 410 96 Safety Practices for Users and Installers of Industrial a...

Отзывы: