8
❏
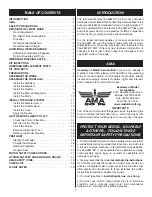
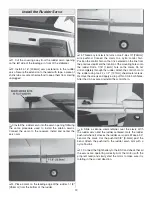
2. Center the
horizontal stabilizer
, side-to-side, in the
slot in the fuselage. Also measure the distance from the tips
of the stab to the center of the fuselage. Adjust the position
of the stab until the distance is equal.
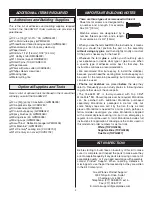
❏
3. Stand back and look at the stabilizer in relation to the
wing. The stabilizer should be parallel with the wing. If not,
lightly sand the stabilizer saddle until the stabilizer and wings
are aligned.
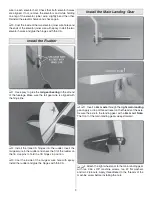
❏
4. Insert the
elevator joiner wire
in the notch at the back
of the stabilizer saddle. Use 30-minute epoxy to glue the
stabilizer in place, being careful that the stabilizer is properly
aligned.
Tip:
Place a piece of masking tape on the top and
bottom of the stabilizer, just outside the cut covering. Insert the
stabilizer in the fuse so that part of the bare wood is showing.
Apply 30-minute epoxy to the wood, top and bottom. Slide the
stabilizer through the fuse so that approximately 1/2" [12.7mm]
of bare wood is showing on the other side and apply epoxy
to the wood. Now align the stabilizer, remove the masking
tape and wipe off any excess epoxy from the stabilizer and
fuselage. Recheck that the stabilizer is still aligned.
You can now remove the wings and continue with the
assembly of the fuselage.
Install the Elevators
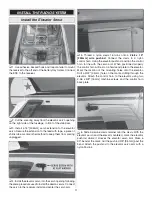
❏
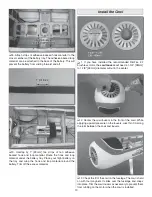
1. Test fit the
elevators
to the stabilizer with the CA
hinges
.
If the hinges don’t remain centered, stick a pin through the
middle of the hinge to hold it in position.
❏
2. Install three CA hinges into each elevator half. Install
the elevators onto the stabilizer with the elevator joiner
Содержание YAK-55M Yakovlev
Страница 20: ......


