15
❏
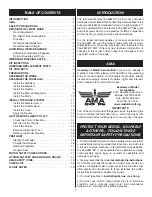
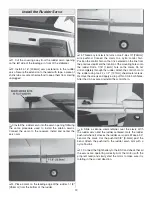
3. Move the elevator up with your transmitter and move
the ruler forward so it will remain contacting the trailing edge.
The distance the elevator moves up from the center is the
“up” elevator throw. Measure the down elevator throw the
same way.
❏
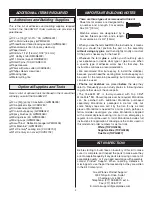
4. Measure and set the high and low rate elevator throws
and the high, low and 3D rate throws for the rest of the
control surfaces the same way.
Note: We put exponential into the High rates and the 3D rates
to make the control throws less sensitive around neutral.
These can be set up to your own preference and flying style.
We put 20% to 30% in the high rate and 50% to 60% in the
3D rates.
Finish the Model
❏
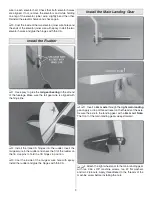
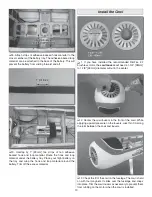
1. Use a prop reamer or drill bit to enlarge the
spinner
back plate
to fit your motor’s prop adapter. Install the
spinner back plate, propeller with washer and prop nut and
the
spinner cone
. Secure the spinner cone to the back plate
with two
3 x 12mm sheet metal screws
.
❏
2. Apply the
instrument decal
to the front of the
cabin floor
.
❏
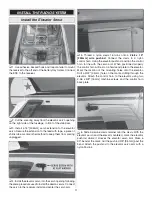
3. To install the cabin floor in the
canopy hatch
, slide the
cabin floor into the cabin hatch from the front. If you prefer to
install an optional pilot figure, it will need to be installed as
the cabin floor is slid in. Once the floor is in, a pilot figure will
be difficult to install. Use thin CA to glue the cabin floor to the
canopy hatch frame.
❏
4. To install the canopy hatch on the fuselage, insert the
two guide pins in the front of the hatch in the two holes in the
front of the fuselage. Push the hatch down and slide it back.
The plywood tab on the bottom of the hatch should slide
under the frame in the fuselage and lock the hatch in place.
Содержание YAK-55M Yakovlev
Страница 20: ......


