


16
❏
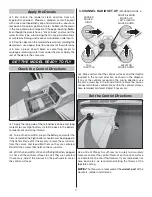
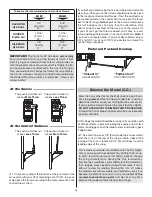
13. Mark the location of the nose gear wire onto the nose
cone when you hold it up in place. Use a rotary tool to cut
a slot for the wire. The nose cone can be glued, screwed
(screws not included) or taped on. We prefer using tape on
this model because it allows easy access to the nose gear
as well as looking better. If you decide to glue it on then we
recommend RTV silicone.
❏
14. Cut a length of non-adhesive hook and loop material 5"
[127mm]. Overlap the mating ends approximately 1" [25mm]
to make a strap. Put a piece of hook material from the self-
ahesive hook and loop material and stick it to the battery
tray. Fish the strap you made through the middle slots in
the battery tray.
❏
15. If you have already used your radio to check the
operation of the motors, install the propellers and spinners
onto the motor shafts.
❏
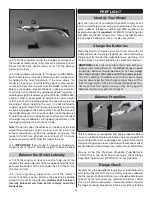
16. Congratulations on the completion of the Twinstar EP!
Now it’s time to put on the decals, balance the plane and
confi rm the control throws.
Содержание TWINSTAR EP
Страница 23: ...23...
Страница 24: ...GPMA1609 v1 1 Entire Contents 2015 Great Planes Model Mfg A subsidiary of Hobbico Inc...


