


❏
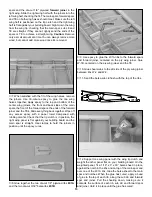
1. Cut the “spreader bar” from the supplied Great Planes
engine mount and trim off any flashing. Slide the two
halves together. Make sure the do not bind.
❏
2. Temporarily mount the engine mount to the firewall with
four 6-32 x 3/4" phillips head machine screws and #6
washers. Note that the engine will be mounted with the
cylinder head positioned at the lower right side. Do not
tighten the screws completely.
❏
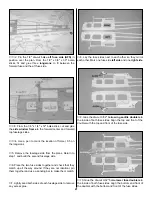
3. Place your engine on the engine mount and adjust the
mount until the engine fits between the mounting rails. When
the engine mount is adjusted, tighten the mounting screws.
❏
4. Position the engine on the engine mount with the front
of the engine drive washer 4-1/16" from the front of the
firewall. Carefully mark the engine mounting holes on the
rails. A great method for marking the engine mounting holes
is to use the Great Planes Dead Center Engine Mount
Hole Locator. With the engine positioned on the mounting
rails, insert the self-centering cone in the mounting hole.
Twist the shaft, and the drill bit inside will mark the spot with
a small starter hole.
❏
5. Remove the engine from the engine mount. Drill a
3/32" diameter hole at each mark. If you have access to a
drill press, it is the best tool for the job. However, if you are
using a hand held electric drill, try to keep the drill bit
perpendicular to the rails.
❏
6. Install the engine on the engine mount with four #4 x
5/8" sheet metal screws. Hint: The sheet metal screw will
be easier to install if you wipe the threads across a bar of
soap before installing them.
❏
7. Mark the location for the throttle pushrod exit, fuel pick
up line and fuel tank pressure line. The best location for the
throttle pushrod exit when installing an O.S. 2-stroke engine
is centered just above the exhaust exit top. For the four-
stroke engine the upper left corner will work. A good location
for the fuel pick up and pressure line exits are through the
middle of the engine mount.
❏
8. Drill a 3/16" hole at the mark for the throttle pushrod
exit. If a 2-stroke engine is being installed and the throttle
pushrod may need to be routed under the fuel tank tray, drill
a 3/16" hole through former F-2, centered under the fuel
tank tray. Drill 7/32" holes for the fuel and pressure line.
❏
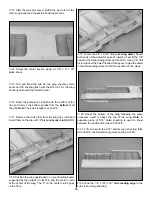
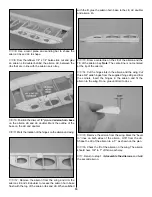
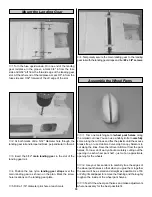
1. Glue the die-cut 3/32" balsa instrument panel (IP)
perpendicular to the top of the front deck.
❏
2. From a remaining 1/8" x 1/4" balsa stick, glue a top
stringer between the firewall and the instrument panel.
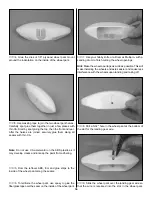
Sheet the Front Deck
Install the Engine
27