18
❏
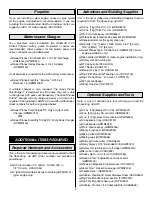
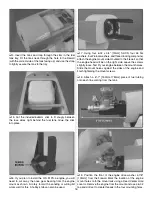
16. Roughen the ends of the 7-1/2" [191mm] outer
pushrod tube using 220-grit sandpaper. Slide the outer
pushrod tube through the hole in the fi rewall leaving 1/4"
[6.4mm] protruding from the front of the fi rewall. Glue the
outer pushrod tube to the fi rewall.
❏
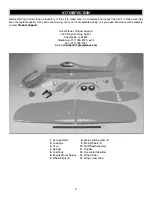
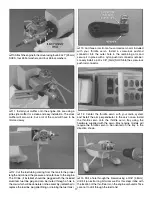
17. Cut part of the threads away leaving 1/2" [13mm] of
thread length from the remaining 17-1/2" [445mm] pushrod.
Thread a clevis and silicone clevis retainer onto the pushrod
and test fi t into the outer pushrod tube. Make the necessary
bends to the pushrod in order to clear the muffl er. When
satisfi ed, connect the clevis to the throttle arm on the engine
and insert the aft end of the pushrod through the screw-
lock pushrod connector. Make any necessary adjustments
to the brass screw-lock connector so that the throttle opens
and closes with the servo. Tighten the SHCS in the pushrod
connector, cut away the excess pushrod 1/4" [6.4mm] behind
the pushrod connector, and glue a plywood outer pushrod
clip to the outer pushrod tube and fuel tank brace. Use the
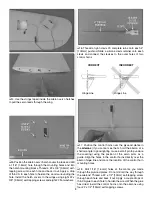
radio system to test the operation of the throttle, making sure
it properly opens and closes.
Brushless Motor Installation
The Shoestring .46 ARF is designed to be fl own with a .46-
.55 two-stroke glow engine, .70-.81 four-stroke glow engine,
or a brushless outrunner motor. If you plan to install a glow
engine, skip this section as it only contains information
relevant to installing a brushless motor.
Be sure to read and understand the instructions that
come with the ESC and motor before attempting to
operate the system.
❏
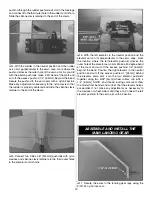
1. Attach the outrunner motor to the brushless motor mount
using the included 3 x 8mm machine screws and thread
locking compound. If you haven’t done so yet, install the prop
adapter to the motor case with the hardware included with
the motor and thread locking compound.

