19
❏
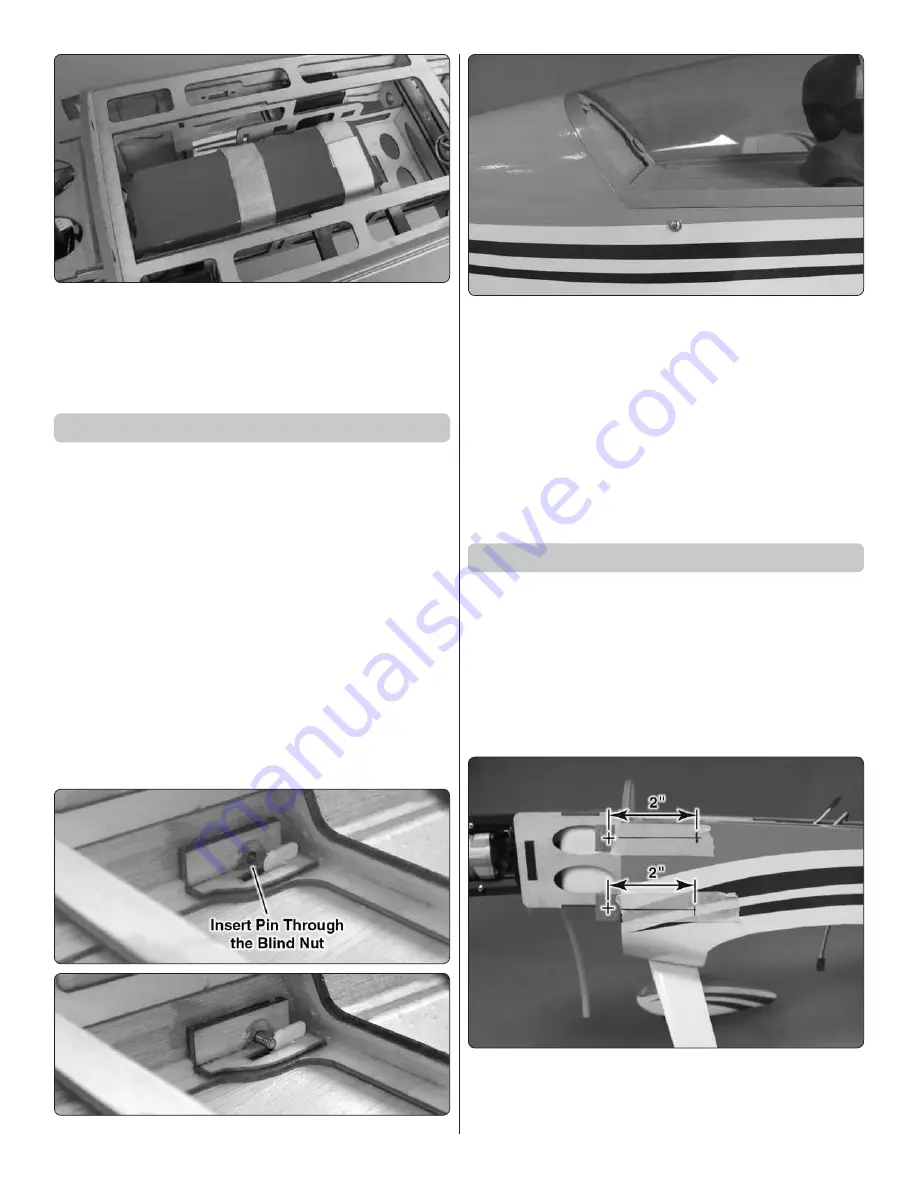
10. The batteries are mounted inside of the fuselage. In
the bottom of the fuselage install a strip of the self-adhesive
Velcro, attaching the hook half of the material to the bottom
of the fuselage and the loop side to the batteries. Place the
battery into the fuselage. Using the non-adhesive Velcro,
secure the battery to the fuselage with two Velcro straps.
Optional Method for Securing the Canopy
You have seen that the canopy mounts with two pins in the
leading edge of the canopy frame and hooks in the back of the
frame, locking it to the fuselage. The magnets keep the canopy
tight to the turtle deck. During our testing this held the canopy
securely in place through all of the aerobatic maneuvers we
put it through. In fl ight we never had a canopy come loose.
On a couple of occasions we found that the vibration from the
idling glow engine caused it to slip forward and the back of the
canopy was not secure to the fuselage. This only happened
at idle with a glow motor and never occurred with the electric
motor installation. Though this did not happen consistently we
want you to have a way to be assured it will not come loose. For
those of you who have installed the electric motor this is not a
concern. You will need easy access to the battery compartment
so there is no need to proceed with the following steps. Those
of you installing the glow option have very little need to access
this area of the fuselage after the construction is complete, so
we recommend you complete the following steps.
❏
1. Remove the canopy and you will see a blind nut on both
sides of the fuselage where the canopy locking tabs extend
into fuselage. Insert a pin through the blind nut and through
the fuselage sides.
❏
2. Cut away the covering to allow access for the screw to
be threaded into the blind nut.
❏
3. Put the canopy in place on the fuselage. Apply a drop
of thread locker to the
4-40 x 1/2” [13mm] machine screws.
Install a #4 fl at washer onto the screw and screw it into the
blind nut, tightening it snug to the fuselage side. This screw
will stop the canopy from sliding forward.
Install the Cowl
Installing the cowl over the electric motor presents no problem
but if you are installing it over the glow engine it takes a bit
more effort. In the case of the O.S. engine the carburetor
extends out enough that it makes contact with the cowl
when you install it over the engine. We chose to remove the
carburetor from the engine. This allows the cowl to easily slide
over the engine. If you choose not to remove the carburetor
you will have to carefully cut away the parts of the cowl that
contact the engine.
❏
1. Tape a 3" [76mm] piece of masking tape in line with
each of the cowl mounting blocks on both sides of the cowl.
Draw a 2" [51mm] line from the center of the cowl mounting
blocks back towards the fuselage. Do this for all four blocks.


