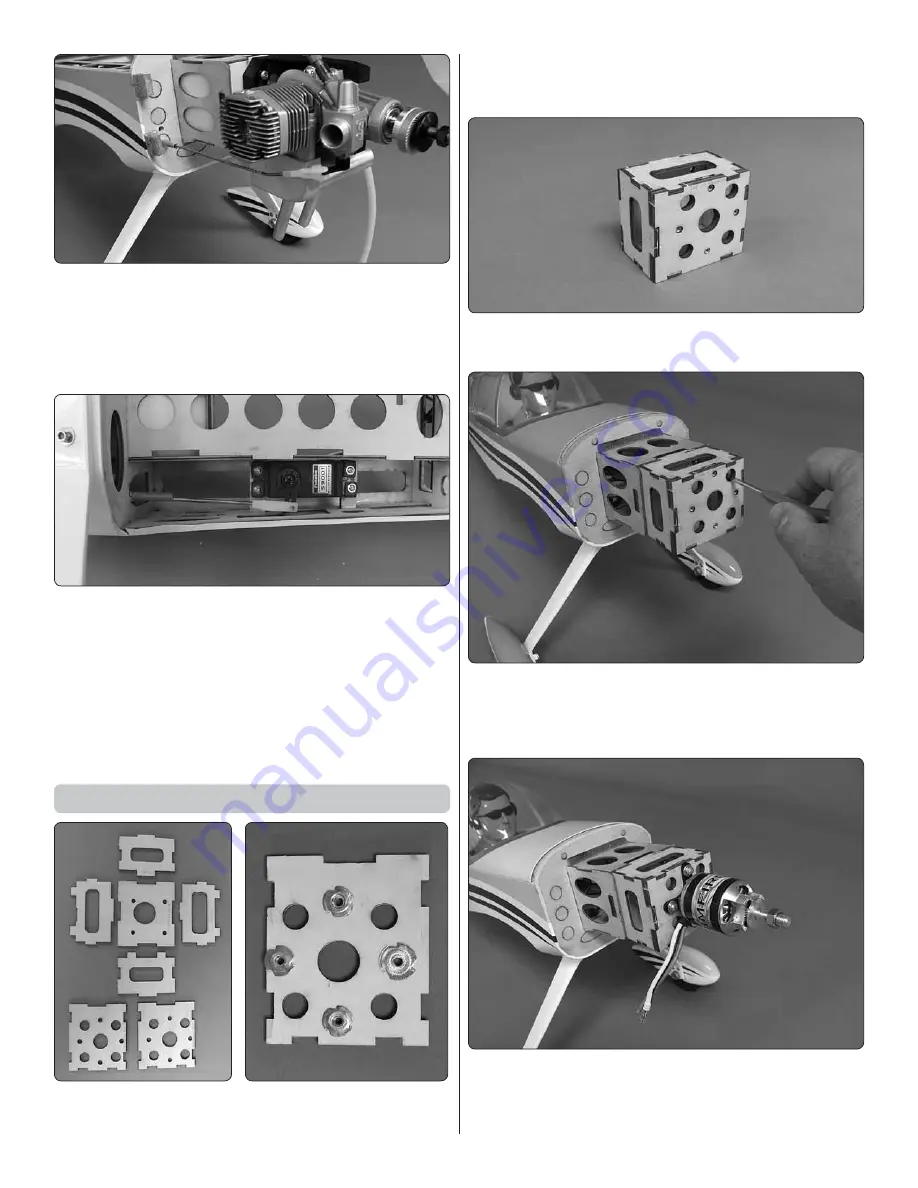
17
❏
13. Thread a nylon clevis twenty turns onto the threaded
end of the 2-56 x 15-3/4" [400mm] pushrod wire. Slide a
silicone clevis retainer over the clevis. Install the wire into the
tube and then bend the wire as needed to allow the clevis
to attach to the throttle arm. Slide the silicone clevis keeper
over the clevis to keep the clevis securely locked.
❏
14. Center the servo arm and move the throttle arm on the
carburetor to half throttle. With the servo arm on the throttle
perpendicular to the servo case, mark on the pushrod where
it crosses the outer hole of the servo arm. Make a 90 degree
bend at your mark and cut the pushrod off 1/4" [6mm] beyond
the bend. Hook the pushrod to the throttle servo arm and
secure it with a nylon FasLink.
If you are installing the glow engine, skip ahead to “Install
the Cowl”.
Install the Electric Motor
❏
1. Locate the wood components of the electric motor box.
Because of the way the parts have been designed there is only
one way the box can be assembled. Begin by gluing the two
fi rewalls together. After the glue has cured install a blind nut
into the each of the four holes on the backside of the fi rewall.
❏
2. Securely epoxy all of the parts of the box together as
shown in the photo.
❏
3. Mount the box to the fuselage with four #6 x1/2" [13mm]
phillips head screws, #6 fl at washers and lock washers. Be
sure to apply a drop of thread locker to each of the screws
before installing the box.
❏
4. Mount the motor to the wood box with four #6 x1/2"
[13mm] phillips head screws, #6 [4mm] fl at washers and lock
washers. Be sure to apply a drop of thread locker to each of
the screws before installing the motor.


