11
ASSEMBLE THE TAIL SECTION
❏
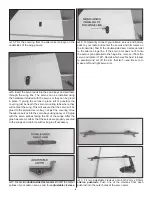
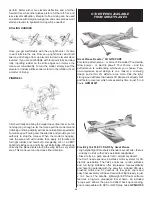
1. Fit the vertical fi n into place and use a felt-tip pen to
trace around the fi n where it meets the fuse. Remove the
fi n from the fuse and trim the covering away 1/16" [1.6mm]
below the line that you made (do not trim the covering from
the TE of the vertical fi n). Be careful not to cut through the
wood as this will weaken it. See the following Expert Tip for
removing the covering.
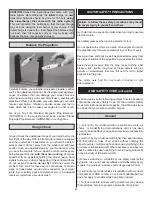
HOW TO CUT COVERING FROM BALSA
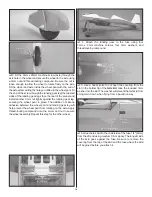
Use a soldering iron to cut the covering from the fi n. The tip
of the soldering iron doesn’t have to be sharp, but a fi ne tip
does work best. Allow the iron to heat fully.
Use a straightedge to guide the soldering iron at a rate that
will just melt the covering and not burn into the wood. The
hotter the soldering iron, the faster it must travel to melt a
fi ne cut. Peel off the covering.
❏
2. Wipe away the lines you drew and glue the fi n into place.
❏
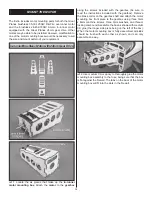
3. Trim the covering from the LE of each elevator half
between the holes for the elevator joiner wire and the inner
sides as shown.
❏
4. Test fi t the elevator joiner into the elevator halves. Lay
the elevators on your work surface and confi rm that they
both lay fl at. If not, “tweak” or bend the elevator joiner wire
slightly until they do. Do not attempt to bend the joiner wire
while it is installed in the elevators. Do not glue the joiner
wire in place at this time.
❏
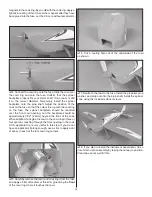
5. Carefully cut a slot for the elevator control horn in the left
elevator half. The slot should be 5/16" [8mm] from the inside
edge, 3/8" [9.5mm] long, and parallel with the elevator inside
edge as shown. The slot should be cut completely through the
elevator. Test fi t the control horn into the slot, being sure that
the control horn holes are positioned over the hinge line.

