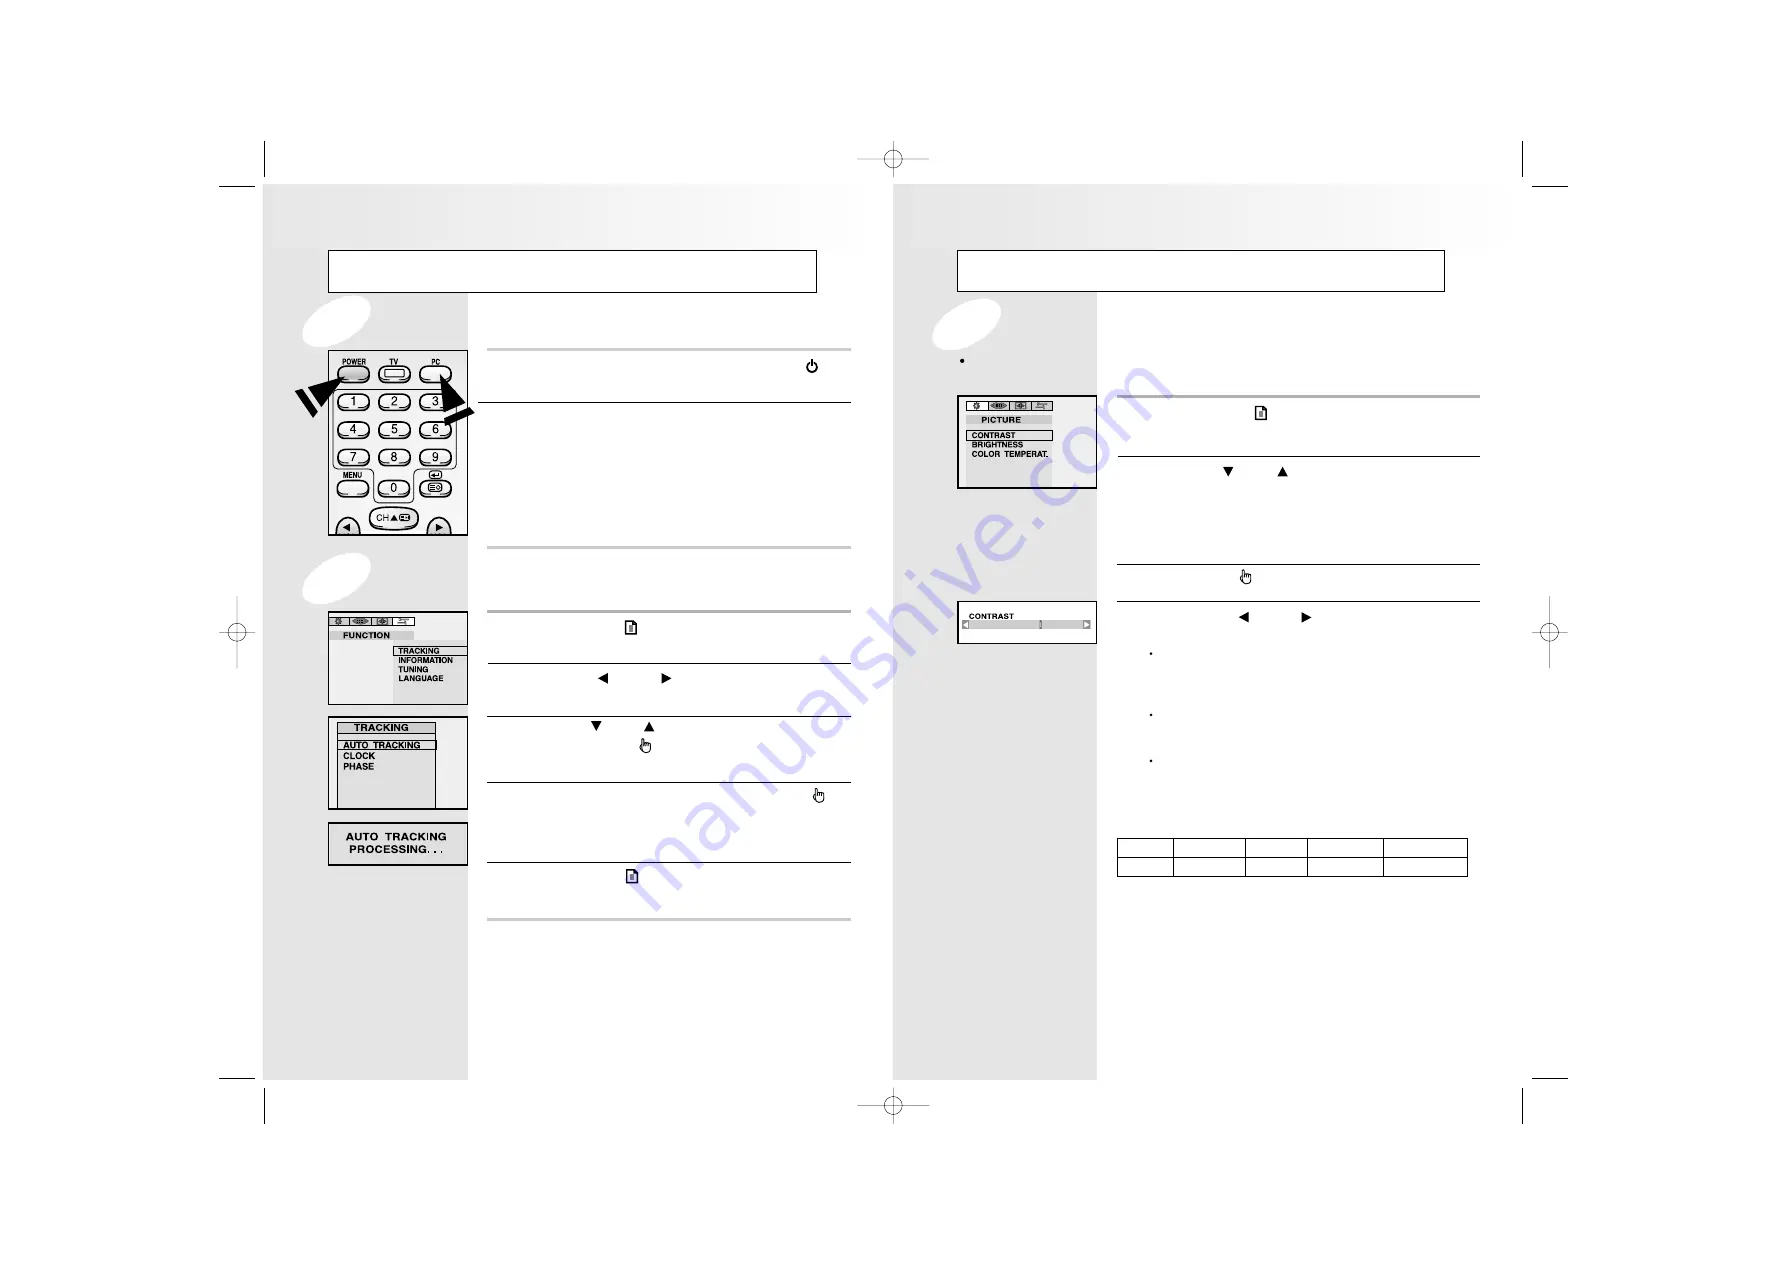
Granvue ET-1801T Скачать руководство пользователя страница 9

12

13

Viewing a PC screen

Press the 

MENU

(     ) button.

R

R

e

e

s

s

u

u

l

l

t

t

The 

PICTURE

menu is displayed.

1

Use the 

CH 

or 

CH

button to select one of the 

following options:

CONTRAST
BRIGHTNESS
COLOR TEMPERATURE

2

Press the 

SEL

(     )button.

3

Press the 

VOL

or 

VOL

button to suit your 

personal preference.

CONTRAST :

Adjust the brightness and darkness between  
objects and back grounds.

BRIGHTNESS :

Adjust the overall of the screen brighter or darker.

COLOR TEMPERATURE :

The tone of color can be changed from redish white 
to bluish white. The individual color components are  
also user customizable.

4

18

Adjusting the Picture Settings

Your monitor has several settings which allow you to control picture quality:

CONTRAST , BRIGHTNESS, COLOR TEMPERATURE

6500K

STANDARD

9300K

USER

RESET

Redish white

Plain white

Blueish white

User coustomizable

Factorn default value

Viewing a PC screen

Press the 

MENU

(     )button.

R

R

e

e

s

s

u

u

l

l

t

t

The 

PICTURE

menu is displayed.

1

Use the

VOL

or 

VOL

button to move to the

FUNCTION

menu.

2

Use the 

CH

or

CH

button to move to 

TRACKING

,

then press the 

SEL

(     ) button. Then, the 

TRACKING

menu will be displayed.

3

Move to 

AUTO TRACKING

, then press the 

SEL

(     ) 

button. Then, the message “

AUTO TRACKING 

PROCESSING...

” appears on the screen to stabilize 

the screen.

4

Press the 

MENU

(     ) button repeatedly until the menus 

disappear.

5

Power on your monitor by pressing the 

POWER

(     )

button on the main set or on the remote control.

1

Use the 

PC

button on the remote control to switch to

the 

PC

mode.   

Then the PC screen is automatically set.   
When a CD-Title runs, the music is output from 
speakers.   
(You can use an external speaker via the Audio Output  

jack on the rear of the main set.)

2

When the Picture is Unstable

Initial set PC mode

Granvue ET-1801T 1.21  2002.1.22  12:42 PM  Page 12

Содержание ET-1801T

Страница 1: ...18 1 TFT LCD Monitor TV User s Manual ET 1801T Granvue ET 1801T 1 21 2002 1 22 12 42 PM Page I...

Страница 2: ...This company reserves the right to revise this publication and to make change from time in the contents without obligation of this company to notify a person of such revision or changes All brand or...

Страница 3: ...27 Channel Memory PAL model Storing the channel automatically 28 29 Storing the channel manually 30 31 Fine tuning channel reception 32 Skipping unwanted channels 33 Channel Memory NTSC model Selectin...

Страница 4: ...Radio TV Interference Problems helpful This booklet was prepared by the Federal Safety Instructions Before connecting the AC power cord to the DC adapter outlet make sure the voltage designation of th...

Страница 5: ...0402 Stock Number 004 000 00345 4 Warning User must use shielded signal interface cables to maintain FCC compliance for the product Declaration of conformity for products Marked with FCC Logo This dev...

Страница 6: ...connect a video signal from a personal computer POWER JACK To input DC power from power outlet 1 2 3 4 5 6 7 8 Rear Panel Parts Description 1 REMOTE CONTROL SENSOR Aim the remote control towards this...

Страница 7: ...o make selections on the on screen menus I II MTS Press to choose stereo dual or mono MUTE Press to temporarily cut of the sound TELETEXT DISPLAY MIX Display teletext or mix with TV screen Option TELE...

Страница 8: ...nnect a PC Audio Cable between the Sound Output jack of the sound card on a PC and the PC AUDIO IN of the monitor 3 Connect a DC Power unit cable to the Power jack on the rear of your monitor And conn...

Страница 9: ...lain white Blueish white User coustomizable Factorn default value Viewing a PC screen Press the MENU button R Re es su ul lt t The PICTURE menu is displayed 1 Use the VOL or VOL button to move to the...

Страница 10: ...20 Adjusting the Sound Settings The sound settings can be adjusted to suit your personal preference TREBLE BASS BALANCE S MODE Viewing a PC screen 14 Press the MENU button repeatedly until the menus...

Страница 11: ...s of Dolby Laboratories Licensing Corporation 12 Press the VOL or VOL button to select any value between 15ms and 30ms Some trial and error experimenting is necessary to find the optimal setting which...

Страница 12: ...VOL or VOL button on the remote control You can switch the sound off temporarily by pressing the MUTE button on the remote control for example you may wish to answer the telephone Press the VOL button...

Страница 13: ...layer s owner s manual Connecting the Aerial or Cable Television Network Connecting the VCR DVD or Other External Devices Connecting a DVD Player Connecting to Y PB PR AIR Cable television network Vie...

Страница 14: ...VOL button to suit your personal preference 4 Press the MENU button repeatedly until the menus disappear 5 18 Adjusting the Picture Settings Use the CH or CH button to select one of the following opt...

Страница 15: ...15MS TEXT TIME OFF Viewing a TV VCR DVD screen Press the MENU button R R R Re e e es s s su u u ul l l lt t t t The PICTURE menu is displayed 1 Use the VOL VOL button to move the SOUND menu 2 3 Press...

Страница 16: ...value between 15ms and 30ms Some trial and error experimenting is necessary to find the optimal setting which will vary according to individual preference 9 Adjusting the Volume Switching the Sound Of...

Страница 17: ...place the selection bar on the PAL SECAM or SECAM L and Press the SEL button R R R Re e e es s s su u u ull llt t t t The AUTO TUNING will store found channel automatically While the AUTO TUNING is pr...

Страница 18: ...NCTION menu 2 Press the CH or CH button to select the TUNING option and press the SEL button R R R Re e e es s s su u u ul l l lt t t t The tuning menu is displayed 3 Press the CH or CH button to plac...

Страница 19: ...the CH SKIP and press the SEL button Channel Memory PAL model Press the MENU button R R R Re e e es s s su u u ul l l lt t t t The PICTURE menu is displayed 1 Use the VOL or VOL button to move the FUN...

Страница 20: ...CH button to select the TUNING option and press the SEL button R R R Re e e es s s su u u ul l l lt t t t The TUNING menu is displayed 3 Use the CH or CH button to select AIR CATV then press the SEL b...

Страница 21: ...ion channels carry teletext pages of written informa tion that provide information such as Television programme tables News bulletins Weather forecasts Sports results Subtitles for the hard of hearing...

Страница 22: ...etween LIST mode FLOF mode 5 Teletext Option Display the teletext contents page by pressing the TTX MIX button 1 Press the colored button corresponding to the topic that you wish to select The availab...

Страница 23: ...u is displayed 1 2 3 Use the CH button to move the CAPTION and then press the SEL button R R R Re e e es s s su u u ul l l lt t t t The CAPTION menu is displayed 4 Use the VOL or VOL button to turn th...

Страница 24: ...s s su u u ul l l lt t t t The ENTER PIN screen is displayed 3 Enter 4 Digit PIN number Note The default PIN number for a new TV set is 0 0 0 0 4 After entering a valid PIN number the V CHIP menu scr...

Страница 25: ...exual Suggestive Dialog 7 V CHIP Option Press the MENU button R R R Re e e es s s su u u ul l l lt t t t The PICTURE menu is displayed 1 Press the VOL or VOL buttons to move the FUNCTION menu 2 Press...

Страница 26: ...IP will automatically block certain categories that are more restrictive For example if you block TV Y category thenTV Y7 will be automatically blocked Similarly if you block the TV G category then al...

Страница 27: ...certain conditions depending on the rating of the local TV programs the V CHIP might lock out all the channels In this case you can turn V CHIP feature off by following sequence How to Reset the TV af...

Страница 28: ...allation of Main Body Caution Make slope up to 20 degree after standing up the liquid monitor In this case you need not press the Fold Button Press and rotate the Fold Button once again in case of ent...

Страница 29: ...APPENDIX B Display modes If the signal from the system equals to the standard signal mode the screen is adjusted automatically If the signal from the system doesn t equal to the standard signal mode...

Страница 30: ...Horizontal bars appear to flicker jitter or shimmer on the image Vertical bars appear to flicker jitter or shimmer on the image Screen is blank and power indicator light is steady amber or blinks ever...

Страница 31: ...C 1 2B On Screen Display Menu NET 8 0Kg Gross 10 5Kg Yes 524mm W x 437mm H x 220mm D 524mm W x 403mm H x 74mm D Type Display Area Display Color Pixel Pitch Recommended Resolution Contrast Ratio Bright...

Страница 32: ...59 58 Granvue ET 1801T 1 21 2002 1 22 12 43 PM Page 58...

Страница 33: ...412 Chongchom dong Pupyong gu Inchon Korea 403 032 TEL 82 32 500 3100 FAX 82 32 505 5109 www eticom co kr Granvue ET 1801T 1 21 2002 1 22 12 43 PM Page 60...

Отзывы: