Operation
3A6393D
15
Spray
Prevent Pack-out
To avoid “packing out” the pump or hose:
•
Use the lowest pressure and largest nozzle size that
provides an acceptable spray pattern. This will also
result in seals and wear parts lasting much longer.
•
Do not use any more fluid hose than is necessary.
•
Use an applicator with a rubber tip retainer that will
blow off if it plugs.
Before Starting or Stopping Material Flow
Always have the atomizing air turned on at the
applicator before and after spraying fluid (see your
applicator manual).
NOTE:
If the applicator ball valve kit (17J703) has been
installed, do NOT use the valve to stall the pump. The
pump must be stopped first before the ball valve can be
closed.
Sprayer Performance
NOTE:
The check valve (45) helps to improve pump
performance with highly compressible gypsum based
materials. For high density, Portland cement based
materials, the check valve (45) can be replaced with 1–
1/2 NPT Nipple Fitting (121441) to reduce pressure drop
and improve performance.
Spraying
1. Follow the
procedure on page 13.
2. Follow the
procedure on page
14.
3. Turn on atomizing air and adjust the air needle
valve on the applicator (see your applicator
manual).
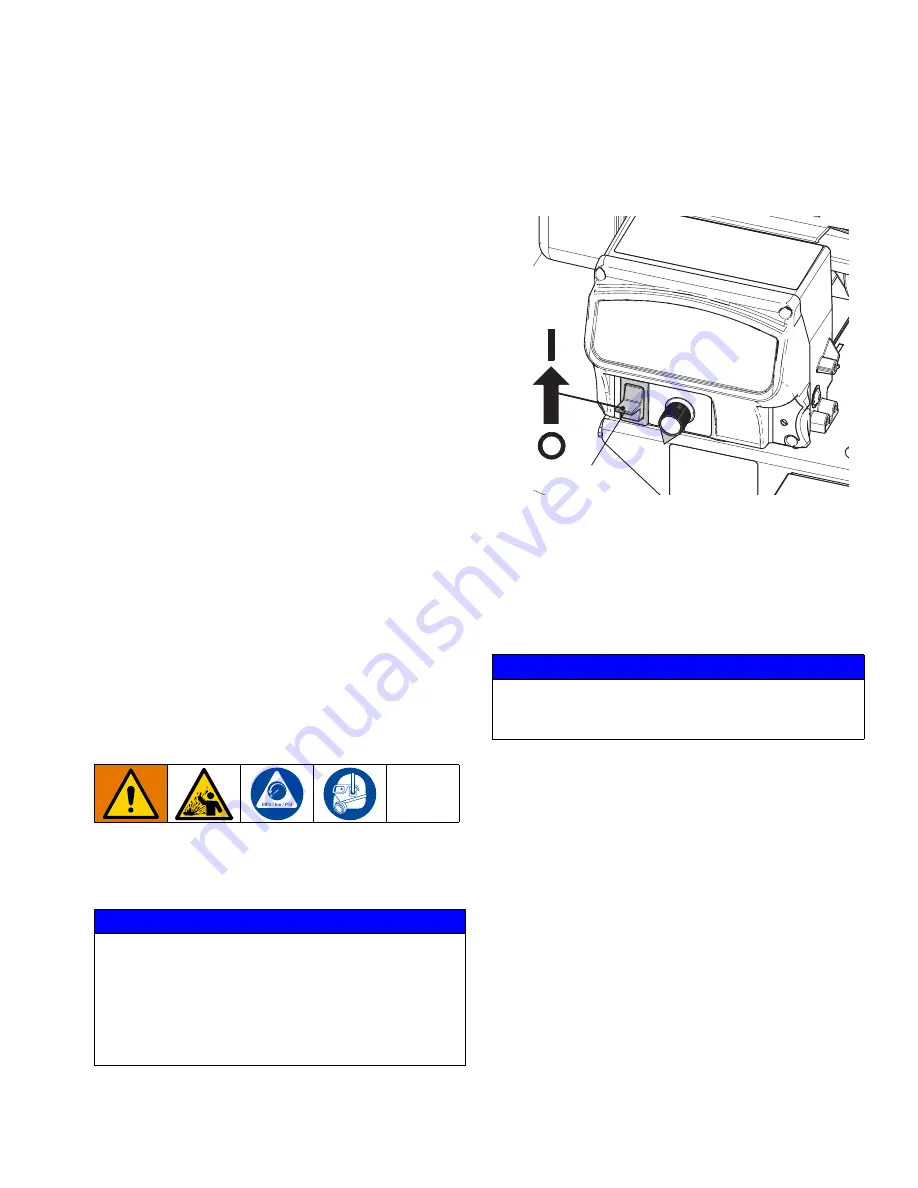
4. Turn the motor power switch (S) to ON.
5. Turn flow adjustment knob (H) until desired flow is
reached. Turn clockwise to increase flow,
counterclockwise to decrease flow.
6. If the system is approaching its cure time or the
system will be idle for enough time for material to
begin curing in the system, flush the system. Follow
the
NOTICE
Do not allow pump to run without material in the
hopper. It can cause damage to the pump seals.
Failure to flush prior to material curing in the system will
result in damage to system and may require
replacement of all system parts in contact with the
material.
NOTICE
Failure to flush prior to material beginning to cure in the
system will result in damage to system and may require
replacement of all parts in contact with the material.
WLD
S


