


7
308995
Air Motor Service
Pressure Relief Procedure
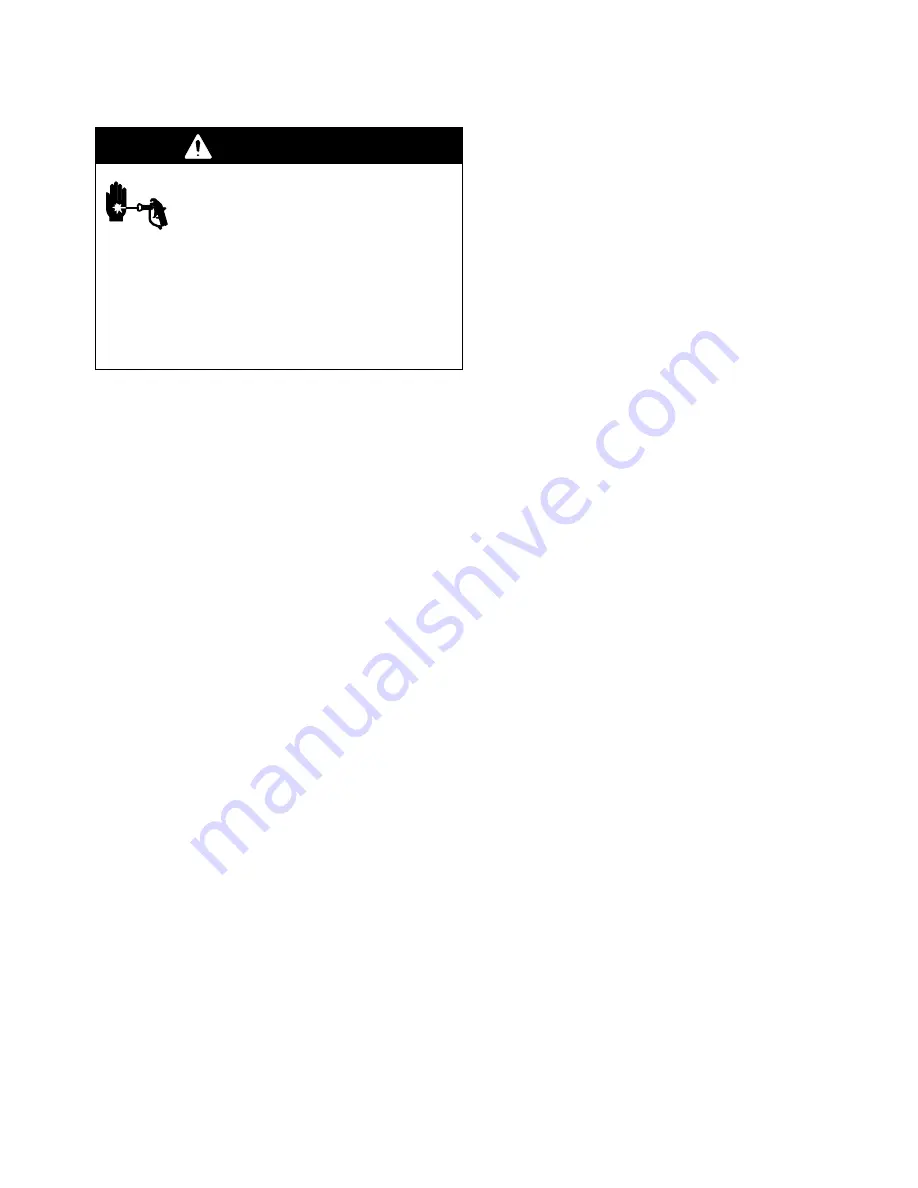
WARNING
INJECTION HAZARD
Fluid under high pressure can be in-
jected through the skin and cause seri-
ous injury. To reduce the risk of an injury
from injection, splashing fluid, or moving parts, fol-
low the
Pressure Relief Procedure
whenever you
D
Are instructed to relieve the pressure
D
Stop dispensing
D
Check or service any of the system equipment
D
Install or clean the spray tips/nozzles
1.
Close the air motor air regulator.
2.
Close the bleed-type master air valve (required in
your system).
3.
Hold a metal part of the dispensing valve firmly to
the side of a metal waste container, and trigger the
valve to relieve fluid pressure.
If you suspect that the spray tip or hose is completely
clogged, or that pressure has not been fully relieved
after following the steps above,
very slowly
loosen the
tip guard retaining nut or hose end coupling and relieve
pressure gradually, then loosen completely; then clear
the tip or hose.
Repair Kits
Repair Kits 241833, 241834, and 241884 are available
to service the air motor. Purchase the kits separately.
For the best results, use all the new parts in the kits.
Parts included in the kits are denoted with symbols.
Required Tools
The following tools are required to service the air
motor:
D
Snap-ring pliers
D
Needle-nose pliers
D
O-ring pick
D
9/32 in. or 7 mm socket wrench or nut driver
D
3/8 in. or 10 mm box wrench
D
1/2 in. or 13 mm box wrench
D
5/8 in. or 16 mm box wrench
D
Adjustable wrench
D
Torque wrench
D
Phillips screwdriver
Содержание 241504
Страница 15: ...15 308995 Notes...
Страница 21: ...21 308995 Notes...


