


Page 11 of 14
Print Setup
The option to have CAP alert reports logged to a printer is turned on or off via the
checkbox located in the Log Alerts to Printer group box in the display. The default
option is to not log alerts to a printer. For this option to function correctly a printer
must be correctly installed and specified as the default printer. The CAP-to-EAS
Decoder unit has built in support for thousands of USB printers; however, to ensure proper operation of
your printer, be sure to follow printer manufacturer's instructions for correct installation and setup.
NOTE
To ensure printer compatibility with the CAP-DEC 1 unit, please ensure that your USB printer is Microsoft Windows 7
compatible.
If the print option is turned ON and a printer is incorrectly setup or a software printer which requires user interaction (such as
filename selection) is configured as the default printer, the software may require user input to proceed with alert processing.
This condition may result in missed alerts.
Unit ID Setup
The optional Unit ID field allows you to specify a name or number
to identify a particular CAP-DEC 1 unit (by default, the unit serial
number). The unit identification appears in the printed and
emailed reports to distinguish between reports from multiple CAP-
DEC 1 units.
To specify a Unit ID, type the desired identification information into the Unit ID field and click the “Set UID”
button.
Text to Speech Setup
The FCC Fifth Report and Order temporarily prohibited the use of text-to-speech
(TTS) technology on the receiving end of CAP alert messages. This prohibition has
since been reversed and the use of TTS is now allowed.
Due to the initial uncertainty regarding the use of TTS, the CAP-DEC 1 interface
allows the use of TTS to be toggled on or off. As the prohibition has been lifted pending further
consideration, TTS should remain ON.
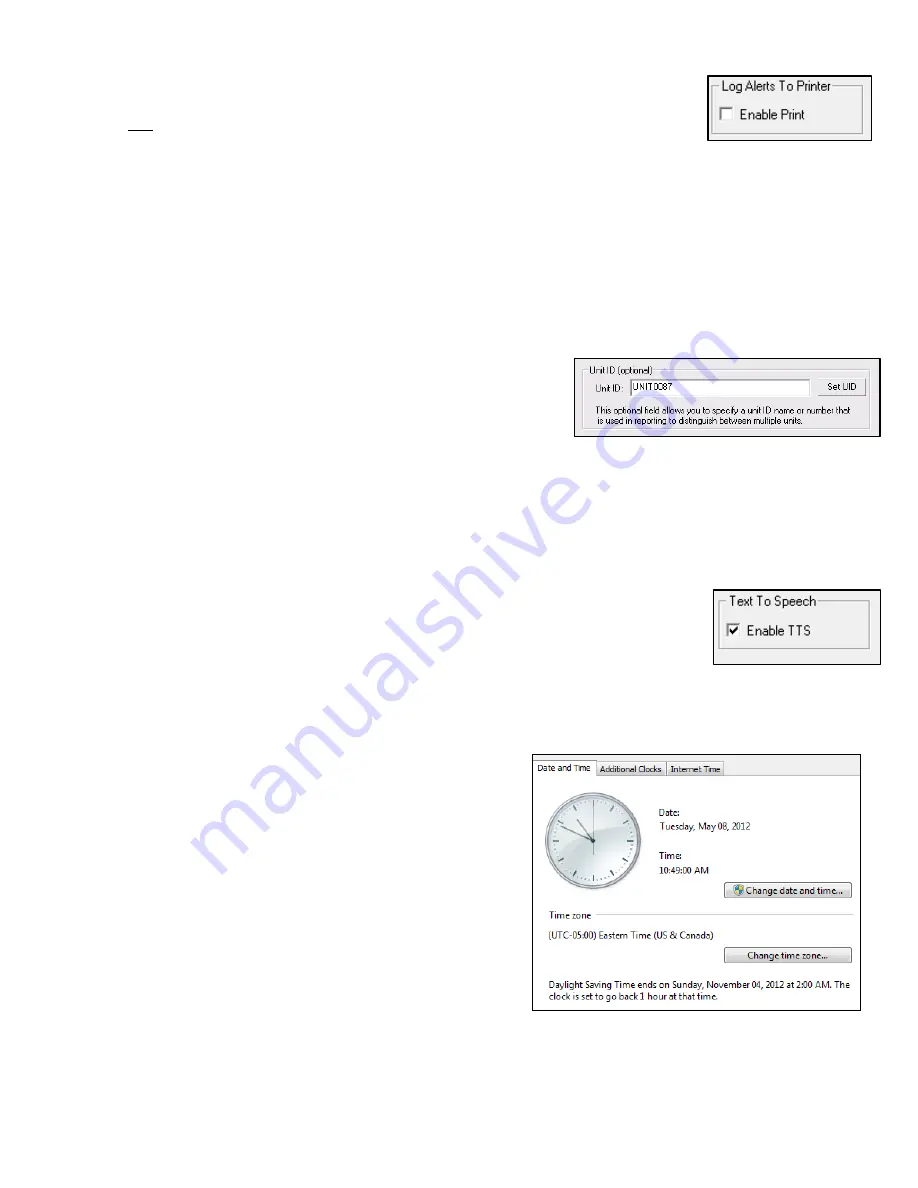
Time Setup
To ensure correct calculation of alert expiration dates and
valid time periods, it must be ensured that the unit is
properly configured with the correct date, time and time zone
settings. To do this, left mouse click on the clock in the
lower right of the CAP-DEC 1
display and choose “Change
date and time settings…” From within the resulting display
(shown at right), ensure that the correct date, time and time
zone are set. After the initial setting, the unit will
automatically sync via the internet to ensure that the clock
stays accurate.