


48
49
ACCESSORIES
Attaching Camera to Mounts
Attach the HERO3 to curved or flat surfaces using one of the many GoPro mount
accessories. The HERO3 camera, attachment buckle, proper mount and thumb
screw are all it takes.
Attaching camera to a helmet, surfboard, vehicle or just about anything is
fast and easy. The attachment buckle permits camera to be clicked
ON/OFF a
secured adhesive mount in an instant.
ATTACHING ADHESIVE MOuNTS
• Apply to clean surface only. Carefully clean surface where mount will be
attached. Wax, oil, dirt or other debris will reduce adhesion, which can
result in a weak bond and risk of losing camera should connection fail.
• Attach mount in room temperature conditions. Mount’s adhesive will not
bond properly if applied in cold or damp environments.
• Adhesive mounts can only be mounted to smooth surfaces; porous or
textured surfaces will not enable a proper bond. When applying mount,
firmly press into place and ensure full contact over entire surface.
• For best results, attach the mount a minimum of 24 hours prior to use.
‣ For more information on mounts, see
gopro.com/support.
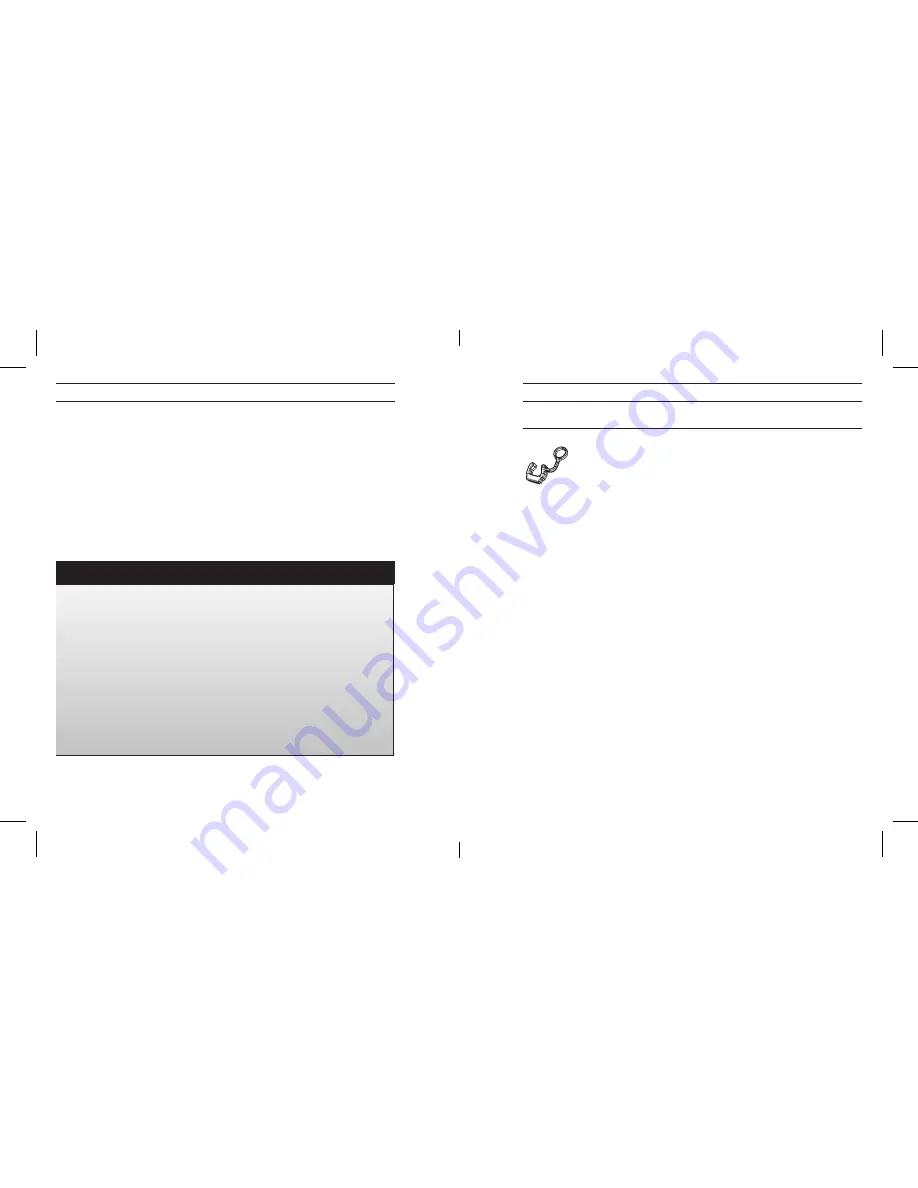
Locking Plug
Using the HERO3 in high impact sports such as surfing or skiing
where significant vibration may occur? Use the special locking
plug (optional purchase) which securely locks the attachment
buckle fingers into place--helping prevent accidental housing
release from mount.
battery lIfe
battery lIfe
HERO3_UM_silver_Edition_ENG_MASTER.indd 48-49
9/19/12 1:01 PM
Содержание CHDHX301
Страница 1: ...User Manual Warranty Info HERO3 UM v6 09 19 12 RO3_UM_silver_Edition_ENG_MASTER indd 1 9 19 12 1 01 P...
Страница 29: ...56 57 HERO3_UM_silver_Edition_ENG_MASTER indd 56 57 9 19 12 1 01 PM...
Страница 30: ...58 59 HERO3_UM_silver_Edition_ENG_MASTER indd 58 59 9 19 12 1 01 PM...
Страница 31: ...60 61 HERO3_UM_silver_Edition_ENG_MASTER indd 60 61 9 19 12 1 01 PM...
Страница 32: ...62 63 HERO3_UM_silver_Edition_ENG_MASTER indd 62 63 9 19 12 1 01 PM...
Страница 33: ...64 RO3_UM_silver_Edition_ENG_MASTER indd 64 9 19 12 1 01 P...


