GoPro CHDHX301 Скачать руководство пользователя страница 21

40

41

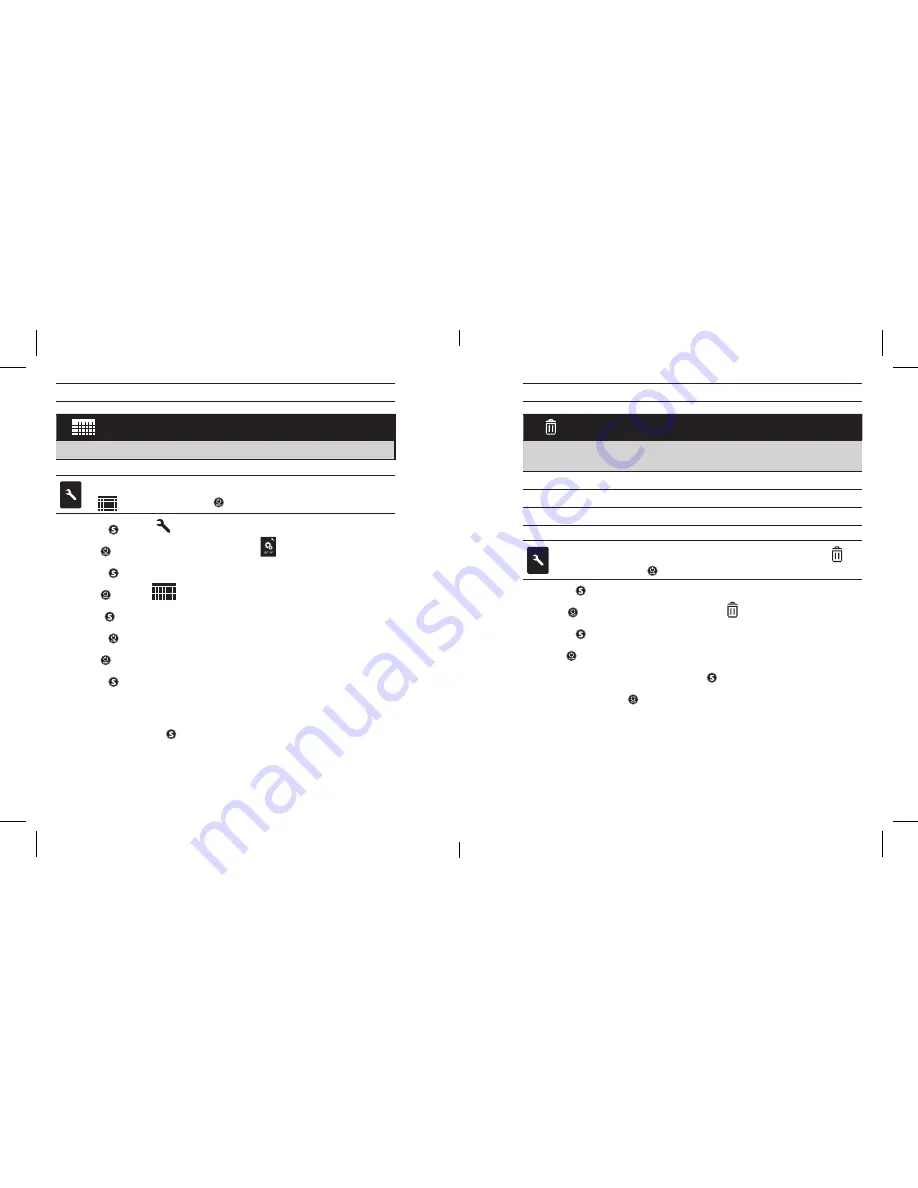
DATE / TIME / MONTH

Set camera clock to ensure video and photo files are saved with correct date/time.


To change 

Date/Time/Month, verify camera is in Settings menu. If 

  is not showing, press   repeatedly until it appears:

1. Press   to enter 

 menu.

2. Use   to cycle through 

Settings to locate 

.

3. Press   to enter 

Set up.

4. Use   to locate 

.

5.   Press   to enter 

Date/Time/Month sub-menu; Month (MM) will be highlighted. 

6. Press   to access the list of months 

(1 to 12).

7. Use   to cycle through list until desired selection is highlighted.

8. Press   to select. 

9.  Repeate steps 7 and 8 to make selections for day 

(DD), year (YY), hour 

(HH) and minutes (MM)

10. To exit, hold down   for two seconds.

Note:  If battery is removed from camera for extended period of DATE/TIME/MONTH 

will need to be set again.


DELETE

Delete last file or all files on memory card. During 

DELETE LAST or ALL

LED

 Indicator Lights blink until formatting is complete. 

CANCEL

(default)

LAST
ALL

To 

DELETE LAST or ALL, verify camera is in Settings menu. If   is 

not showing, press   repeatedly until it appears:

1. Press   to enter 

Settings menu.

2. Use   to cycle through 

Settings to locate  .

3. Press   to enter 

Delete

4. Use   to cycle through options.

5. Select highlighted option by pressing  .

6. To exit, hold down   for two seconds. 

cHanGInG settInGs: setUP 

cHanGInG settInGs

HERO3_UM_silver_Edition_ENG_MASTER.indd   40-41

9/19/12   1:01 PM

Содержание CHDHX301

Страница 1: ...User Manual Warranty Info HERO3 UM v6 09 19 12 RO3_UM_silver_Edition_ENG_MASTER indd 1 9 19 12 1 01 P...

Страница 2: ...Settings 24 Storage SD Cards 30 System Requirements 31 Transferring Files 32 Battery Life 34 Important Warning Messages 36 Camera Assembly 37 Customer Support 45 JointheGoPropartyatfacebook com goprot...

Страница 3: ...GB SD Memory Card PREMIuM ACCESSORIES 3D HERO System LCD BacPac Battery BacPac MOuNTS Helmet Front Mount Chest Mount Harness Handlebar Seatpost Mount Surf HERO Mounting Kit HD Wrist Housing Head Strap...

Страница 4: ...catorLight Blue 5 POWER MODE Button 6 HDMI Port Cable not included 7 microSDTM Card Slot Card not included 8 USB Port Composite A C cable 3 5mm stereo mic adapter 9 HERO Port 10 Battery Door 11 Sound...

Страница 5: ...Lights turn off when fully charged No damage will occur to the camera or battery if used prior to full charge See BATTERY LIFE for more information CAMERA Default SETTINGS The HERO3 camera has been pr...

Страница 6: ...ing video immediately Set camera to One Button mode Overview HERO3 features several camera operation modes Most mode settings may be changed in the Settings menu video Record video photo Capture singl...

Страница 7: ...ps recording when memory card is full or battery is out of power Video is saved before the camera powers off PRO TIP Activate One Button mode to have camera automatically begin recording when powered...

Страница 8: ...eries TIME LAPSE PHOTO Time Lapse Photo mode captures a series of photos at 0 5 1 2 5 10 30 or 60 second intervals when using the 0 5 seconds a Speed Class 10 rating is recommended The default Time La...

Страница 9: ...in playback While video is playing the on screen icons shown include PAUSE REWIND FAST FORWARD SLOW ICON NAME and RETURN TO THUMBNAILS To REWIND or FAST FORWARD highlight the icon with mode then press...

Страница 10: ...outside North America A memory card with recorded information must be inserted into the HERO3 camera If no video or photo files are present on the card the message No Video No Photo or No Files will...

Страница 11: ...1280x720 General use all around WVGA 120fps 120fps No Wide 848x480 Low power slow motion playback post edit Setting the Protune mode to ON improves color profiling for work on professional quality vid...

Страница 12: ...to cycle through Settings menu to locate 3 Press to enter Photo menu 4 Use to cycle through options 5 Press to select highlighted option 6 To exit hold down for two seconds CHANGING SETTINGS CHANGING...

Страница 13: ...SETTINGS CHANGING SETTINGS CApture settings menu Capture Settings icon allows advanced customization options to be made to the camera that will ease video and photo capture CAMERA ORIENTATION Mounting...

Страница 14: ...INGS CAPTURE SETTINGS Video Looping Not certain when the desired action will happen but want to be sure it s captured on video Set camera to Video Looping to continuously record and over write until i...

Страница 15: ...of 35Mbps and shooting at 24fps for easier intercut to other source files Protune also improves color profiling for work on professional quality video created using major post production platforms Tur...

Страница 16: ...ter Capture Settings 4 Use to locate WB ICON 5 Press to enter White Balance sub menu 6 Use to cycle through options 7 Press to select highlighted option 8 To exit hold down for two seconds CHANGING SE...

Страница 17: ...ghted option 8 To exit hold down for two seconds Note Option LAST configures camera to start up in mode active when camera was last powered OFF One Button mode With One Button mode selected camera aut...

Страница 18: ...utton mode camera will start taking video as soon as turned on ntsc pal The NTSC and PAL settings govern video recording frame rate and playback when viewing video on a TV HDTV Select NTSC when viewin...

Страница 19: ...ess to select highlighted option 8 To exit hold down for two seconds LED Lights Keep all four LED Indicator Lights active only two active front and back or turn OFF all lights 4 default 2 OFF To chang...

Страница 20: ...er Off Camera can be configured to automatically turn OFF after a specific period of inactivity when no videos or photos are being taken and no buttons have been pressed MANUAL default 60sec 120sec 30...

Страница 21: ...s for day DD year YY hour HH and minutes MM 10 To exit hold down for two seconds Note IfbatteryisremovedfromcameraforextendedperiodofDATE TIME MONTH willneedtobesetagain delete Delete last file or all...

Страница 22: ...o will result in all files being erased from the memory card STORAGE MICROSD CARDS HERO3 camera is compatible with 2GB 4GB 8GB 16GB 32GB and 64GB capacity MicroSD MicroSDHC and MicroSDXC memory cards...

Страница 23: ...nd around water or other hazard The HERO3 rubber seal that lines camera housing door forms a waterproof barrier that protects HERO3 in wet and underwater conditions Keep rubber seal clean and locked t...

Страница 24: ...hand place thumb to left side of arrow and index finger just below latch arm 3 Pinch fingers together sliding arrow to the right 4 Use fingertips to pull upward allowing latch arm to swing to fully up...

Страница 25: ...connection fail Attach mount in room temperature conditions Mount s adhesive will not bond properly if applied in cold or damp environments Adhesive mounts can only be mounted to smooth surfaces porou...

Страница 26: ...occur to camera or battery if used together prior to full charge Using While Charging Camera connected to USB device If camera is connected to computer via USB and turned ON files on SD card may be v...

Страница 27: ...28MB of RAM PRO TIP Want to see your footage and stills on the big screen Aside from smooth playback on a computer the HERO3 also plugs directly into a high definition TV HDTV via Micro HDMI cable not...

Страница 28: ...55 CUSTOMER SUPPORT GoPro is dedicated to providing the best possible service To reach the GoPro Customer Support Team see gopro com support HERO3_UM_silver_Edition_ENG_MASTER indd 54 55 9 19 12 1 01...

Страница 29: ...56 57 HERO3_UM_silver_Edition_ENG_MASTER indd 56 57 9 19 12 1 01 PM...

Страница 30: ...58 59 HERO3_UM_silver_Edition_ENG_MASTER indd 58 59 9 19 12 1 01 PM...

Страница 31: ...60 61 HERO3_UM_silver_Edition_ENG_MASTER indd 60 61 9 19 12 1 01 PM...

Страница 32: ...62 63 HERO3_UM_silver_Edition_ENG_MASTER indd 62 63 9 19 12 1 01 PM...

Страница 33: ...64 RO3_UM_silver_Edition_ENG_MASTER indd 64 9 19 12 1 01 P...

Отзывы: