Goodmans X-Pro GLCD15M2 Скачать руководство пользователя страница 15

Colour Adjustment 


Press the Menu/Exit button to show the OSD 

Colour

 menu. 


The Contrast icon will be highlighted (white). 


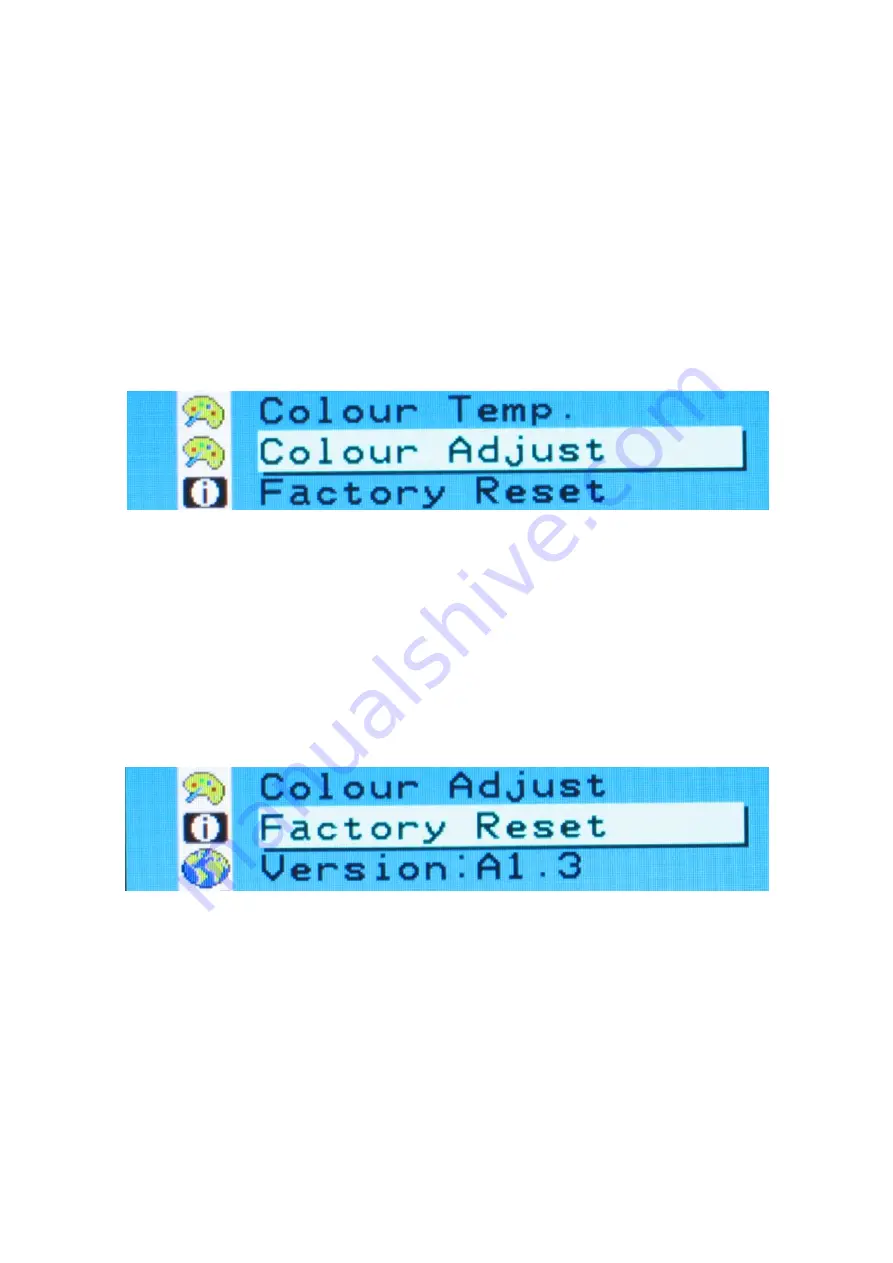
Press the Right control button, until the Colour Adjust icon changes to white to indicate it is 
the active function. 


Press the Mode/Enter button to select this option. 


Use the 

Left

 and 

Right

 control buttons to adjust the Red, Green, Blue level then press 

Mode/Enter button again. 


Press the Mode/Enter button to return to the previous option. 


Factory Reset Setting 


Press the Menu/Exit button to show the OSD 

Colour

 menu. 


The Contrast icon will be highlighted (white). 


Press the Right control button, until the Factory Reset icon changes to white to indicate it is the 
active function. 


Press the Mode/Enter button, this option resets all adjusted values back to their default settings 
at the time of first manufacture. 


15 

Содержание X-Pro GLCD15M2

Страница 1: ...GLCD15M2 GLCD17M 15 17 MONITOR INSTRUCTION MANUAL Goodmans Product Information Helpline 0870 873 0080 1...

Страница 2: ...ttons 11 Displaying the OSD Main Menu Only for PC mode 11 Selecting Items in the OSD Menu 12 Making Adjustments Via the OSD Menu 13 Colour Menu Adjusting Contrast 13 Adjusting Brightness 13 Adjusting...

Страница 3: ...for monitor settings adjustment and configuration with ease and instant feedback Supports analogue video input for direct and immediate replacement of CRT displays Supports composite video input for...

Страница 4: ...display The cover should be removed only by qualified service personnel Do not cover the air vents To avoid the risk of damage to the display and electrical shock do not expose the display to rain or...

Страница 5: ...CD monitor AC power adapter with attached DC power cable Power cord with 3 pin mains plug Scart video signal cable Note Place the display on a flat sturdy surface Choose an area free from excessive he...

Страница 6: ...function Right X 1 Item selection move upward or user adjustable value increasing In OSD menu 2 Adjusts the volume up Direct key function Left W 1 Item selection move downward user adjustable value de...

Страница 7: ...ed Note For best display performance it is strongly recommended that Auto Setup be used to automatically configure the display s settings only for Analogue input Connecting a set top box DVD players 6...

Страница 8: ...and then remove the power cable from the display Note For PC use only If the PC supplies power saving signals to the display the display s power management features reduce power consumption to low lev...

Страница 9: ...ring and to minimize eyestrain However with an LCD Monitor flicker is not an issue It is flicker free at all supported refresh rates The table in Video Mode on page 21 shows the image refresh rates su...

Страница 10: ...ay with fingers or other objects Handle the display with care The LCD module is a high quality optical device that requires special care when cleaning Warning Don t use liquid aerosol or abrasive clea...

Страница 11: ...usting The Display Functions of Control Buttons See Locations and Functions of Controls on page 5 Displaying the OSD Main Menu Only for PC mode To display the OSD Main Menu press the Menu Exit button...

Страница 12: ...tions as set at the time of first manufacture Picture Menu Press Mode Enter button into Picture Menu Picture Menu Item Description H Position Shift the image on the screen horizontally V Position Shif...

Страница 13: ...d 100 Press the Mode Enter button to return to the previous option Adjusting Brightness Press the Menu Exit button to show the OSD Colour menu The Contrast icon will be highlighted white Press the Rig...

Страница 14: ...adjust the Gamma correction Press the Mode Enter button again to return to the previous option Adjusting Colour Temp Press the Menu Exit button to show the OSD Colour menu The Contrast icon will be hi...

Страница 15: ...l buttons to adjust the Red Green Blue level then press Mode Enter button again Press the Mode Enter button to return to the previous option Factory Reset Setting Press the Menu Exit button to show th...

Страница 16: ...he menu To adjust the image position In H Position mode the Left button shifts the image left and the Right button shifts the image right In V Position mode the Left button shifts the image down and t...

Страница 17: ...ems in the OSD Set up Menu Item Description Contrast Adjust the level of difference between light and dark areas of the picture Brightness Controls the brightness of the picture Colour Temp Select the...

Страница 18: ...tton to locate the required option Then choose or adjust any item in the selected submenu by using Right or Left buttons Making Adjustments Via the OSD Menu To use the three Mode Enter X W control but...

Страница 19: ...ust be pushed in all the way B The message No Sync appears on my display This message appears when there is no video signal from the computer with cable already connected 1 Make sure that the computer...

Страница 20: ...sumption 28W 2CCFL 38W 4CCFL 40W Signal Input Video Signal Sync signals Analog RGB positive 0 7 Vpp 75 Separate TTL Level Video NTSC PAL Composite Line horizontal frequency Analog 31 5 kHz 60 kHz Vide...

Страница 21: ...n Dots x lines Vertical Frequency Refresh Rate VGA 640 x 350 640 x 480 640 x 480 640 x 480 70 Hz 60 Hz 72 Hz 75 Hz SVGA 800 x 600 800 x 600 800 x 600 800 x 600 56 Hz 60 Hz 72 Hz 75 Hz XGA 1024 x 768 1...

Страница 22: ...which is designed to synchronize to any display mode We recommend choosing one of the supported modes listed above If you choose an unknown mode you will need to manually adjust the clock phase and i...

Отзывы: