28
DV
D+R/R
W
Rec
ord
er
RW
R
ecor
ding
Funct
ions
1
1
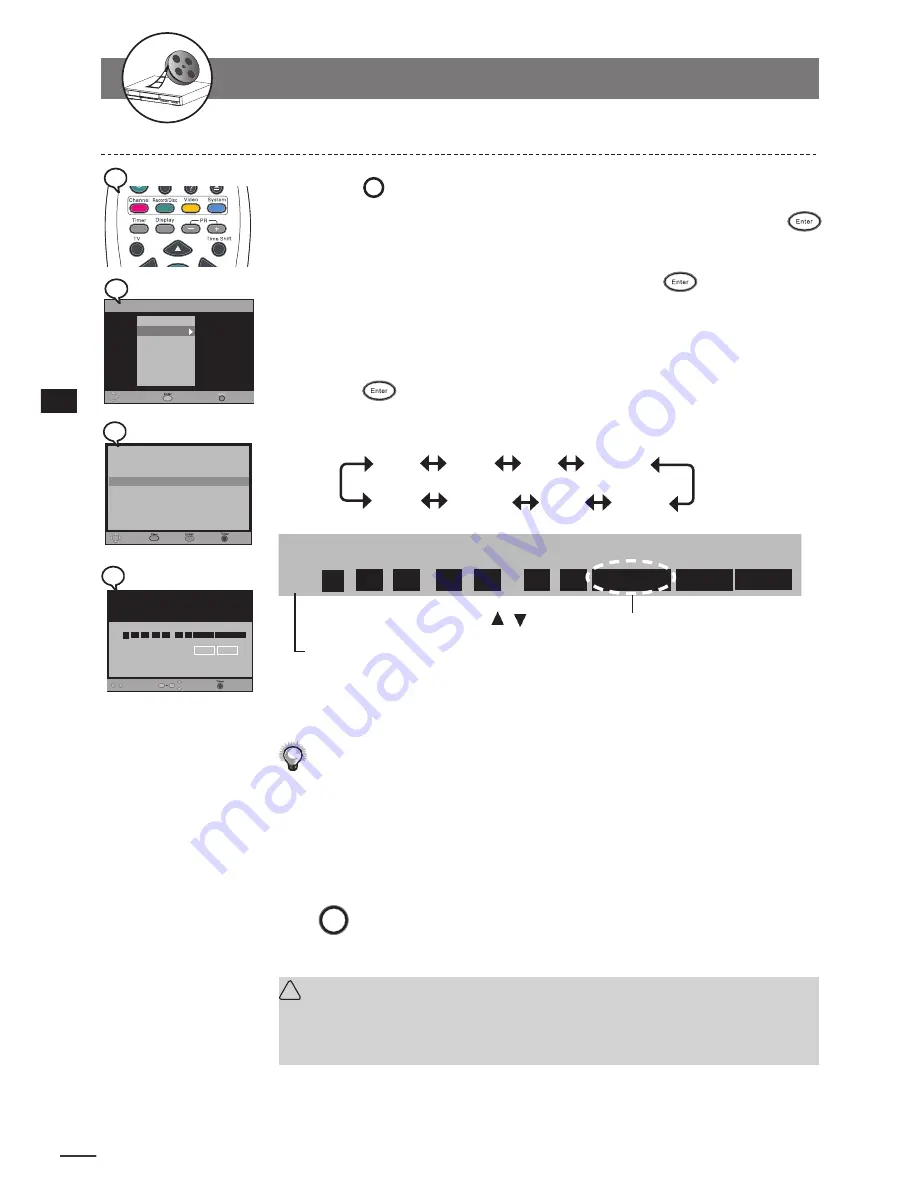
Press
Timer
Timer
at stop mode to display the menu.
2
Use
to select “Timer Event Setting” and press
Enter
.
3
Press
/
to select one entry, then press
Enter
.
This DVD Recorder provides up to
8
entries for schedule recording.
4
Use
/
to select the item you wish to change and use
/
or number buttons to change the settings, then
press
Enter
.
5
Use
to scroll through the following items.
Date
Start
End
Source
Save
Cancel
Freq
Mode
Example:
Move
Select
Save
Exit
ID Date
Start
End
Source Mode Freq
Recordable time: 040:48:33
Cancel
3 11 / 05 / 05 13 : 30
11 : 00 PR 001 HQ
Once
0
9
The default setting will be shown on screen for your reference after you select and
enter one entry.
Use /
to select the source of your A/V signals.
6
Press
Power
button to switch to standby mode.
Make sure Date and Time of this DVD Recorder be the same as your local
time. If not, check Date/Time Setting to correct it.
(Refer to Timer Setup
section)
Make sure the POWER source is uniterrupted during schedule recording.
To finish the setup operation
Press
Timer
to exit from Timer setup screen.
!
Important
:
After the recording schedule has been set up, a message will appear reminding
the recording time and storage location. Press the
POWER
button to switch to
standby mode.
Timer Recording
1-2
Recording
-continued
Move
Select
Save
Exit
ID Date
Start
End
Source Mode Freq
Recordable time: 040:48:33
Cancel
3 11 / 05 / 05 13 : 30
11 : 00 PR 001 HQ
Once
0
9
TIMER
Video Plus+
Timer Event Setting
DateTime Setting
Move
Exit
Select
Timer
Move
Exit
Edit
ID Date
Start
End
Source Mode Freq
1 16 / 11 / 05
21 : 30
22 : 20 SCART SP
Once
3 -- / -- / --
-- : --
-- : --
---
--
---------
4 -- / -- / --
-- : --
-- : --
---
--
---------
5 -- / -- / --
-- : --
-- : --
---
--
---------
6 -- / -- / --
-- : --
-- : --
---
--
---------
7 -- / -- / --
-- : --
-- : --
---
--
---------
8 -- / -- / --
-- : --
-- : --
---
--
---------
Delete
2 18 / 04 / 05 08 : 30
11 : 00 PR 123 HQ
Once
2
2
4
4
3
3
1
1


