background image

19

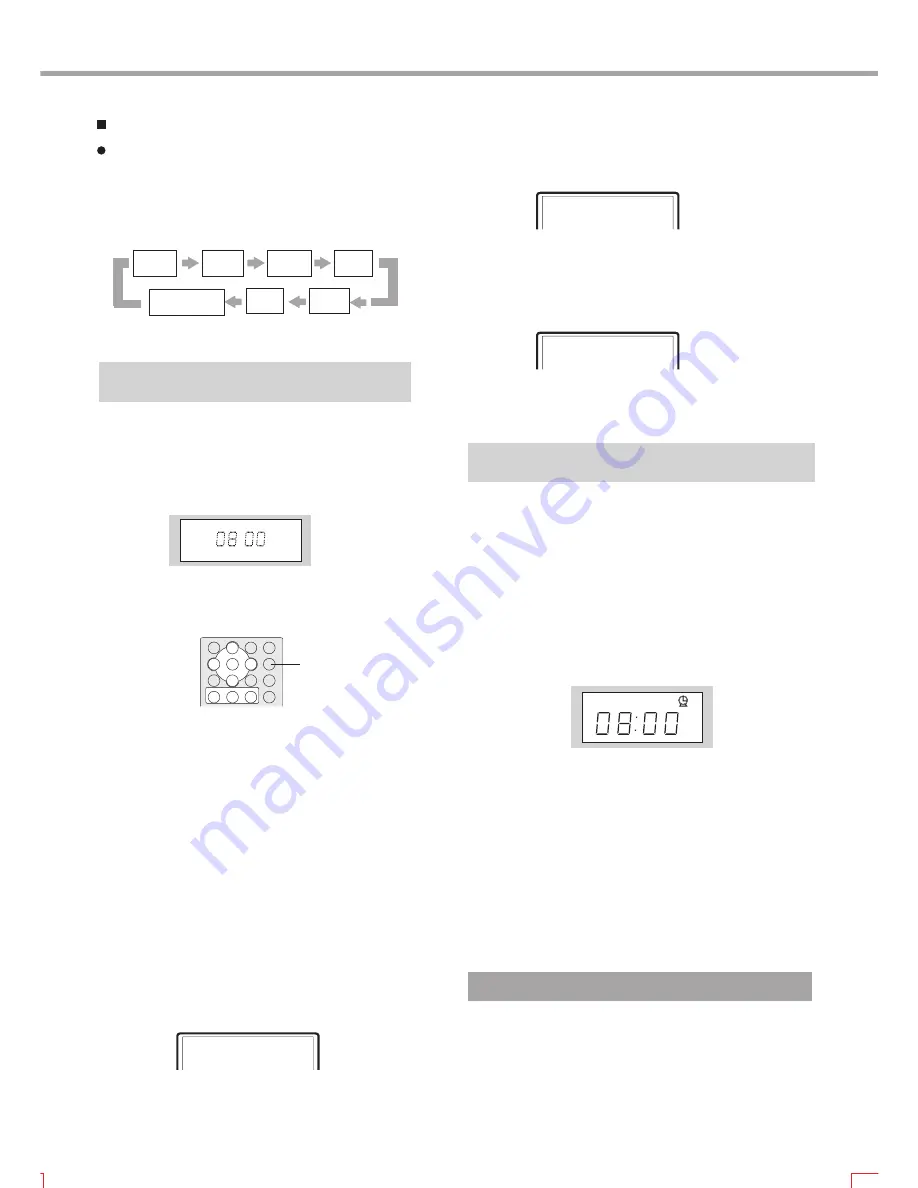
Press SLEEP button each time and the player 

switches to a sleep power-off state.

LCD screen displays:

TUNING mode and AUX IN mode:

TIME

05

10

15

30

60

90

SLEEP OFF

1. Press TIME button to enter time change state. 

The number flashes on LCD screen indicates that 

this position can be changed. Press number buttons 

and cursor button to change. After changing, press 

SELECT button to clock change state.

1. Press TIME button and TV screen displays 

the real time:

If the player is in playback mode:

NOW  TIME

2005-01-01

00-00-00

Auto Power On

The player can be set to automatically turn on at a preset time.

This can be set either with the unit powered up or when it is 

in its  standby mode.

2. Now press SLEEP button and you may set to open or 

close timing power-on function. If you set in open, the 

number flashes on LCD screen indicated that this position 

can be changed and please press number buttons and 

cursor button to change.

1. When in standby mode, press SLEEP button to enter 

timing power-on setup state and the LCD display will show:

3. After changing, press SELECT button to exit timing 

power-on setup.

If the player is in disc out state:

1. Press TIME button and TV screen displays:

TIME SET

- - - - - - - - - - - -

2. Press number buttons to input year, month, date,

hour, minute and second in turn.

TIME SETUP

05 01 01 00 00 00

3. Press SELECT button to exit clock setup.

If you do not need timing power-on function, please

turn off this function according to the above operation.

NOTE

- -

:

Setting The Clock Time

When the player is in standby mode,LCD screen will 

display the information of hour and minute,shown

as follows:

Содержание GDVD19SWS

Страница 1: ...Goodmans Helpline 0870 873 0080 Goodmans GDVD19SWS ...

Страница 2: ... in it so do not attempt to open the enclosure Only qualified personnel are allowed for maintenance CAUTION This DVD player contains laser system To prevent direct laser radiation do not attempt to open the enclosure Visible laser beam will radiate when the enclosure is opened or when the interlock device is released Do not stare at the laser beam Never place other things or articles upon the play...

Страница 3: ...unction switch Channel Volume Control Pause step Playback TV System selection DVD menu playback PBC Playback Mute Connections to AUX IN 1 Initial Setup AUX IN Direct selection playback function by number button LCD screen Subwoofer rear panel illustration Front Panel Illustration Connections to This Player Interlace connections to TV set Progressive Interlacing Output Mode OSD Language audio chann...

Страница 4: ...m 74min LD 44 1kHz 16bit 30cm 20cm 1 side 60min 2 sides 120min Digital MPEG2 Single sided 1 layer 4 7G Single sided 2 layers 8 5G Double sided 1 layer 9 4G Double sided 2 layers 17G 133min 500 lines or more Multiple Dolby Digital Linear PCM 32 types 242min 266min 484min DVD 48kHz 96kHz 16 20 24bit 12cm 8cm Recording Method Capacity Playback time Disc Diameter Horizontal Resolution Aspect Ratio Sub...

Страница 5: ...ts to satisfy the Fans acoustic requirements Features Screen saver protects your TV set carefully Mp3 playback window makes it easy to play back MP3 files Multi angle playback function makes it possible for you to view a scene from different camera angles It s possible to select the desired beginning development and ending of a story Direct entry into desired scenes title chapter time track search...

Страница 6: ... 1 Applies to CD disc CD DIGITAL VIDEO MP3 Types CD DA Digital audio SVCD Compressed digital audio compressed digital video dynamic picture VIDEO CD Compressed digital audio compressed digital video dynamic picture MP3 Compressed digital audio Sizes Recorded Contents DVD Compressed digital audio compressed digital video dynamic picture 12cm or 8cm 12cm or 8cm 12cm or 8cm 12cm or 8cm 12cm or 8cm Wh...

Страница 7: ... 7 8 11 FUNCTION button Rear panel Illustration 1 2 3 4 5 6 7 8 9 10 6 2 3 5 9 7 10 Headphone socket Audio output terminal AUX IN 1 4 AUX IN 2 8 Component video Y Pb Pr output terminal Optical output terminal for digital audio Coaxial output terminal for digital audio Video output terminal I Link output terminal Power socket 10 11 Display window AUDIO OUT AUXIN1 I LINK VIDEO OUT OPTICAL AUXIN2 COA...

Страница 8: ...nel Illustration 2 Power cord LCD screen DVD disc VCD SVCD discs 3 2 Mp3 disc External input indicator DOLBY DIGITAL 6 4 5 9 8 10 11 7 Play Pause Repeat 1 SVCD MP3 CD AUX L R 3 5 1 2 3 5 6 7 8 10 9 11 4 10 CD DISC Timing setup display Playback information Power output right Power output left 230V 50Hz ...

Страница 9: ...Switch video output to the Interlace Progressive YPbPr mode Adjusting sound field effects SF Button 19 VOLUME 22 Skip backward PREV Button 23 Adjusting equalization effects EQ Button 20 18 VOLUME 21 Pause or play frame by frame PAUSE STEP Button 26 Skip forward NEXT Button 24 25 TITLE Button 28 DVD titles Display DVD menu or open close PBC 27 MENU Button Switch the TV system between PAL NTSC and A...

Страница 10: ...ensor on the front panel within an angle of 30 and a range of 3 metres How to use the remote control Cautions Never drop remote control or expose it to moisture Never expose the infrared remote sensor on the front panel to direct sunlight or strong beams When the batteries become low replace them in time Step 1 press toward left as illustration 1 Cr2025 1 Step 2 take out outwards as illustration 2...

Страница 11: ...nplugged powering up this system AUDIO OUT AUXIN1 I LINK VIDEO OUT OPTICAL AUXIN2 COAXIAL COMPONENT VIDEO OUT POWER Subwoofer Insert main speaker cord into left and right output socket in the rear panel of subwoofer speaker Connect one end of mini I Link line to its socket of DVD player and other end to the mini I Link socket in the rear side of subwoofer speaker 230V 50Hz ...

Страница 12: ...DEO OUT POWER Subwoofer L R 230V 50Hz 3 5mm white colour Audio L R output socket 3 5mm red colour Audio L R input socket Mini I link Cord RCA yellow colour video output socket Audio Video to scart LINE OUT CABLE SCART CONNECTION TO YOUR TV Connect this scart plug to the Scart AV input socket on your TV ...

Страница 13: ...o the above connection of external audio input Meanwhile press FUNCTION button to switch this player to AUX IN1 mode Please refer to page 18 for details Rear Panel Main Speaker CD PLAYER Audio Out Main Speaker Min I Link Cord Subwoofer AUDIO OUT AUXIN1 I LINK VIDEO OUT OPTICAL AUXIN2 COAXIAL COMPONENT VIDEO OUT POWER 230V 50Hz ...

Страница 14: ...ECTIONS If you want to enjoy music from external equipment please connect according to the above connection of external audio input Meanwhile press FUNCTION button to switch this player to AUX IN 2 mode Please refer to page 18 for details Rear Panel Main Speaker Mini I Link Cord L Audio R Out Main Speaker Subwoofer 230V 50Hz ...

Страница 15: ...lifier with DOLBY DIGITAL DTS Decoder Connect either of the cords 75 Coaxial Cord Amplifier with DOLBY DIGITAL DTS Decoder DTS and DTS 2 0 Digital Out are the trademarks of Digital Theater Systems Inc Manufactured under license from Dolby Laboratories Dolby and the double D symbol are trademarks of Dolby Laboratories AUDIO OUT AUXIN1 I LINK VIDEO OUT OPTICAL AUXIN2 COAXIAL COMPONENT VIDEO OUT POWE...

Страница 16: ...IN1 I LINK VIDEO OUT OPTICAL AUXIN2 COAXIAL COMPONENT VIDEO OUT POWER Progressive Scanning TV set Connections for a 13 SYSTEM CONNECTIONS Rear Panel Progressive Scanning TV set Audio In Audio Cord SOURCE CH VOL MENU ...

Страница 17: ... PS button to switch video of this player to interlacing output mode In interlacing output mode progressive output is not available If audio output of this player is also connected with TV set please connect left and right channel output of audio output to the same group of audio input terminals with that of video input of TV set If TV set has component video input you may use component video outp...

Страница 18: ... mode This player s interlacing scan mode does not support the old style 100Hz colour TV set When there are no audio and video outputs if you switched on this player or pressed the above two buttons and the LCD works normally please check whether this player s progressive scan or interlacing scan mode corresponds to that of the TV set NOTES Please turn off power supply when you are not going to us...

Страница 19: ...PBC Playback You can enjoy the menu playback alternate function when playing SVCD VCD 2 0 discs with menu playback function In the setup menu you can set the menu playback mode and select menu playback or sequence playback Please refer to page 25 for details For example Play VCD2 0 disc 1 Main menu displays on TV screen Press number buttons to select For example press number button 1 to select mai...

Страница 20: ...For example select the track 16 Press the 10 button twice and then press the number buttons 0 9 to select the according track if the track number is above 20 including 20 The rest can be performed by analogy Language Audio Channel Selection 1 Press AUDIO button Youmay select the language you desire when playing multi language DVD SVCD discs DVD disc SVCD disc You may select audio output from left ...

Страница 21: ...and you may switch in 3 modes of DVD and AUX IN The sequence of mode switch is AUX IN 1 DVD AUX IN 2 AUX MENU BITRATE 85 TITLE ELAPSED 0 01 25 Disc Format D5 DISC Video Type NTSC Video Scale 4 3 Title 01 01 MENU BITRATE 85 TITLE ELAPSED 0 01 25 Video Type NTSC Video Scale 4 3 Title 01 01 Chapter _0 05 MENU BITRATE 85 TITLE ELAPSED 0 01 25 Video Type NTSC Video Scale 4 3 Title 01 01 Chapter 04 05 S...

Страница 22: ... SLEEP button and you may set to open or close timing power on function If you set in open the number flashes on LCD screen indicated that this position can be changed and please press number buttons and cursor button to change 1 When in standby mode press SLEEP button to enter timing power on setup state and the LCD display will show 3 After changing press SELECT button to exit timing power on se...

Страница 23: ...When playing discs you may press A B button to repeat playback of certain section you desire 1 Under normal playback press A B button at the desired point point A to set the beginning TV screen displays 2 Under normal playback press A B button at the desired point point B to set the ending TV screen displays The player returns to point A automatically to repeat the selected section A B 3 Press A B...

Страница 24: ...hapter search For example search Chapter 2 Title 6 Press GOTO button and the TV screen displays Press CURSOR button to lighten the title number as shown in the figure Press number button 6 to select Title 6 as shown in the figure And then press number button 2 to select Chapter 2 as shown in the figure 2 Title time search Press GOTO button until the TV screen displays the following picture Then pr...

Страница 25: ...he course of playing an operation menu will display and the details are as follows Status Window Display the current status information Directory Window Display the current path File Window Display the file in the current path Scroll bar Window Indicate the position of the current file Information Window Display The Information Of The Current Operation The displayed status information on the statu...

Страница 26: ...ll search disc information enter file playback means and display operation menu shown in the following figure the display content varies with disc 00 00 00 00 001 369 MP000 MP001 MP002 A V A V A V MP003 A V If your disc includes MP3 file after disc being recognised the operation menu of this player will only include MP3 file and will automatically play these files in sequence If you want to enjoy ...

Страница 27: ...ORMAL LB WIDE is only applicable to the WIDE TV Please select the aspect ration in accordance with that of your TV The playing effects are contingent upon the disc s recording aspect ratio Some discs may not be played according to your selected aspect ratio NOTES 2 OSD Lang This item is used to set the prompts language on the screen Optional settings English French German Spanish Italian Default E...

Страница 28: ...ging Method to adjust tone control A Press Up or Down cursor buttons to select tone item in Audio Setting page and then press Select button to enter Adjustment Menu B Press Left or Right cursor button to adjust setting value C Press Select button to return to Audio Setting page after adjustments are done FUNCTION SETUP ...

Страница 29: ...26 English French Spanish Chinese Japanese Korean Russian Thai Others Off English English FUNCTION SETUP English French Spanish Chinese Japanese Korean Russian Thai Others ...

Страница 30: ... MUTE button again Connect signal securely Reset the AV TV status of your TV set Load a disc Reload a disc with the label side facing up Turn on the player unload the disc and leave it on for about one hour Remote control not pointing to the sensor window Remote control s operating distance more than 3 meters away from your TV set Batteries low Use the remote control properly Replace both batterie...

Страница 31: ...stics Operating Humidity 15 75 no condensation Operating Temperature 5 35 Analog audio output stereo output Digital Audio Output Coaxial Output Optical Out socket Video Output Progressive Scan Output Y Pb Pr Component Video Output Y Cb Cr Stereo headphone 28 The design and explanation of this product are subject to change and renovate without notice We cannot ensure all the discs are fluently read...

Страница 32: ...bwoofer GDVD19SWS L R GDVD19SWS subwoofer GDVD19SWS L R 650mV 71dB General specifications Dimensions for subwoofer speaker Power supply Max power consumption Weight Dimensions for main speaker Rated power total harmonic distortion for amplifier 1 Technique and specifications are changed without further notice Total harmonic distortion plus noise normal working condition 1 15 250 unit mm unit mm ...

Страница 33: ...30 OTHERS ...

Страница 34: ...31 OTHERS ...

Страница 35: ...5193885 V 2 0 ...

Отзывы: