English
GREAT BRITAIN
customer service
tel:
020 8247 9300
e-mail:
internet:
www.clasohlson.co.uk
Ver
. 20150107
USB to HDMI adaptor
Art.no 38-4614
Model AN2820
Please read the entire instruction manual before using the product and
then save it for future reference. We reserve the right for any errors in
text or images and any necessary changes made to technical data.
In the event of technical problems or other queries, please contact our
Customer Services.
Product description
Functions as an external graphics card which converts a computer
USB port into an HDMI output allowing for direct display onto an additional
monitor. Can be used to mirror your screen image or to double your work
area (increase Windows desktop). Audio signals are also transmitted
through the adaptor.
Connect an HDMI cable (sold separately) the between the USB to
HDMI adaptor and the additional monitor.
Supports resolutions of up to 1920 × 1080 pixels.
Package contents
• USB to HDMI adaptor
• Instruction manual
• USB cable
Installation
Compatible operating systems:
Windows 7 (32/64-bit), 8 (32/64-bit), Vista and XP (SP3).
Note:
It is very important that your graphics card drivers are updated
before beginning installation.
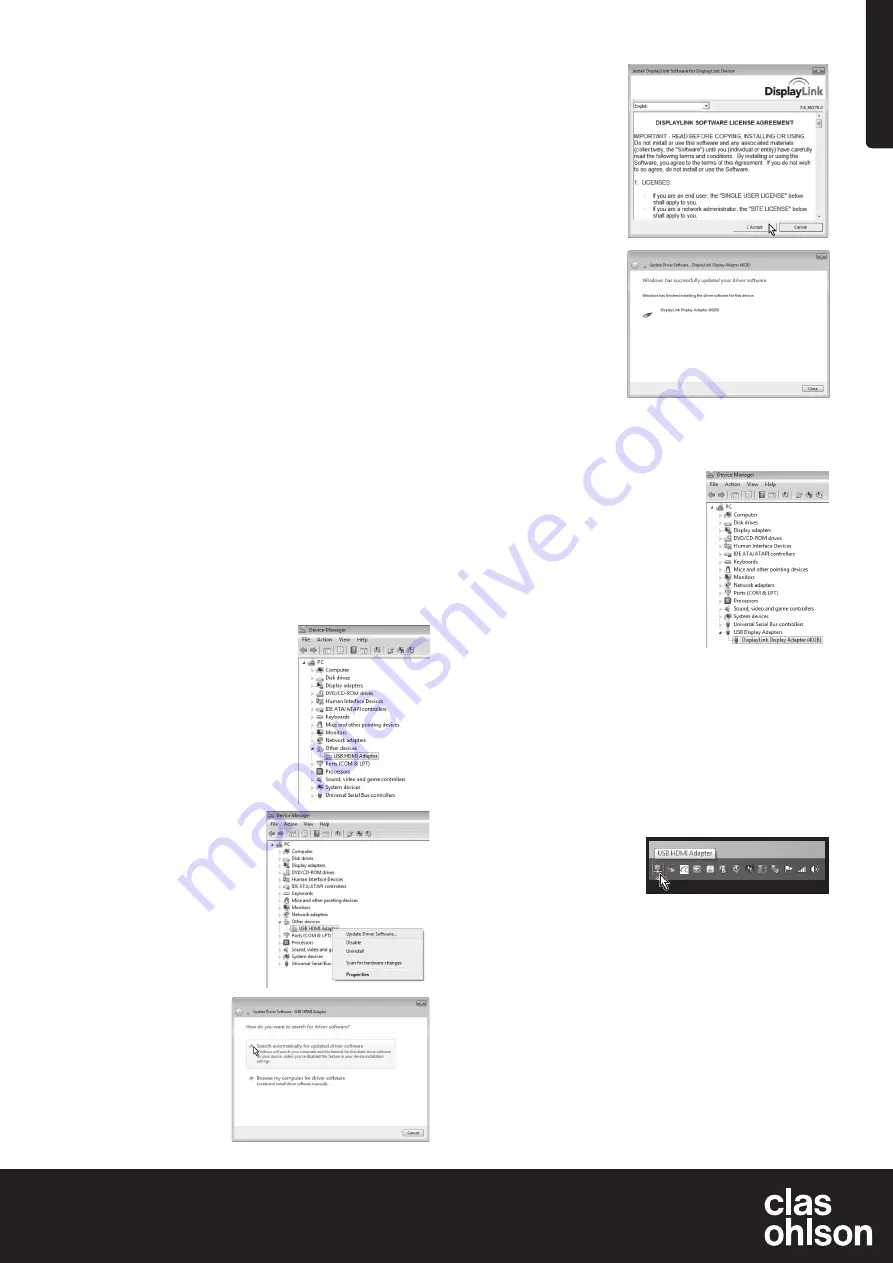
Example installation on Windows 7 (English version)
1. Connect the adaptor to an USB port (version 2.0 or later) on your
computer.
2. The adaptor will automatically
be detected and displayed
in “Control Panel” in “Other
devices” under “Device
manager”. Its display name
will be “USB HDMI Adapter”,
but it will be marked initially
by a warning icon as all of its
drivers have yet to be installed.
3. Right click the
USB HDMI
Adapter
icon and select
Update Driver Software
.
4. If you encounter a “User
Account Control” dialogue
box when attempting to
install the drivers, enter your
administrator’s password.
Otherwise click on
Allow/Yes
to continue installation.
5. Click on
Search
automatically for
driver software
in order to start
an Internet search for
the latest drivers.
6. Once the latest drivers
are found the “Licence
agreement” box should
then appear. Click on
I Accept
to continue
installation.
7. A warning dialogue
will appear once
the installation starts,
warning you that
possible screen flashing
or black screens
might occur during
installation. Installation
may take some time.
Allow the installation
process to complete
and wait for further instructions. All software configuration takes
place automatically. Wait until the message “Windows has
successfully updated your driver software” is shown, to confirm
successful installation. Click on
Close
to continue.
8. The adaptor should now appear in
“Control panel/Device Manager” using
its specific model name. The name
should read “Display Link display
Adapter”, confirming that all drivers
have been installed.
Operating instructions
Connect an HDMI cable between the adaptor and the extra monitor.
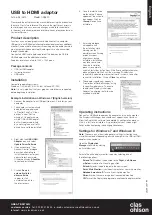
The DisplayLink Manager icon should now appear in your taskbar.
Allow the DisplayLink software to complete its configuration process,
if this is a first time installation. It is possible that your screen might
flicker or blackout during the configuration process.
Settings for Windows 7 and Windows 8
Note:
These are only meant to be general settings instructions and
may differ somewhat depending on which computer the USB to HDMI
adaptor is connected to.
Open the
DisplayLink
Manager
software by clicking
on its taskbar icon.
Activate the extra display monitor/screen by selecting one of
the following options:
Extend To:
Stretches the desktop to the
Right
,
Left
,
Above
or
Below
in relation to its existing position.
Extend:
Extends the desktop onto the new screen.
Set as Main Monitor:
Uses the extra monitor as your main monitor.
Notebook-monitor off:
Turns off your laptop monitor.
Mirror:
Mirrors the same image on all connected monitors.
Off:
Turns off the DisplayLink programme and the extra display monitor.


