background image

INSTRUCTIONS FOR USE

WARNING:
Hold the plug when rewinding the cord. Do not allow the cord to whip when rewinding.

Use and function 
Assembling vacuum cleaner 

Note:
Always remove the power plug from the wall outlet before assembling or removing accessories.

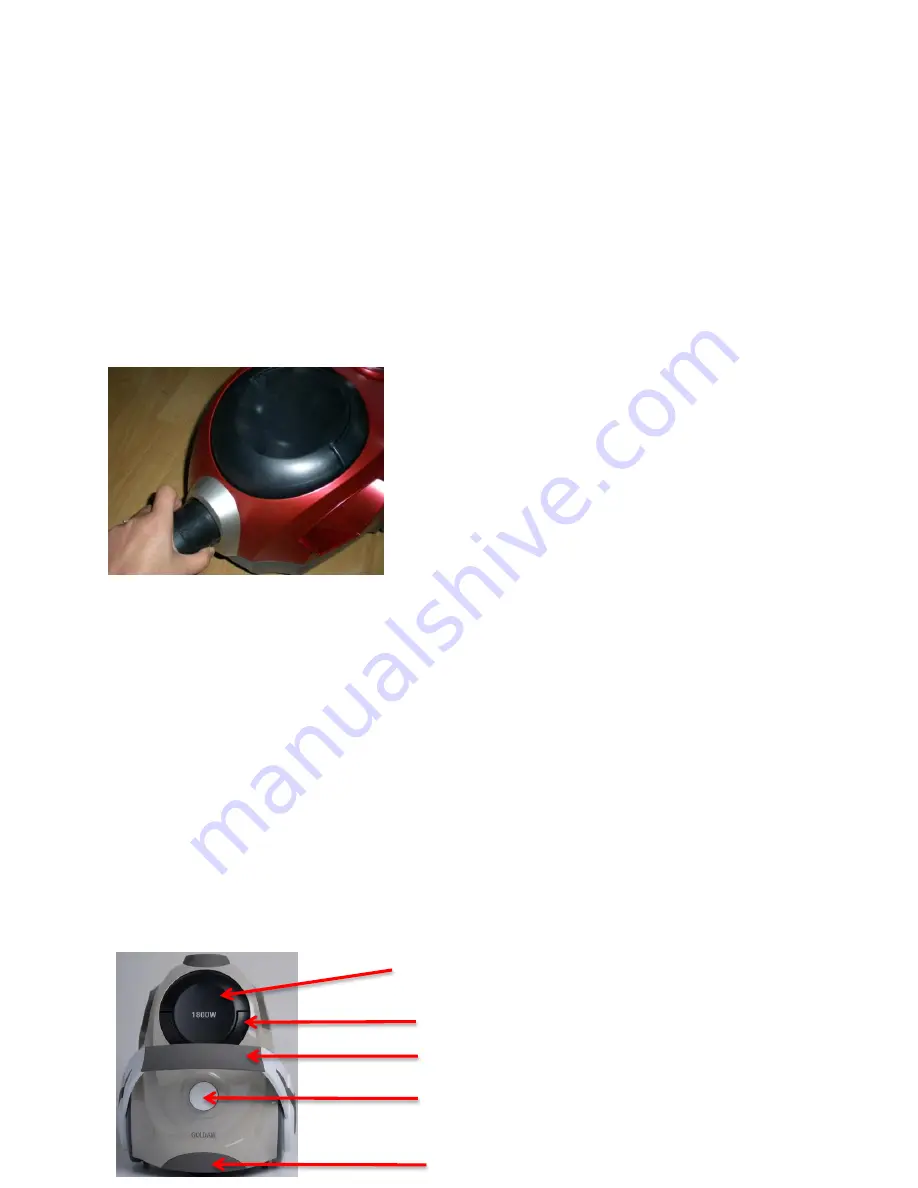
1.) Attaching the Flexible Hose into the vacuum.

-

Connect the flexible hose into the air intake duct, push in until you hear a “click”, indicating it is in its 

locked position.

2.) Fitting the tube to the curved wand/hose extension. 
- Push the tube into the curved wand/hose extension.

3.) Fitting the Floor Brush to the tube. 
- Push the tube into the floor brush. Adjust the telescopic tube to the desired length.

Variable suction control 
Note:

Once all attachments are in place, unwind the entire length of the power cord and insert the plug into 

the wall outlet. A yellow mark on the power cord shows the maximum ideal cable length. 

NOTE: Do not pull the power cord beyond the red mark.

1.) Insert the power plug into the wall outlet.
2.) Press the power button / control dial to turn the vacuum cleaner “on”.
3.) To adjust the suction, turn the control dial clockwise to increase power or anti-clockwise to decrease 
power on the vacuum cleaner. 
4.) To rewind the power cord, press the cord rewind button with one hand and guide the power cord 
with the other hand to ensure that it does not whip causing damage or injury.

Dust Canister Handle

Handle

Cord Rewind

Dust Canister

Power Button / Control Dial

Содержание GVC350

Страница 1: ...Cyclonic Vacuum Cleaner Model GVC350 OPERATING INSTRUCTIONS GVC350 220 240V 50Hz 1800W Vacuum Cleaner ...

Страница 2: ...ner when plugged in Unplug from outlet when not use and before servicing Use outdoors or on wet surfaces Never use this appliance for any purpose other than its intended use This appliance is for household use only This appliance is not intended for use by persons including children with reduced physical sensory or mental capabilities or lack of experience and knowledge unless they are supervised ...

Страница 3: ...Air Intake Duct Wheel Handle Power Button Control Dial Cord Rewind Dust Canister Handle Dust Canister Telescopic Tube Crevice Tool Floor Brush ...

Страница 4: ...he telescopic tube to the desired length Variable suction control Note Once all attachments are in place unwind the entire length of the power cord and insert the plug into the wall outlet A yellow mark on the power cord shows the maximum ideal cable length NOTE Do not pull the power cord beyond the red mark 1 Insert the power plug into the wall outlet 2 Press the power button control dial to turn...

Страница 5: ...ng dust from dust canister 1 Lift dust canister handle 2 Remove dust canister from vacuum by lifting out 3 Press dust release lever located on the bottom of the canister to open the canister please note this should be done over a rubbish bin as all contents will be released Removing cleaning pre motor filter and Hepa outlet filter Warning Always unplug the unit from electrical outlet before removi...

Страница 6: ...ced Note The suction hole must be open and free of any obstructions at all times Otherwise the motor will overheat and may become damaged Important All filters should be checked regularly for signs of damage preferably after each cleaning task The filters must be replaced immediately if they become damaged Always disconnect the vacuum from the electrical outlet when checking the filters 1 2 SUPPOR...

Страница 7: ...the time of purchase It is in your interest to make sure this is done If the product is to be replaced cannot be repaired then that replacement will be of the same or similar product or accessory excluding packaging instruction card etc Where a replacement product is supplied this shall be guaranteed for the balance of the original warranty period Any model that is no longer available will be repl...

Отзывы: