


3
Printer Setting and Control
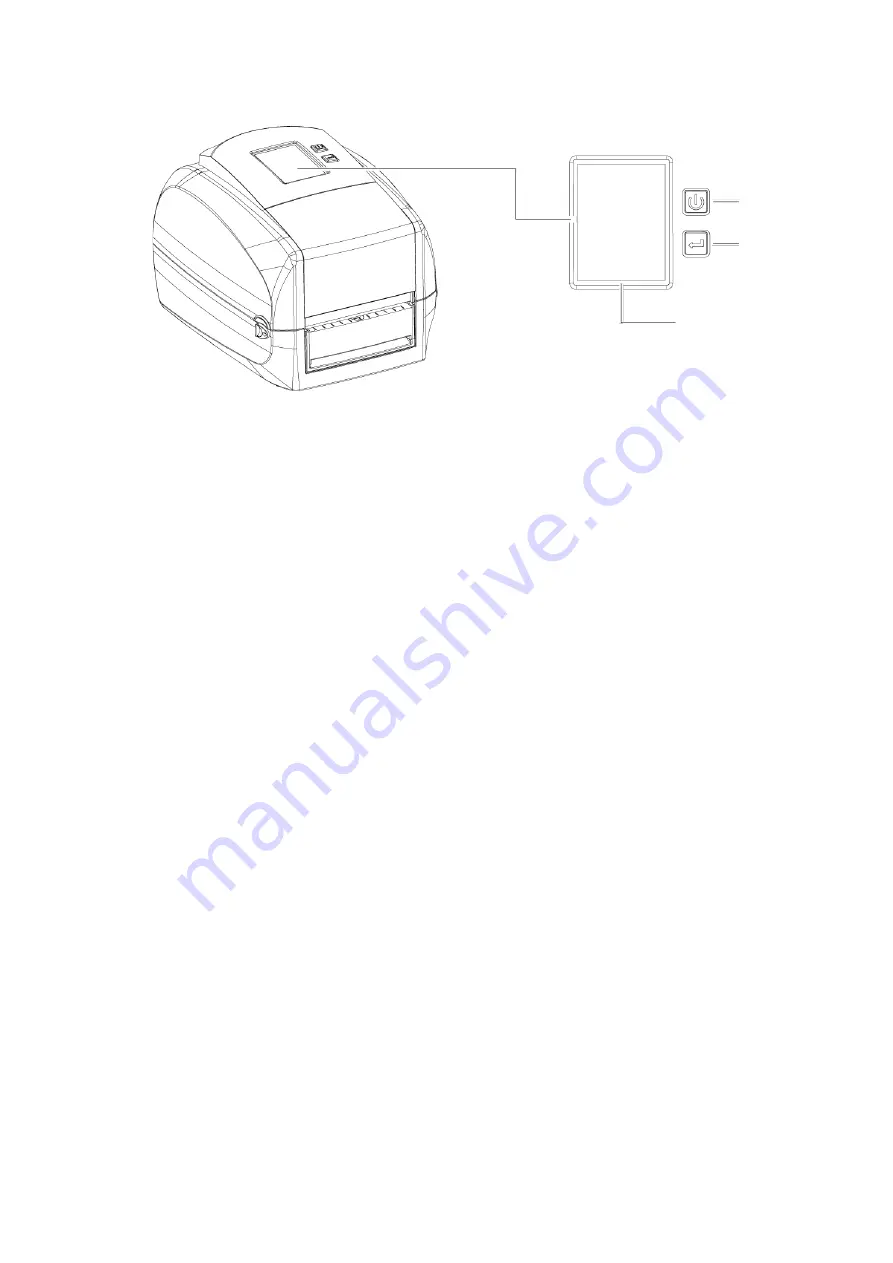
3.1 Operation Panel
POWER Button
Press the POWER button to turn on the printer, and the START UP SCREEN appears. The printer is on “ready to
print” status, the LCD screen should display the message “READY“ on the screen.
When printer is turned on, hold and press down the POWER button for 3 second will turn the printer off.
FEED Button
When you press the FEED button, the printer will advance media until the FEED button is released.
If you are using continuous labels, pressing the FEED button will advance a length of media until the button is
released.
If you are using media with gaps, pressing the FEED button once will advance only one label.
If the label does not stop at the correct position, you need to run the auto-detection function for your media,
please see Section 3.4 Label Calibration and Self-Test.
PAUSE PRINTING_FEED Button
Pressing the FEED button during printing will
interrupt printing, and the LCD display message “PAUSE...”.
When the FEED button is pressed again, the printer resumes printing. Example: While a 10-label print job is
running, you press the FEED button to pause the printer. Two of the labels have been printed. To resume printing
and print the remaining eight labels, you will need to press the FEED button again.
CANCEL PRINTING_FEED Button
Press and hold the FEED button for 3 seconds during printing, the current print job will be cancelled.
Example: While a 10-label print job is running, you press the FEED button. Two of the labels have been printed.
The print job is cancelled and the remaining eight labels will not be printed.
OPERATION TOUCH PANEL
TOUCH PANEL
POWER BUTTON
FEED BUTTON
Содержание RT800i Series
Страница 25: ...7 Driver installation completed ...
Страница 45: ...5 Once the installation is completed you will see the NetSetting icon on your desktop as right diagram ...
Страница 65: ...5 4 Cleaning Method 1 Remove the screws and cover 2 Wipe with a cotton swab or dry lint free cloth ...
Страница 67: ...5 5 Installing the bluetooth module For RT833i RT863i Step 1 Step 2 Step 3 Bluetooth Module ...
Страница 69: ...5 6 Installing the WiFi Module For RT833i RT863i Step 1 Step 2 Step 3 ...
Страница 97: ...5 Click WiFi Setting icon 6 Click Quick Setting icon ...
Страница 98: ...7 Click the Search button ...
Страница 99: ...8 Select server and click next button 9 Enter the password set on the server side and click the Setting button ...


