W1:
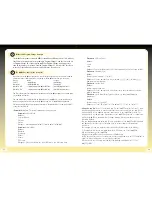
Opens the matrix window used to create UserWave1.
In addition to a traditional subtractive method, the impOSCar also
allows the user to create and store an assortment of additive waveforms
generated by mixing
the fundamental and 23 harmonics.
There are two UserWave locations, the settings from
which can be assigned to either or both OSC1 and
OSC2. The settings assigned to each UserWave location
can be saved as part of a patch and as individual
UserWaves for quick recall. (See the using User Waves
section on page 18).
W2:
Similar to the W1 mode but used to create the
waveform for UserWave2.
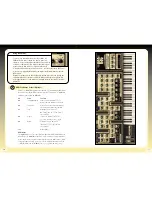
NO:
Selecting this Edit Mode reveals a window above each knob, button or
controller. Here you can select the MIDI Continuous Controller (CC) you wish to
control any impOSCar parameter, extremely useful when using an external control
device that transmits a fixed range of MIDI CC’s, such as the Phat•Boy. The
impOSCar comes with a pre-defined list of controller numbers (see page 21) but
these can be easily changed to suit your needs.
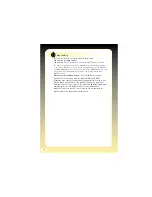
A MIDI CC ‘learn’ function is also available in this mode.
This is activated in the following way: Click on the
green ‘L’ button above any knob. Now move your
external controller’s knob or slider. The MIDI CC value
that the external controller knob or slider has
transmitted will appear in the parameter value box.
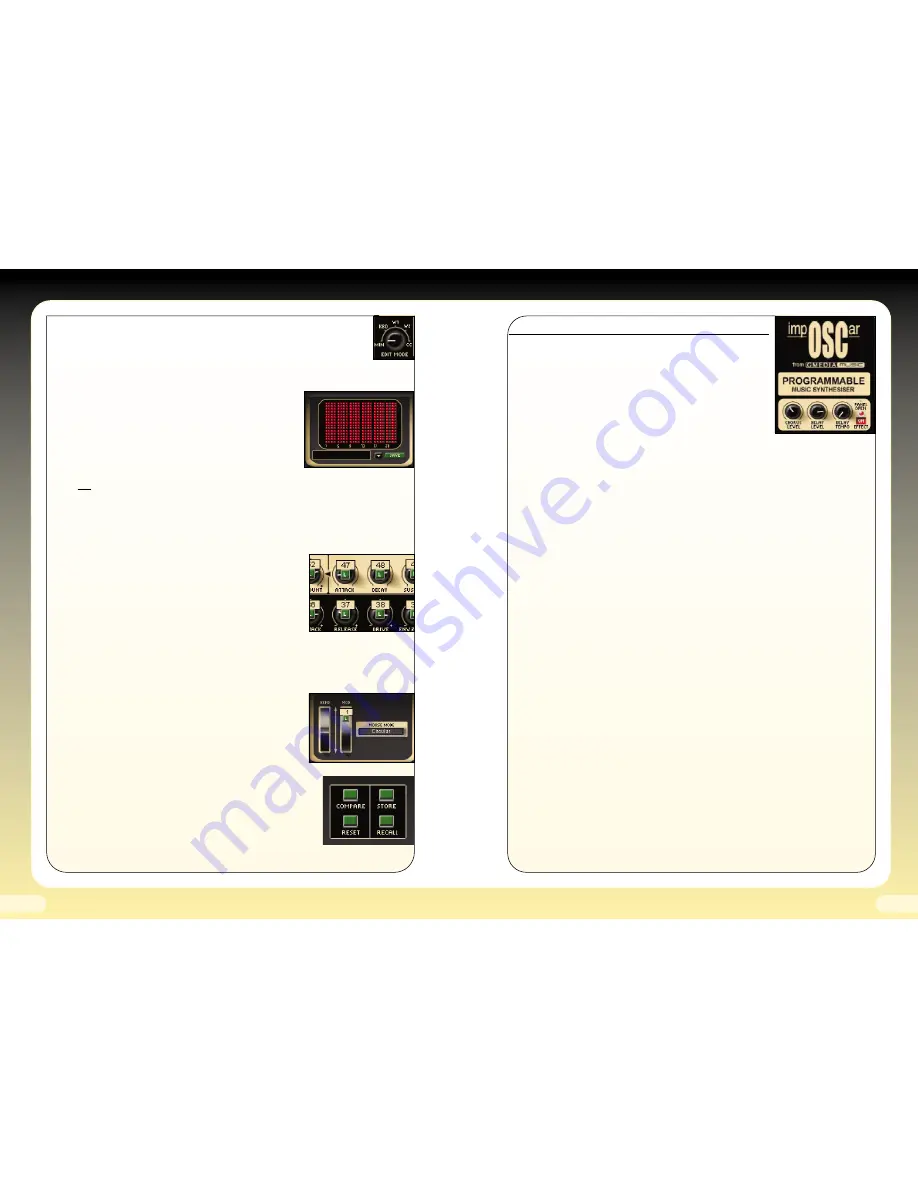
Mouse Control (System Default window)
By clicking on the System Default window
it’s also possible to determine the way the impOSCar’s knobs react to mouse
control. The choices are as follows:
System Default:
Simply sets the default control method
as determined by your host application.
Circular:
Sets the mouse control method to circular
movements.
Linear:
Sets the mouse control method to horizontal and
vertical movements.
Panel Switches
Compare
- switches between the panel settings you've set, and
the original ones of the selected program.
Reset
- puts parameters back to the original ones for
that program.
Store
- puts the panel settings into a temporary memory.
Recall
- reads the temporary memory back to the panel
.
17
16
Effects Section
The impOSCar also features a chorus and delay effects
section. This is revealed or closed by clicking on the Panel
Open/Close text situated to the right of the Chorus Level,
Delay Level and Delay Tempo knobs. To turn the effects ON
or OFF click on the green Effect On/Off button. Effects
settings are stored as part of an impOSCar patch.
Chorus Depth Knob:
Sets the depth of the chorus effect.
Chorus Rate Knob:
Sets the speed of the chorus effect.
Chorus Level Knob:
Controls the amount of chorus applied to your
impOSCar patch.
Gate Knob:
Using the 12 O’clock position as a zero value, turning the knob to the
right will produce a ‘gating’ effect, the percentage of which indicates the drop in
delay mix when there is no input signal present. This is especially useful for
rhythmic sounds where you want to make them bigger but keep the sound tight.
Turning the knob to the left will produce a ‘ducking’ function. This will be the
percentage by which the delay mix is dropped when there is signal present and is
particularly useful for lead sounds where you want clarity when playing fast runs,
and yet still producing a nice echo within the gaps.
Delay Units Knob:
Sets
the beat divisions between 32 and 4.
Use this in
conjunction with the left and right Delay Length Knobs to create interesting delay
times for left and right channels respectively.
For example if you want to set a delay
time of 3/16 set the delay length to 3 and the units to 16.
Delay Hi Pass (HP) Filter Knob:
Allows you to filter out the low frequency of the
delay feedback or signal and lets the high frequency feedback pass through.
Delay Lo Pass (LP) Filter Knob:
Allows you to filter out the high frequency of the
delay feedback or signal and lets the low frequency feedback pass through. Used
in conjunction with the HP Filter you can fine-tune the delay feedback so that
your sound retains its depth without becoming too ‘muddy’.
Left and Right Delay Length Knobs:
Sets the delay time for the left and right
channels between 1 and 32 units. Use these to create wide stereo delays.
Left and Right Feedback Knobs:
Use these to set the feedback level for left and
right channels respectively.
Crossed and Uncrossed Button:
Works with the Left and Right Feedback Knobs
for different delay effects. When uncrossed, the signal from the left output feeds
back into the left input and the signal for the right output feeds back into the
right input. When crossed the signal from the left output feeds into the right
input and the signal from the right output feeds into the left input.
Left and Right Channel Mix Knobs:
Sets the overall level of the left and right
delay channels.
Delay Level Knob:
Sets the global level of the delay effect.
Delay Tempo Knob:
Sets the global delay tempo from between 32 and 192BPM
with the option to sync to the host application tempo when switched to MIDI BPM.


