25
26
1
impOSCar AU: Loading and saving sounds
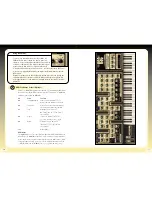
During installation of the impOSCar AudioUnit the additional sounds banks are
installed to a folder, ‘impOSCarAUpresets’, on your desktop. From here they can be
loaded via the standard method used by your host application.
If
using
Apple’s Logic
,
it is our recommendation that you put the
‘impOSCarAUpresets’
folder containing the additional sound banks in the following folder for
Logic 6+
:
\Logic 6+\Plug-In Settings\
and for
Logic 7+
:
Library/Application Support/Logic/Plug-In
Settings/ImpOSCar
With the additional sounds stored in the
‘Plug-In Settings’ folder you will be able to
access all the banks via Logic’s normal patch
management system.
When you open an instance of the impOSCar
it automatically has the DefaultimpOSCarBank
loaded into it’s memory.
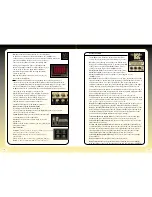
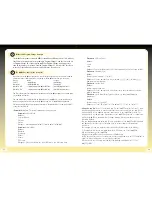
Each of the impOSCar’s sound banks contains
36 Patches. Each Patch can be accessed by
clicking on the ‘Selected Patch’ window from
where a drop down menu will appear allowing
you to select the desired Patch in the usual
manner.
Saving Edited Patches
Having edited or tailored an impOSCar Patch to
suit your own needs you will obviously want to
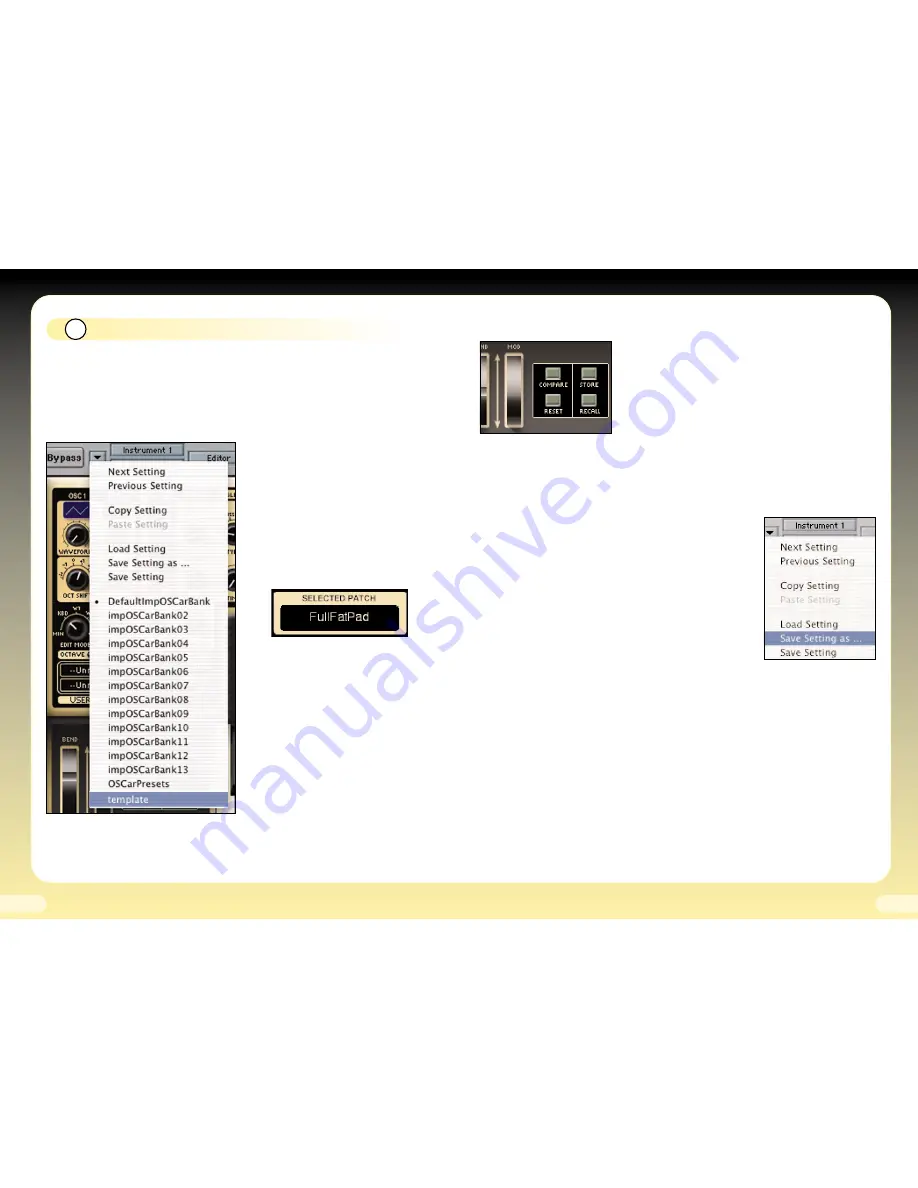
save it. The impOSCar has a group of 4 buttons that will help you with this process.
Special Note:
When using Logic’s ‘Save Setting’ or ‘Save Setting as...’ options a
complete bank of 36 impOSCar Patches is saved.
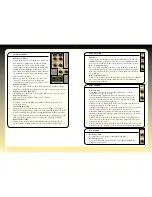
Panel Switches
Compare
- switches between the panel settings you've
set, and the original ones of the selected program.
Reset
- puts parameters back to the original ones for
that program.
Store
- puts the panel settings into temporary memory.
Recall
- reads the temporary memory back to the panel
.
To save an individual Patch and to create your own bank follow the procedure below:
1.
Click on the ‘Store’ button, this puts your sound into temporary memory.
2.
Click on Logic’s patch loading icon and select and load the bank ‘
template
’
(see page 2)
.
3.
Click on the impOSCar’s ‘Selected Patch’ window which will reveal the drop down
menu. Select the position you want to save your Patch.
4.
Click on the ‘Recall’ button to put the temporarily saved
Patch into the selected Patch slot.
5.
If you wish to rename the Patch, double click on the
‘Selected Patch’ window and type in the new Patch name.
6.
Click on Logic’s patch loading icon and select ‘Save Setting
as...’ Rename the the bank to something appropriate, such as
‘My Bank’, and save your sound(s). Again, remember that saving
in this manner saves all 36 Patches. Using the ‘Store’ and
‘Recall’ buttons allows you to organise your Patches to suit
your personal requirements.
When storing, recalling and saving an edited Patch to the
currently loaded bank it’s important to understand that an edited Patch will not return
to it’s ‘saved’ state when you select another Patch.
For example.
You have loaded ‘My Bank’ which has 10 of your Patches stored. You
decide that you would like two similar versions of a Patch stored next to one another in
the Selected Patch drop down list.
1.
Click on the ‘Store’ button, this puts your sound into temporary memory.
2.
Click on the ‘Reset’ button to reset the Patch to it’s previously saved state.
3.
Click on the impOSCar’s ‘Selected Patch’ window which will reveal the drop down
menu. Select the position you want to save your Patch.
4.
Click on the ‘Recall’ button to put the temporarily saved Patch into the selected
Patch slot.
5.
If you wish to rename the Patch, double click on the ‘Selected Patch’ window and
type in the new Patch name.
6.
Click on Logic’s patch loading icon and select ‘Save Setting’ to save your Patches.


