19
18
Creating and using User Waves
As explained previously, in addition to a traditional
subtractive synthesis sound creation method, the
impOSCar also allows the creation of additive
synthesis waveforms via the User Wave Matrix.
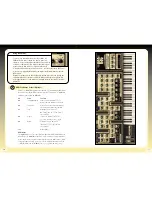
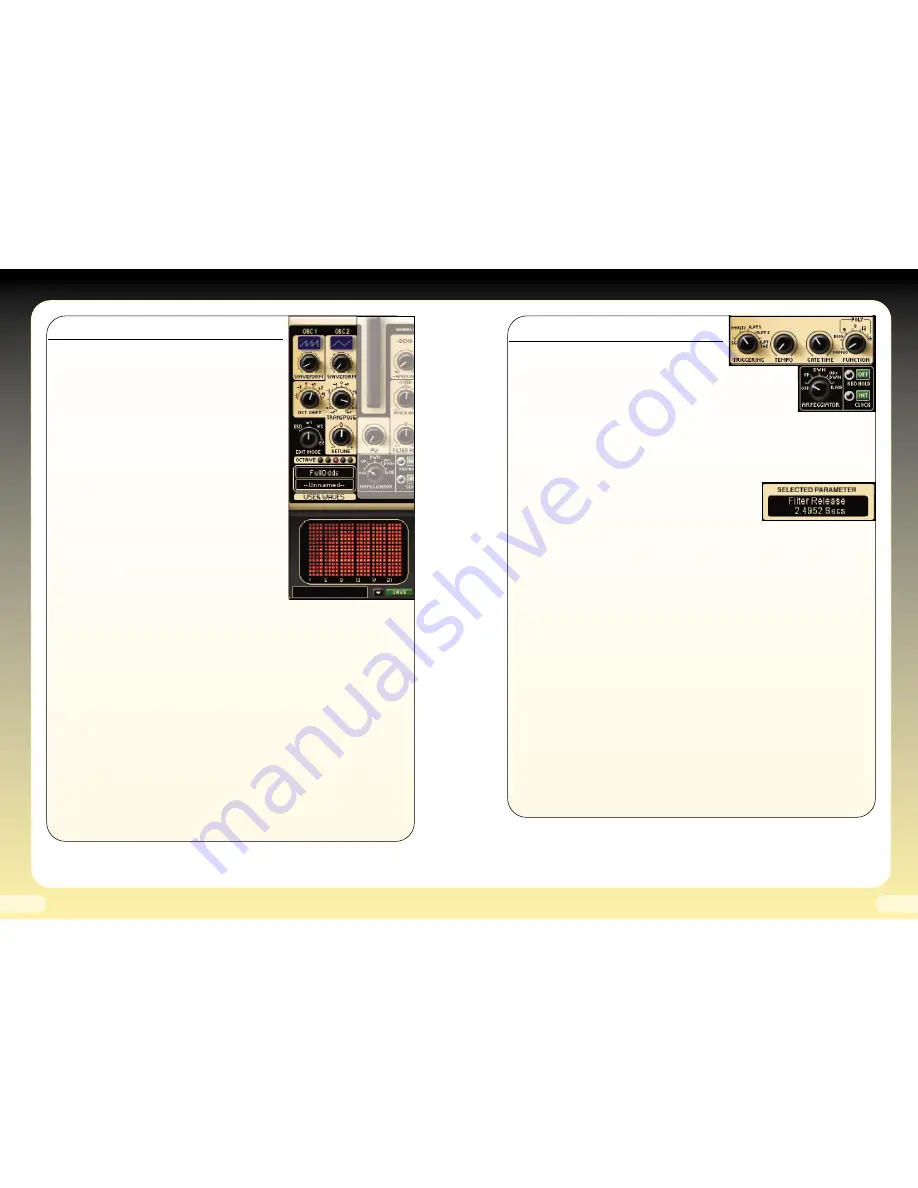
To create your own User Wave make sure that you
have User Wave 1 selected for OSC1. Then move the
Edit Mode Knob to W1, this reveals the User Wave
Matrix with each of the 24 harmonics being
represented by a vertical line of LED’s.
The level of a particular harmonic is increased by
switching more of its LED’s on, conversely switching
them off decreases the level of that particular
harmonic. Simply select the desired harmonic by
clicking on the bottom of the grid at the appropriate
point and dragging upwards. You’ll see the level of
the harmonic indicated by the position of the red
line - the taller the line the louder the harmonic.
Using this method of sound creation it’s easy to
create your own User Waves which can be named
and saved for use within a Patch.
Storing User Waves:
To save a User Wave simply click in the box underneath the
User Wave Matrix, type in your desired name, then click on the green Save button.
Recalling User Waves:
All stored User Waves can be quickly assigned to the
appropriate oscillator first by dialling-up User Wave1 or 2 via the OSC Waveform
Knob, then by choosing a stored User Wave from either of the User Wave
Windows on the main panel. The upper and lower windows are used to assign
User Waves to oscillators 1 and 2 respectively.
NB. When saving a Preset containing a User Wave, the Preset is stored with the actual
User Wave values, not the User Wave name. This is so that changing the contents of a
previously named User Wave does not change any other patches using that same
User Wave. For example, let’s say you have several Presets which use the same User
Wave, e.g. ‘Full Odds’. During the course of programming a new Preset you change the
harmonics of the ‘Full Odds’ User Wave then store it, any Presets which were previously
using ‘Full Odds’ do not change - they are now simply listed as ‘--Unnamed--’, but the
harmonic content of the sound remains the same.
Using the Arpeggiator
The impOSCar arpeggiator can be used in
monophonic, duophonic and polyphonic modes
and although at first glance it looks fairly basic but there are
a number of options that can open up a wealth of creative
potential. However, we’re the first to admit that some of these
are not immediately obvious due to the grouping of certain
knobs on the front panel.
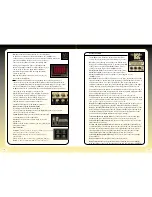
Firstly, decide whether you want to synchronise your arpeggio to the host
sequencer or set the BPM with the Tempo Knob in the Triggering section. If you
choose to synchronise, click the EXT Clock button next
to the Arpeggiator Knob then choose a beats per bar
value from the aforementioned Tempo Knob, the value
of which will be shown in the Selected Parameter
Value window. Return to the Arpeggiator Knob and
select any of the Up/Down and Random modes, then play a chord. Activating the
KBD HOLD button will hold that arpeggio indefinitely. And free up your hands for
other creative pursuits.
Several options are now available to you, including the ability to repeat either or
both of the envelope generators in accordance with the synchronised tempo
value. This is achieved by selecting RPT1, RPT2 or RPT1+2 from the Triggering
Knob. Select RPT1+2 to retrigger both envelopes and you should immediately
notice a difference in the sound of your arpeggiation. From here try changing the
values of certain filter envelope generator controls (such as decay) and listen to
the changes.
You can also alter the gate time of the envelopes via the Gate Time Knob but
first, make sure that the release times of both envelope generators are set
approximately half-way. Now turn the Gate Time Knob from right to left and
you’ll hear some interesting changes.
It’s also possible to create patterns synchronising the LFO to the Arpeggio tempo
by selecting either Clock or MIDI via the LFO Sync Knob. For a more detailed
explanation of the sync options check the LFO section on page 11 of the manual
but once you’ve chosen the most appropriate one try setting the LFO Waveform to
Random before applying it via the LFO Amount Knob.
Finally, experiment with the various Mono/Duo and Poly modes - with the right
sounds assigned, duophonic and polyphonic arpeggio patterns can sound amazing.


