


4 | Wireless e285 Quick Start Guide
SECURING YOUR NETWORK
Do
•
Segregate your guest networks from your business networks.
•
Hide the service set identifier (SSID) of the network you connect your device to.
•
Use complex and long passwords.
Don’t
•
Use weak or insecure protocols for connecting to your access point.
•
Connect to access points you don’t trust or haven’t set up yourself.
•
Connect to insecure access points.
•
Connect to free or public access points.
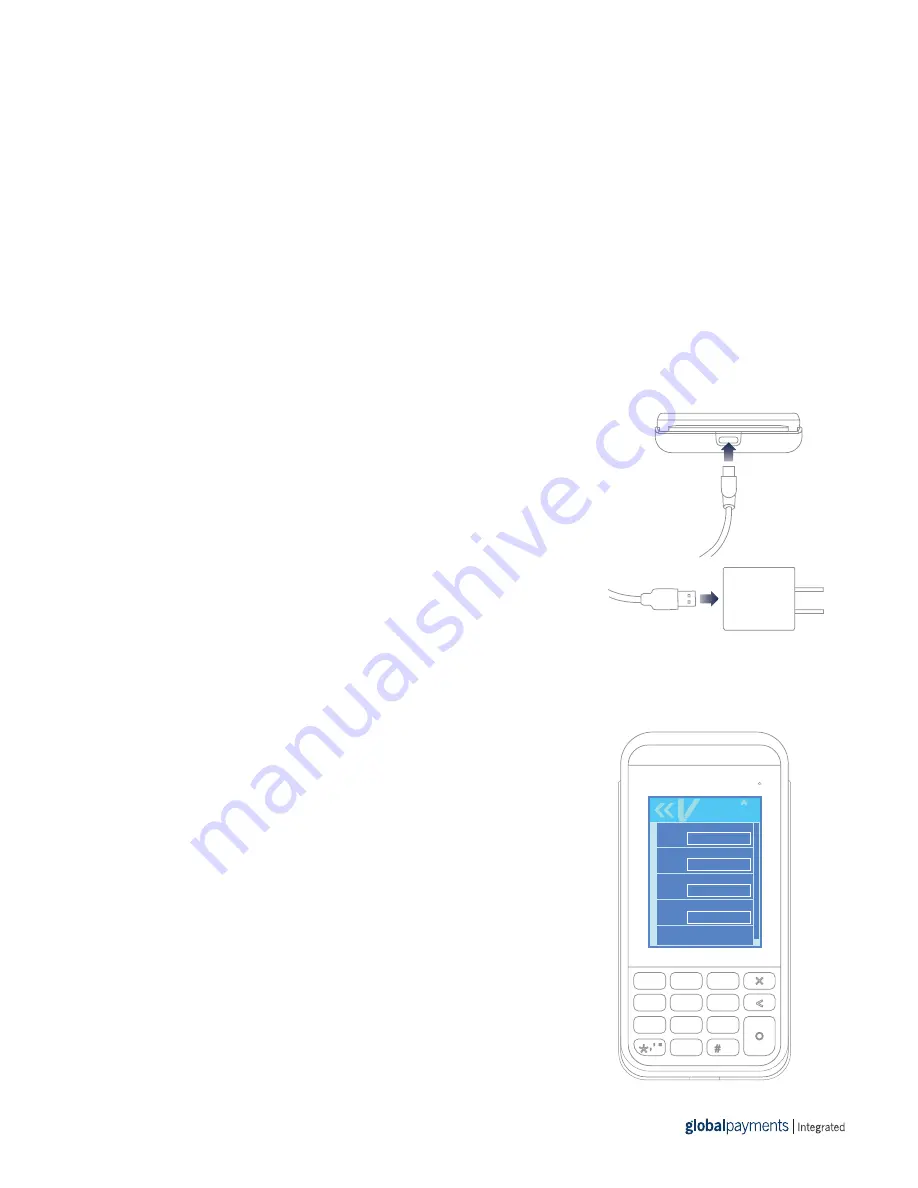
STEP 1: TURN ON YOUR DEVICE
1. Insert the USB-C end of your USB cable into your device.
2. Insert the USB-A end of your USB cable into the power adapter.
3. Plug the power adapter into a power socket. Your device will turn on.
If your device does not turn on, hold the
Enter
button for at
least four seconds.
NOTE:
We recommend that you charge your device overnight before you set it up.
STEP 2: CONNECT YOUR DEVICE TO YOUR NETWORK
IMPORTANT: Connect your device to the same
network as your POS.
1. From the home screen, use the keypad to press
1
,
5
, and
9
at
the same time.
2. Tap
Supervisor
and use the keypad to type the password,
then press
Enter
. The default password is
1166832
.
3. Tap
Administration
, then tap
Communications
.
4. Tap
WiFi
, then tap
WiFi Scan
. If your WiFi is turned off, your
device prompts you to turn on its WiFi.
5. Tap on the network you want to connect to. If successful, your
device notifies you that it has saved the network.
6. Tap
OK
, then press the
Cancel
button.
USB-C end
USB-A end
1
QZ.
4
GHI
7
PRS
2
ABC
5
JKL
8
TUV
3
DEF
6
MNO
9
WXY
0
-SP
WiFi Configuratio n
WiFi Configuration
PSK
SSID
BSSID
Encryption
Authentication
abc


