


GliderGuider
USER GUIDE
4
www.gliderguider.net
3. The Internal Battery:
The internal battery will be partially charged on delivery, please place the
GliderGuider
on charge now - and ensure that the battery charge state is
maintained before use using any combination of the Mains Charger, Car Charger or
the USB Cable (via a suitably equipped computer interface).
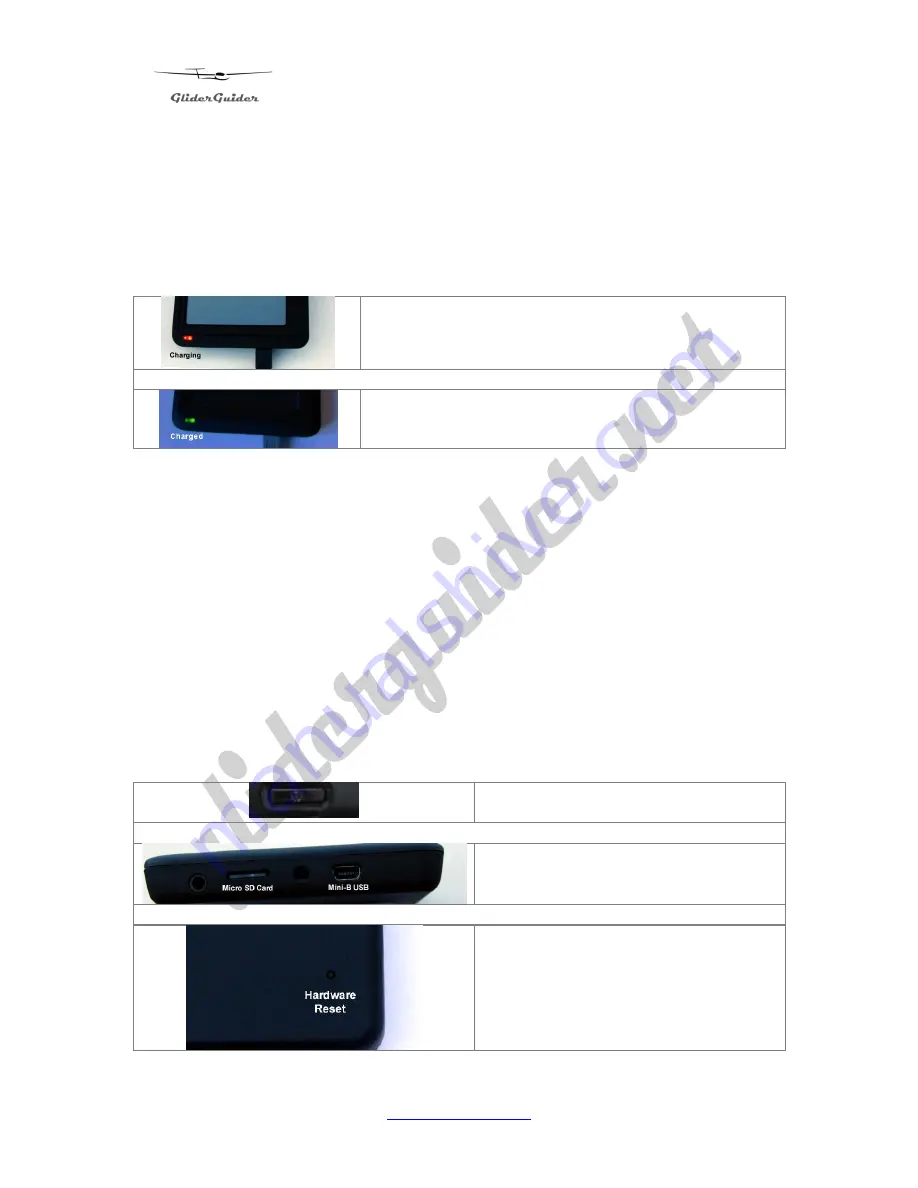
Battery LED - RED while charging.
Battery LED - GREEN when charged
When new, the internal battery has sufficient capacity to sustain normal operation for
about two hours or more. It is therefore recommended that the unit be powered from
an external 5V supply while in continued use.
Note:
the
GliderGuider
typically
draws 700mA at 5V from the external
supply (at max. brightness) while charging. Ensure that the source of the
external supply is capable of delivering the adequate level of power for the
intended duration of operation.
Avoid running the internal battery completely flat by maintaining the charge state
using any combination of the Mains Charger, Car Charger or the USB Cable (via a
suitably equipped computer interface).
4. Getting to know your
GliderGuider
Power On/Off button.
(top edge)
Mini-B USB Interface & Micro SD Card.
(side edge)
Hardware Reset.
(back of case)
Use a ball point pen to access
– only
when really necessary!


