


22
Starting the Installation Assistant
Gigaset 4170/4175isdn, A31008-G4170-B100-2-7619
Installations_assi.f
21.2.02
Step
by
Step
If this function is not supported by the service provider, the MSNs must be en-
tered manually; see next chapter.
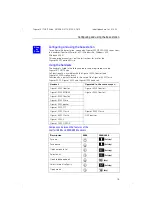
Enter own numbers (MSNs) and name for the MSNs.
You can store up to 10 numbers. For easier identification, you can enter a name
for each number.
Confirm the prompt for entering the call number with [YES].
Confirm the prompt for entering the first MSN with [YES].
Enter the name and with
Z
move to Change call number, if required enter or
change call number and confirm with [
W
].
Select using [
Á
] and [OK]:
Save entry
.
You are prompted for the next MSN.
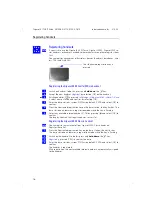
Setting the device type
The factory default for the TAE connections is
Telephone
. This means that even
without the handset, the base station is already in its standby state with a tel-
ephone (with tone dialling/DTMF) connected to
Intern 21
or
Intern 22
. If you
wish to connect to another analog device (e.g. fax machine), the device type
must be changed ((see page 74)).
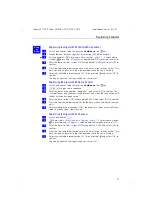
Select [YES] to confirm the prompt for setting the device type.
Select [YES] to confirm the prompt for the internal party.
Press [
Á
] and [OK] to select:
(device type)
.
To confirm, press
»
.
To end the procedure select
Î
.
Allocations for further internal parties are offered.
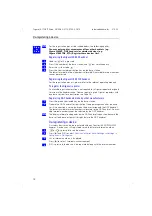
Setting incoming MSNs
The number is used to call your handset/terminal. You can assign several
MSNs.
To confirm the incoming MSN prompt, select [YES].
To confirm the allocation prompt select [YES].
or
To move to the next internal number, select [NO].
Press [
Á
] and [OK] to select:
(one or more MSNs)
.
To confirm, press
»
.
To end the procedure select
Î
.
Allocations for further internal parties are offered.
1.
2.
3.
4.
1.
2.
3.
4.
1.
2.
2.
3.
4.


