


Appendix
- 96 -
Step 2:
The new hard drive will be displayed on the screen. Press <Enter> or <Space> on the new hard drive to select
it and then press <Enter> on
NEXT
. When prompted, press <Y> to conirm. The new hard drive is now set as a
Spare drive.
For the Marvell 88SE9172:
Turn off your computer and replace the failed hard drive with a new one. Restart your computer. To enable an
automatic rebuild in the operating system, you have to set the new hard drive as a Spare drive in the RAID
setup utility irst.
Enabling Automatic Rebuild
•
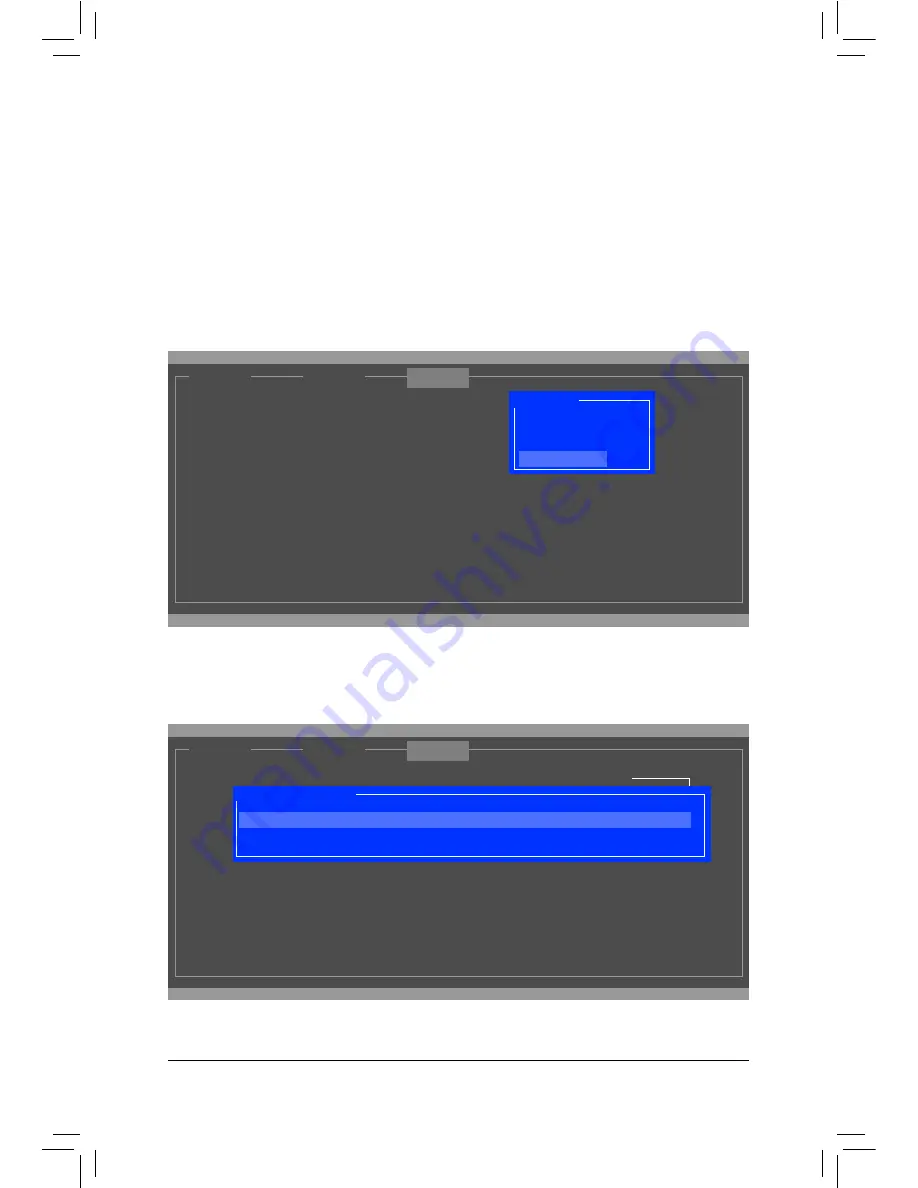
Step 1:
When the message "Press <Ctrl>+<M> to enter BIOS Setup or <Space> to continue" appears, press <Ctrl> +
<M> to enter the RAID setup utility. On the main screen, press <Enter> on the
RAID
tab and then press <En-
ter> on
Spare Management
.
ENTER/SPACE: Select, ESC: Back/Exit
[ Adapter]
[ Devices]
Marvell BIOS Setup (c) 2009 Marvell Technology Group Ltd.
[ RAID ]
Create VD
Delete VD
Wipe out disk
RAID Conig
Spare Management
ENTER/SPACE: Select, ESC: Back/Exit
[ Adapter]
[ Devices]
Marvell BIOS Setup (c) 2009 Marvell Technology Group Ltd.
[ RAID ]
RAID Conig
Port
Disk Name
Size
Max Speed Status
NEXT
Spare Management
* S0
SATA: WDC WD800JD-22LSA0
76.3GB
SATA 3Gb/s FREE
Содержание GA-X79-UD5
Страница 1: ...GA X79 UD5 User s Manual Rev 1002 12ME X79UD5 1002R...
Страница 2: ...Motherboard GA X79 UD5 Oct 28 2011 Oct 28 2011 Motherboard GA X79 UD5...
Страница 32: ...Hardware Installation 32...
Страница 43: ...43 BIOS Setup 3D Power Control Advanced Voltage Settings...
Страница 109: ...109 Appendix...
Страница 110: ...Appendix 110...
Страница 111: ...111 Appendix...
Страница 112: ...Appendix 112...
Страница 113: ...113 Appendix...
Страница 114: ...Appendix 114...


