


43
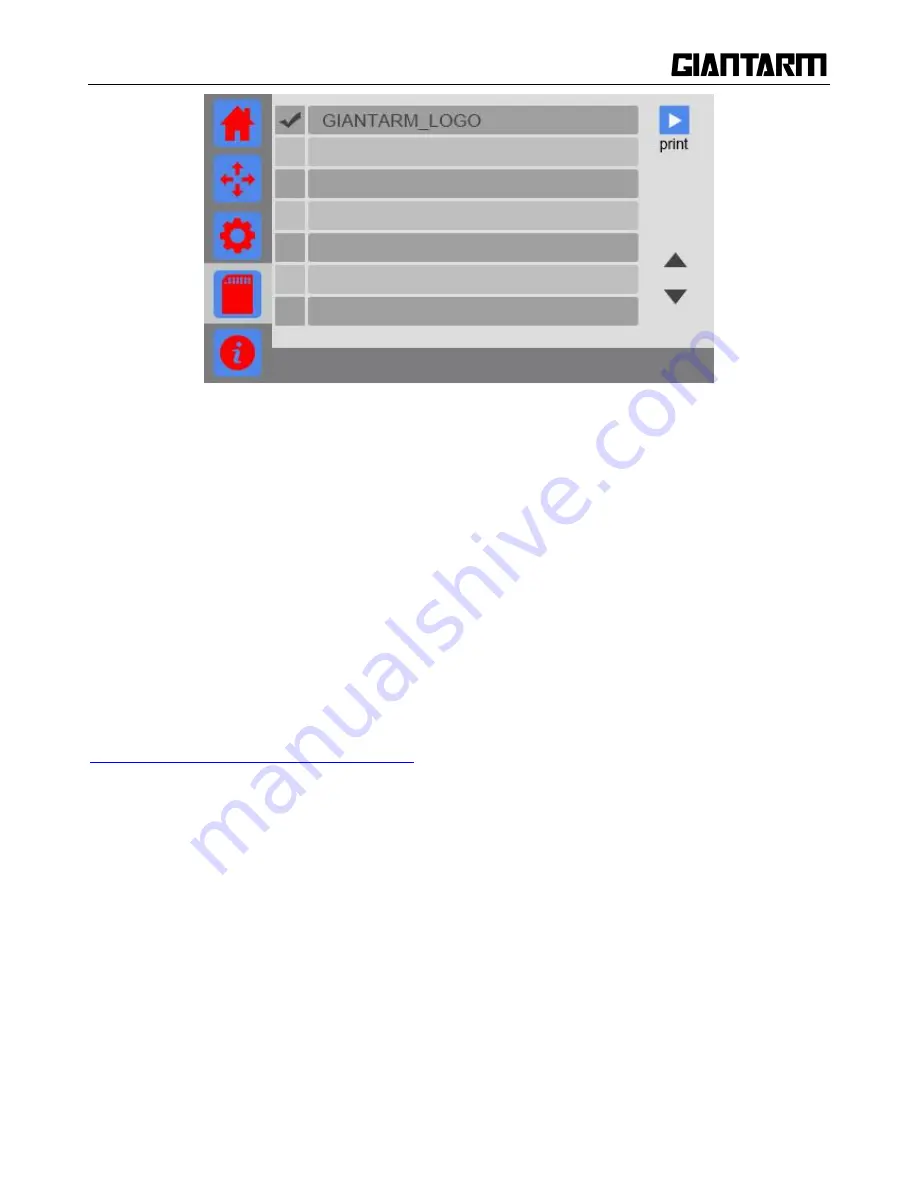
Upon printing, the printer begins to heat up the extruder and the heatbed. On the main interface you can see
the relevant printing status on the round disk. When the temperature reaches the target value, the printer will
automatically start to print.
6.2 Print via USB Serial Port
GIANTARM provides the 3D printing control software
EasyPrint 3D
which is specially designed for
GIANTARMD200. EasyPrint 3D supports the model files, including
g.code
,
.stl.
The software integrates 3D
printer control and slicing. With intuitive user interface and convenient operation flow, it can cater for
different printing requests for both entry-level user and expert users alike.
For the detailed user introductions of EasyPrint 3D, please make reference to EasyPrint 3D.
http://www.geeetech.com/specialpage/software/
6.2.1 EasyPrint 3D Installation and Configuration
Step 1.Install the driver
Power the GIANTARM D200 up and connect it to computer with the USB cable, the driver will be installed
automatically. After installation, you can enter Device manager and find the USB Serial Port which is the
communication port for the printer and computer.
Содержание D200
Страница 1: ...1 GiantArm D200 User Manual Version 1 ...
Страница 7: ...7 1 Extruder 2 Control panel 3 SD card slot 4 Heat resistant glass 5 Heatbed 6 Build platform ...
Страница 34: ...34 printing via SD card or Wi Fi printing via serial port printing via SD card or Wi Fi ...
Страница 56: ...56 333 66mm 5m 27 s 6 Octagram Spiral 318 63mm 5m 15 s 7 Honeycomb 362 73mm 5m 39s 5 Filament ...
Страница 66: ...66 ...
Страница 68: ...68 ...
Страница 85: ...85 Click OK to automatically return to the Filament interface as shown in the picture below ...


