www.geyserwise.co.za
16
PV System Installers Guide
______________
Installation of the element
www.geyserwise.co.za
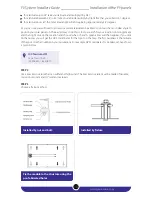
STEP 3: Install the display unit
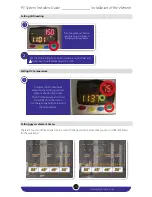
The display unit must be installed in a location
that is accessible to the end user, but not in reach
of children that might want to play with it.
The display unit provides valuable information on
the functionality and status of your hot water
system.
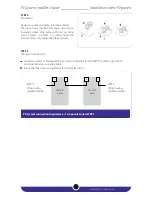
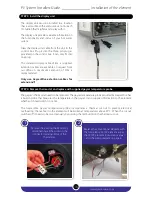
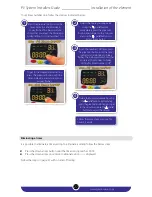
Draw the display unit cable from the unit to the
control box. Plug it into the three pin plug as
provided on the control box. It can only fit into
one plug.
The standard display cable of 5m is supplied.
Extension cables are available on request from
our offices. A maximum extension of 20m is
recommended.
Only use GeyserWise extention cables for
extensions!!!
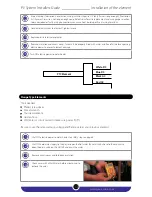
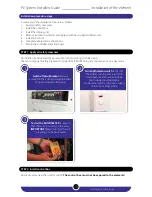
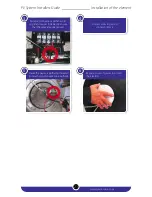
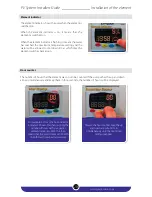
Remove the existing thermostat by
disconnecting all the wires on the
connector terminal block of the
thermostat.
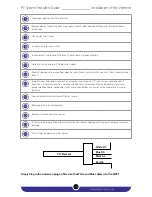
Replace the conventional element with
the GeyserWise AC/DC element as per
the AC/DC element instruction manual
and the wiring diagram on page 5.
1
2
STEP 4: Remove thermostat and replace with supplied geyser temperature probe
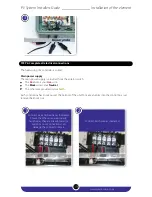
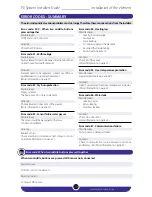
The geyser's thermostat needs to be removed. The geyser temperature probe provided by GeyserWise has
a built in probe that measures the temperature in the geyser. It also supplies information to the element
whether it should switch on or not.
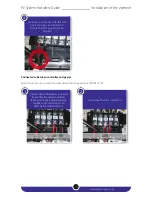
The GeyserWise geyser temperature probe incorporates a thermal cut out to prevent electrical
overheating. The live feed to the element will be broken at temperatures above 90°C. When the cut out
switches off, it needs to be reset manually by pressing the red button on the thermal cut out.
7
GeyerWise Dual Controller
Instruction
manual

