AccuPlot and AccuJet Maintenance
5-10
Loading Plotter Paper
5. Insert the drive plug (removed in Step 3) into the new paper supply
roll until the plug is flush with the end of the roll. Tighten the drive
plug set screw with the hex wrench.
Note:
Note:
If your paper roll is narrower than the standard width, you must install
paper width adapters. See page 5-13 for the procedure.
6. Insert the paper supply roll bar into the new paper roll.
7. Install the new paper roll on the right side of the plotter:
•
Pressing the far end (the end
without the drive plug assembly) of
the bar against the spring-loaded hub at the far end of the
plotter.
•
Raise the near end of the paper roll bar until it slips in to the
near end hub. Rotate the paper roll until the drive plug assembly
engages with the drive hub pins.
8. Feed the paper through the paper path:
•
Fold the end of the plotter paper to form a point. Insert the point
of the paper under the beam and across the table surface.
•
Pull the paper across the table surface to the opposite side of the
plotter. Lift the pinch roller and pass the paper under it.
9. Attach the paper to the take-up roll:
•
Unfold the point of the paper and trim the end with a utility
knife.
•
Fasten the paper to the cardboard take-up tube with masking
tape in three places: center, left, and right.
•
Turn the take-up roll bar to take up any slack. Lower the paper
grips.
10. Restart the plotter:
•
Be sure the carriage is not positioned at the extreme ends of
either the beam or the table.
•
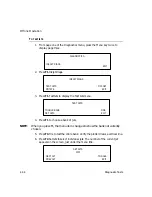
Press
F2-Resume on the Servo Disable menu. Move to page one
of the Offline menu.
•
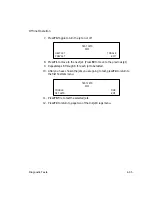
Press
F3-Paper Adv, to pull up the Paper Advance submenu.
•
Press
F1 two times to advance the paper onto the take-up roll.


